Showing posts with label update. Show all posts

August 29, 2011

1/24 SMS Hi-Nu Bust WIP - Part 5

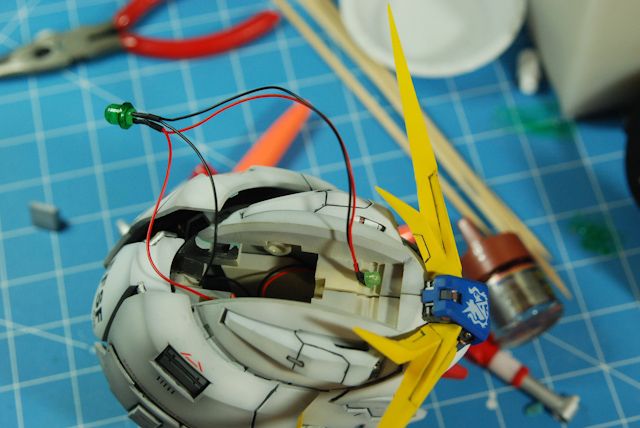
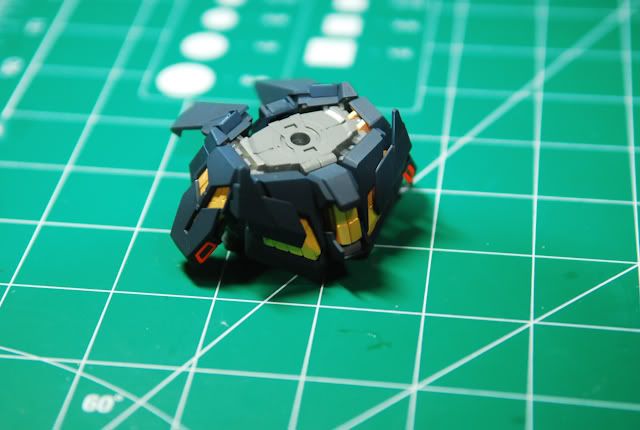
Almost completed with everything - gluing is going well. Just thought I'd document the LED wiring for those who haven't done it before (I haven't) and want to see what goes into it.

It's relatively easy, just some minor preparation and forethought goes into the process before final assembly to ensure all the wires are long enough and hidden. With a little bit of epoxy glue, I've adhered them to the places where they would fit the best.


August 22, 2011

1/24 Hi-Nu Bust WIP - Part 4

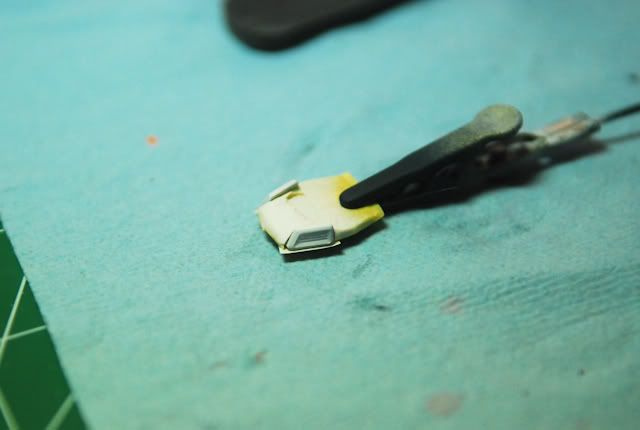
I have now added a flat finish, two pieces need white patch-up paint tomorrow, but I believe everything else is in final order. Should be finished here soon. Astronaut was added to add some scale to the kit. Should look pretty neat with the final presentation I'm hoping.

Pics here:


^^The friggin wiring was so small (22 gauge I believe), that when I pulled on it, it came undone. One trip to home depot and 1 hour of re-wiring with 18-gauge wire later, and we are in business!

When I have time I will finish this kit! C&C and criticisms ALWAYS wanted!

July 10, 2011

1/24 Hi-Nu Bust WIP - Part 3

Details, details, details.... LOTS of handpainting, this is sort of the highlight of it, but I've had to handpaint a lot of silver details in.

Once I finish with these last few phases of painting, it's onto clearcoating and decals.


March 24, 2011

1/100 SMS AMS-129 Geara Zulu ver Angelo Sauper - Part 3

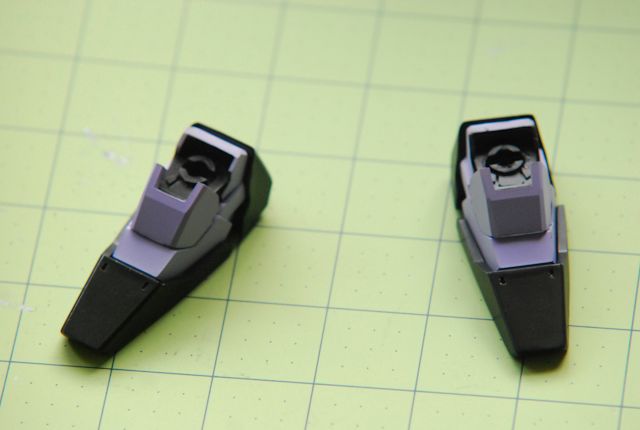
I know I have not updated in awhile - I have been encountering some significant set backs in the painting department. Moreso than usual because I've been trying some different techniques.

I have the philosophy: nothing ventured, nothing gained. Well that philosophy has cost me some time, but I don't really regret it, it was worth the time invested.

I tried doing a reverse wash on the wrist and chest pieces on this bad boy with different types of paint than usually are used, but these two paints I used don't work well for what's going on.

I used, in order of layers:

-Mr. Surfacer 1000
-Tamiya Custom Lacquer spray paint can
-Tamiya Acrylic Black (First gloss, then semi-gloss, then flat, all yield the same result)
-Then used Tamiya acrylic thinner and a tip to wipe away the black paint to let the white paint shine through.

I had a glorious plan for a tutorial...

Tamiya Custom Lacquer spray paint can

(no pic of this)
Tamiya Acrylic Black (First gloss, then semi-gloss, then flat, all yield the same result)


Then used Tamiya acrylic thinner and a tip to wipe away the black paint to let the white paint shine through. Bad idea. Does NOT wipe cleanly, hard to come off, and eats through the custom lacquer paint can (I think it's acrylic paint with lacquer thinner), you can see the gray Mr. surfacer coming through in areas.


I used lacquer thinner to wipe off all of the paint and I'll re-paint using the lacquer paint can, then spray black enamel and wipe it off with lighter fluid. Blah. Pics coming soon.

As of now though most parts are painted!


Just have to do the white trim now that the paint is stripped :)

February 16, 2011

1/100 SMS AMS-129 Geara Zulu ver Angelo Sauper - Part 2

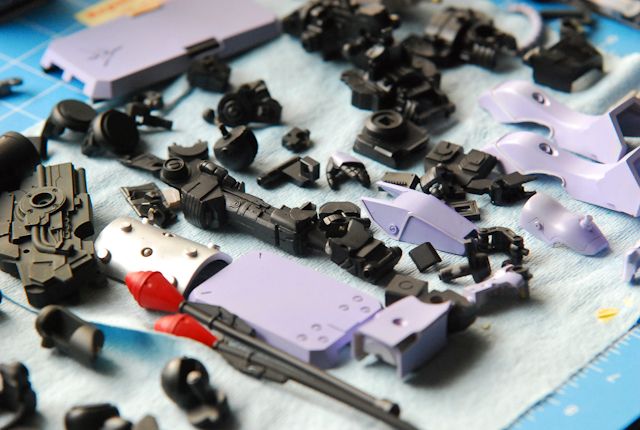
Settled on a good color, after mixing purples and whites. Settled on about a 2.5:1 ratio of white to purple.


And my first experiment doing a reverse wash. I painted the piece white with Tamiya Lacquer spray cans, then followed with my purple in Tamiya acrylics, then cleaned up with a q-tip dipped in acrylic thinner. Doesn't come off as easy as you would think, but it just takes some extra TLC and care. Lots of precision needed with the q-tip. I had to re-paint twice. Disregard the hairs and debris on top, I saw them in the photo and freaked out, and they immediately rubbed off.


Finished up almost all purple, got better doing the reverse wash using the same technique. It's turning out quite well.


C&C's always welcome. Have a few more pieces to go on the purple.

December 6, 2010

1/100 PMX-003 The-O Resin kit: Part 3

I've been putting a lot of work into this guy, with very little updates here.

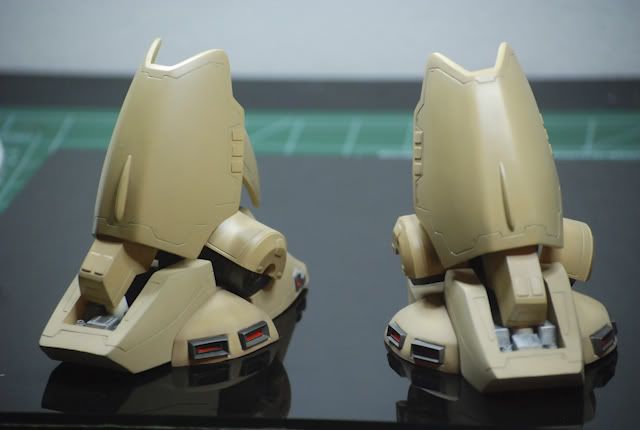
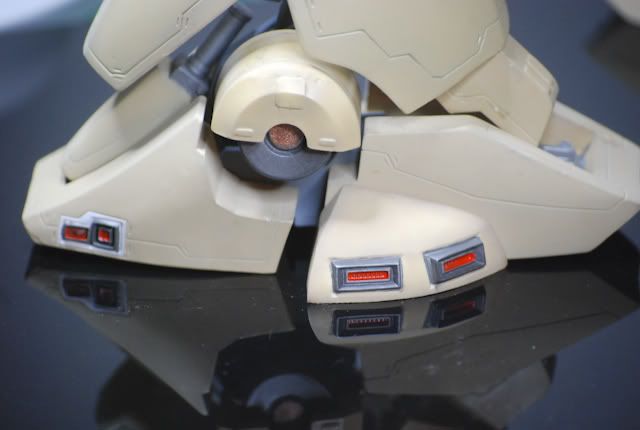
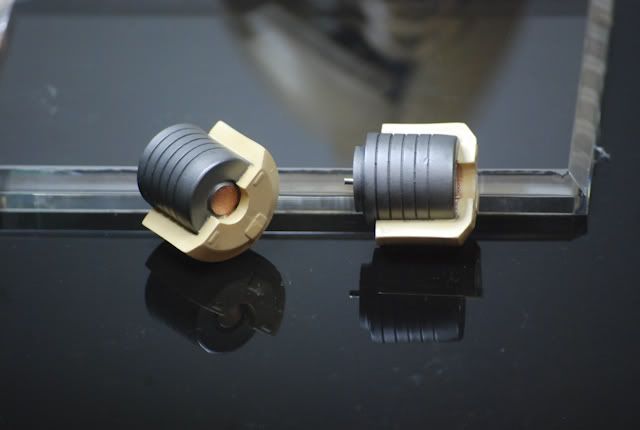
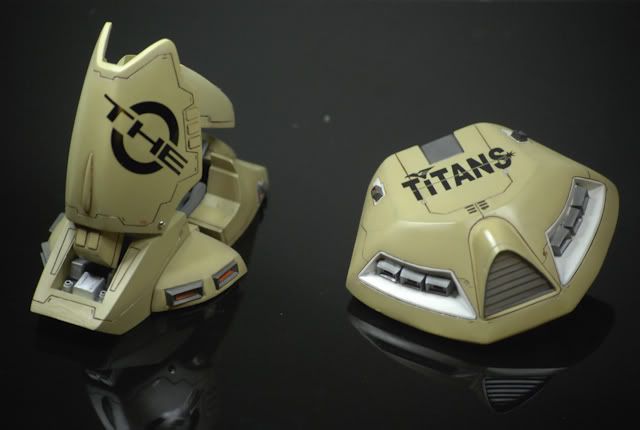
I've finished almost all of the airbrush painting, and I've gloss coated everything, then panel lined and put a few decals. I'm waiting for some of the Samueldecal decals to come in the mail so I can finish this bad boy up.

Some WIP pics:


Side view


You can really see the 'burnt metal' color. It looks great.

After Panel lining and some decals:


After this is more decals, detail painting, flat top coat, final pinning and gluing. Exciting days ahead!

April 19, 2010

Unicorn Banshee Update 4

Some good progress:

Painted some of the underframe today


Had to airbrush fluorescent red on to make it look consistent.... painful taping was needed though.

Gundam markered the black on for a consistent finish.


Gotta love the fluorescent Red paint. Adds excellent detail.


Some problems I'm running into: the gold paint flakes off, so I get some shiny speckles on the blue paint. It's not too significant, but enough to make me mad.

April 6, 2010

Unicorn Banshee Update 2

Testing out the gold to see how it looks with the shield before I begin painting it. I think it's going to turn out great!


Tested out some paints with the airbrush, got a good mixture of the blue and black.


Began work on the shield as my first test subject before I went into it head first, after sanding (800 and 1500 grit) and priming (Tamiya fine primer):


I think the result turned out fantastic. Can't wait to see the finished product :)


Here is a pic of the paints I used:


- Tamiya Fine Plastic Primer
- Tamiya Thinner
- Model Master Acryl Shiny Gold (1/2)
- Tamiya Black
- Tamiya Blue

April 5, 2010

Unicorn Banshee Update 1

Worked on my Banshee over the past few days. Progress is coming along great.

I finished cutting, sanding and cleaning all of the pieces, and began assembling the Unicorn in it's most basic state.


The reason I put it together is to get an idea of how the pieces fit together, and take the separate sections apart and finish them one at a time in a given night (I don't have a ton of time to work on Gunpla). If you are not painting your kit, this is where you can begin putting on decals.


Just for reference, I put the unsanded/untrimmed pieces of the Banshee head on to get an idea of what it's gonna look like. Looks great so far!


I also began testing paints and finishes that different washing would yield.

This is the result using spare pink pieces cut from the runner of the psycho frame:
Posted Image
-I think it's obvious that the top piece is the best - it gives off a nice shine, even coat, and no color leaking through.
-Without the plastic prep, the paint pooled in certain areas. The plastic prep helped with keeping the static and maybe some molding grease I missed.
-The one on the right was not a pink piece, but you can see that the primer helped bring out the natural shine of the gold paint.
-And the bottom one, well, never do that. Color leaks through, and it just is bad in general without sanding.
Note: I used 600, 800, then 1500 grit sandpaper, in that order, to sand, when I did.


^^I sanded, then began priming the Psycho Frame of the shield with Tamiya Fine Primer (white) (sorry for the bad pics with standard flash)


Mixing paint, I'm using:
- Tamiya Acrylic Thinner
- Model Master Acryl Shiny Gold 1/2 (#4407)


I used a mixing ratio of approximately 1:2 (thinner:paint) with slightly less than 1 part thinner. I used a pipette to get the measurements, and got it to a slightly milky mixture - I'll be putting a tutorial up soon. I'm putting this for the airbrush newbs (like myself), because I never knew until I watched the pro shows from Japan where they really break it down for you. Then, just evenly apply the paint.


^^ Here is the result after painting with the airbrush.


^^ Looks great IMO. Gives off a nice shine in person too.

To get this gold, I bought 4 different golds and experimented with them in the same way with the runner pieces. I experimented with: Tamiya spray gold, tamiya bottle of Gold Leaf, Model Master Acryl Shiny Gold, and
Tamiya Titanium Gold. The Model Master turned out the absolute best in terms of shine and color.

To view the videos for the Japanese modeling TV show, visit my fellow gunpla builder's blog: S.L.'s Gunpla Blog. The videos are linked to on the right hand side.