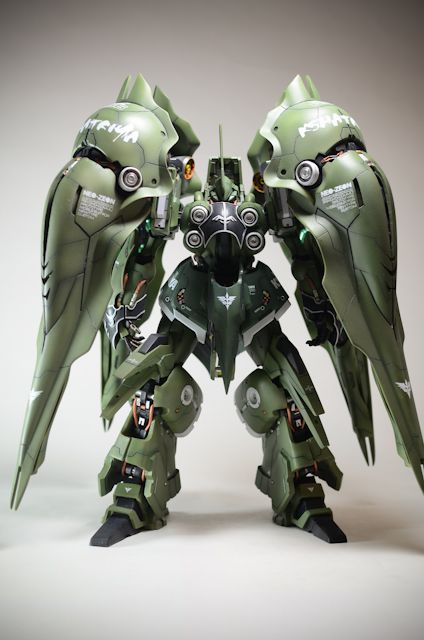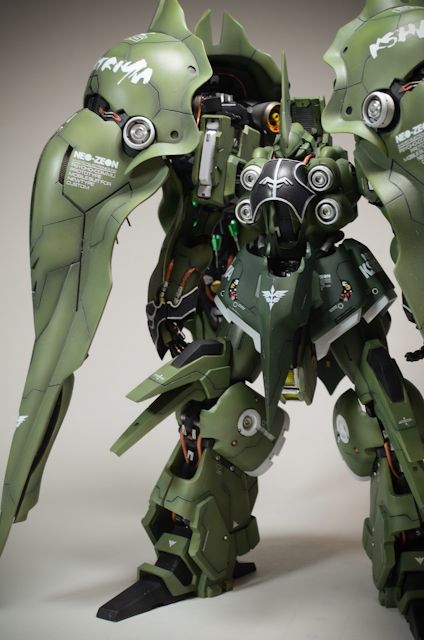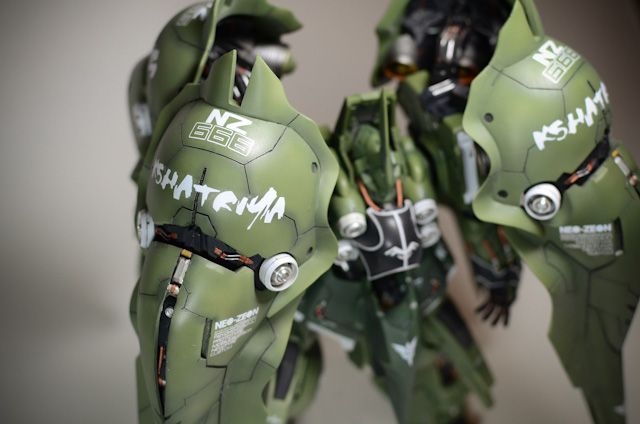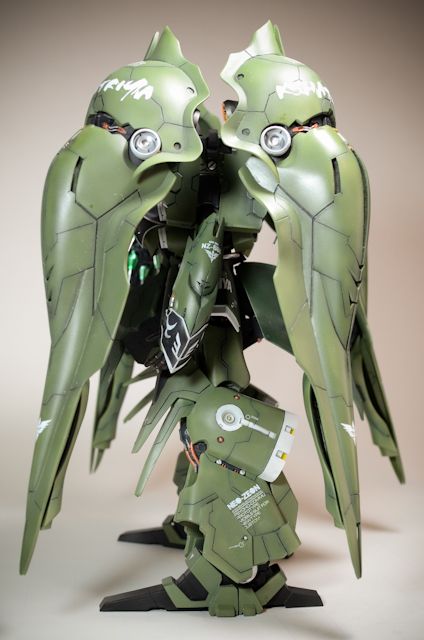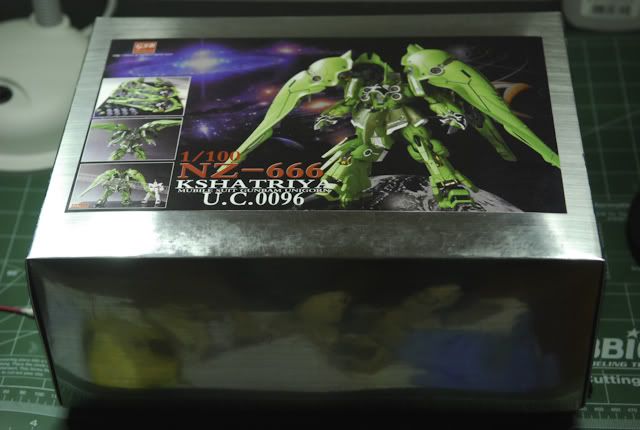

When painting a model, there are a few main approaches, but the most widely recognized form of quality, even painting is with airbrushing. I am going to go over a few things in this tutorial - choosing the right materials, the science of understanding how it works, and then actually showing you how I paint. Airbrushing is easier than you think, and is much cheaper than buying spray cans if you want to paint more than 1 model.
Standard Tools Needed:
- Airbrush
- Air compressor
- Air hose
- Air filter
- Airbrush holder
- Paint hood/vent
- Gas Mask rated for paint particulate
- Tamiya Paint Stirrers
- Paint holders (for mixing)
- Good, daylight (5-6,000K) temperature lighting (if you use common warm bulbs, the colors will be off)
Consumable Materials Needed:
- Paint
- Thinner (appropriate for the type of paint you are using)
- Large container of Lacquer thinner ($16 at WalMart)
- Heavy duty plastic ketchup/liquid dispenser for holding the lacquer thinner. Thin plastic will melt.
- Gloves (optional)
- Masking Tape
- Paper towels
Part 1: Choosing the Right Tools:
Airbrush:

There are many great manufacturers of airbrushes out there, and many other lesser brands who claim to be built in the same factory as the big brands. While this is nice, I personally have noticed a long-term benefit to buying the bigger brand names. The cheaper quality ones required more maintenance and lasted half as long as my Iwata-Medea airbrush. Airbrushes can be broken down into their respective components - and while I have not owned each of these, I will offer my best advice on what I prefer.
Feed type:

Bottom Feed/Side Feed - The paint typically is in a jar that is pulled out and mixed with the paint via suction and air pressure. This works well, but in my opinion is harder to clean and doesn't pick up the paint as consistenly. An advantage to this one is that you can mix the paint in a jar and reseal it when you're done using the paint, as well as it giving a finer mist and lower air pressure requirements.
Gravity/Top Feed - The paint is pulled down into the air chamber via gravity and suction. To me, I have had the best experience with painting with this mechanism. You do have to premix the paint, but it is easy to clean, quick to change paint colors and atomizes great.
Nozzle Size:
There is a LOT of contention as to what is the 'perfect' nozzle size in hobby airbrushing. Those with a larger amount of dispoable income can afford to own multiple airbrushes with different size nozzles. Other airbrushes offer the ability to change nozzles (don't recommend this option). However, most people are in the boat where they want to buy one multi-purpose airbrush that will meet 99% of their needs. There are small sizes of nozzles at .2mm and below - these are GREAT for precision, but on larger jobs you will find yourself having to paint more than you wish, for a longer time than would be had on an airbrush with a larger nozzle. The larger end of nozzle sizes are at .5mm and above - these offer a wider area of coverage, but often lack the precision needed for smaller parts. The ideal size nozzle is .3-.35mm. This offers nice precision for most models even at the 1/144 scale end of things, while still not sacrificing for a wide pattern on large pieces. I own an Iwata HP-S which has a .35mm nozzle and have never noticed a lack of precision.
Cup Size:
I prefer the larger 1/3 oz cup size because it holds more paint.
Trigger Type:
Dual trigger is best - allows for dynamic control of the air flow and the paint mixture.
Air flow control:
Some airbrushes offer this in their line (via a little knob on the bottom of the front end of the airbrush), however I only had issues with it. Most of the quick release options you can buy already have air control in it which is easier to control, and does the same exact thing.
Air Compressor:

There are lots of options out there. However, I have owned a few different types. The large tank ones with an oilless intake system are very loud, and you can't even listen to music or TV, much less use when people are trying to sleep. There are the smaller 'pocket' air compressors that look like small 3" x 3" squares. They produce enough PSI to be functional but just under enough for my tastes (~18-20 PSI), but are super quiet. I prefer the small 1/8 HP compressors with built in air control meters. They still make some noise, but I can listen to music or headphones and definitely use it while folks are sleeping. Typical top air pressure is around 30PSI, which I throttle at 25PSI using the air flow meter.

Paint Hood/Vent Hood:
You NEED this. Typically you're going to be airbrushing inside, and those fumes need to not stay in your house. And the particles float in the air and make the air thick in no time. There are plenty of options out there, just make sure that you have the air venting outside through a window of some sort. There are many options on the market, just make sure it will fit in your workspace and still give you enough room to work. Higher CFM (cubic feet per minute) ratings are better, but they are louder because of a bigger/faster fan.
In-Line Air Filter:
It works great to get rid of moisture that is in the air being pumped through (as you can see in the picture), and is a great handle too. Costs less than $10 and is totally worth it.
Quick Release with Air Flow Control:
I love this thing. Allows you to take your airbrush off in no time, and also has air control for finer paint jobs.

My Configuration:
I have two quick releases (one with in-line air flow control), and an in-line air filter. This is great for me because it's a nice handle.
Part 2: The Science of Airbrushing
I like to understand how things work so that when I can optimize the device when I am using it, and quickly diagnose and fix problems as they arise. This new airbrush will be your tool, quite possibly one of your most important tools in this hobby, and it's important to know how to use and fix the device.


These images breakdown what is actually going on much better than I could care to explain, but the take home message is as follows: as the needle is pulled back, the force of the air is pulling out some of the paint mixed with thinner. As this concoction of paint, thinner and air is forced out, the thinner rapidly evaporates, and mostly the paint and a little thinner hit the surface of the object you are painting. This small layer of liquid drops then flatten together as they dry, and create a smooth layer after a certain amount of time.
I did not create the above images.
Part 3: Airbrushing

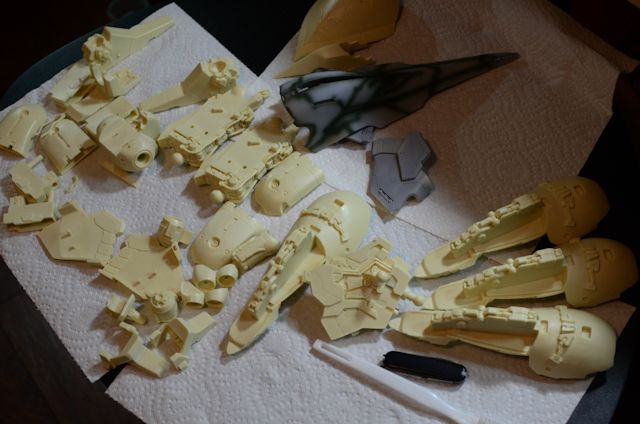
Inspect your airbrush - make sure the cup and needle are clean. Also, make sure the needle can move freely when you pull the trigger back. Optional: do a test run and run some thinner through it with the air compressor on. Make sure the needle stop is screwed tightly in the back.


Mix your Paint - follow the recommendations of the paint, but typically for most paints it is a 1:1 ratio. Some require a 2:1 or 2.5:1. Measure it out the first couple times, and pay attention to the consistency of the mixture. Many people call it a 'milky' consistency, which I also find to be true. Notes: Some paints are pickier than others on how precise you have to be measuring thinner. Tamiya acrylics are forgiving, as are plamo colour, but testors enamels and Mr Hobby lacquer paints are not. The more you mix paint, the more you can 'eyeball' the amount needed for the paint you poured. Tip: If the paint is too thick, it will cobweb, if it is too thin, the paint will appear almost translucent when painting. Make sure you are using the correct thinner for the type of paint you bought.

Pour your mixture into your airbrush - make sure it is in the holder. It's much easier

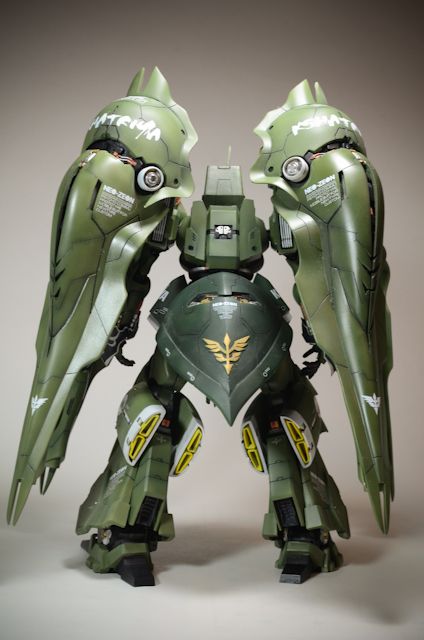
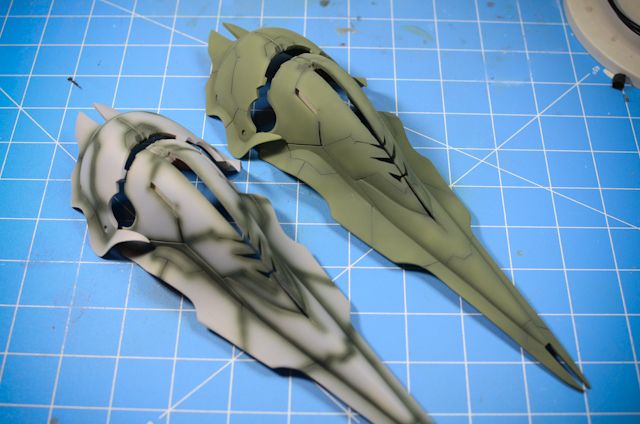
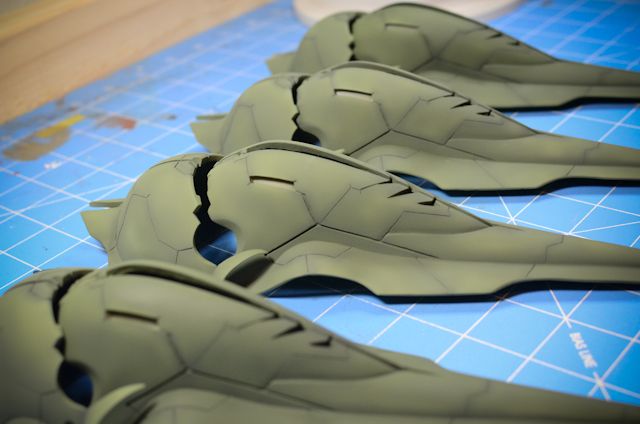
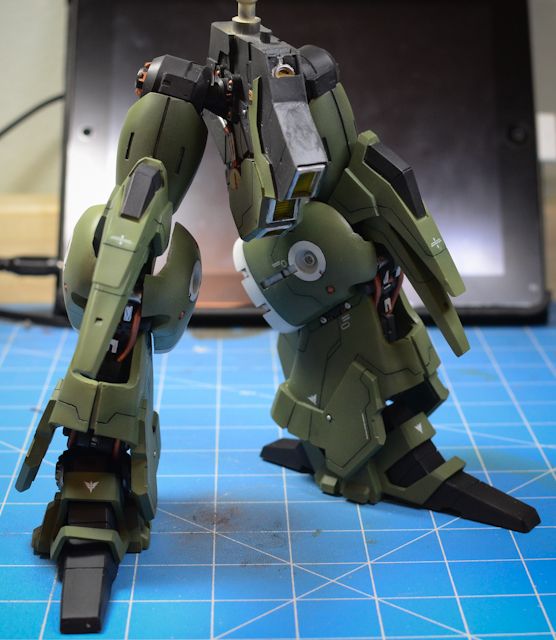
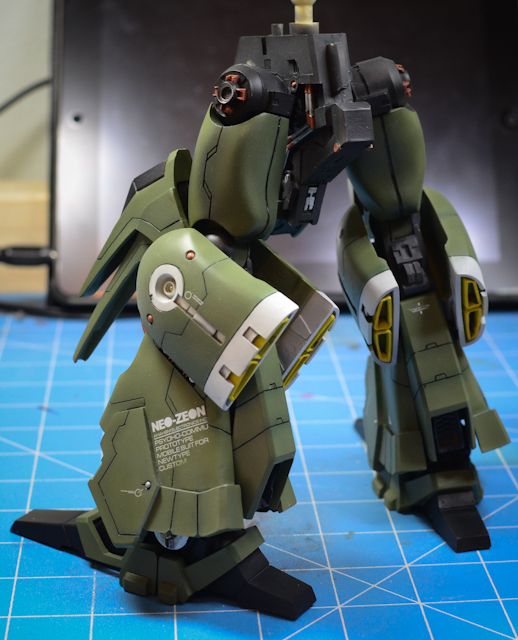
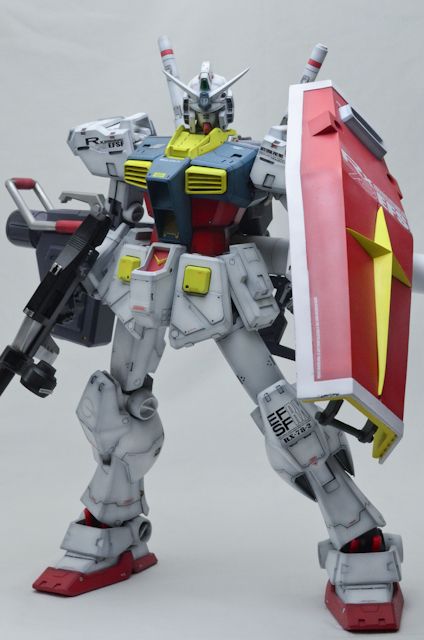
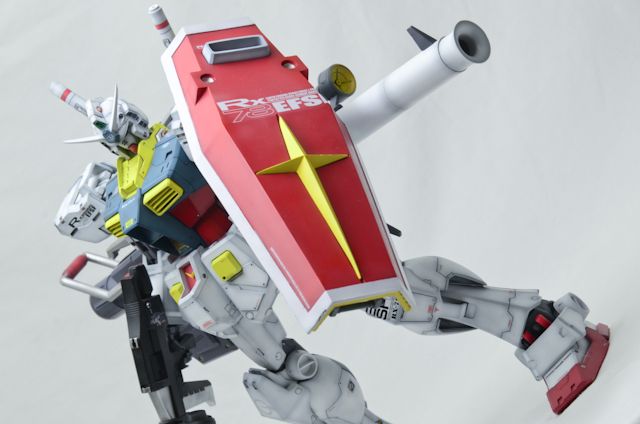
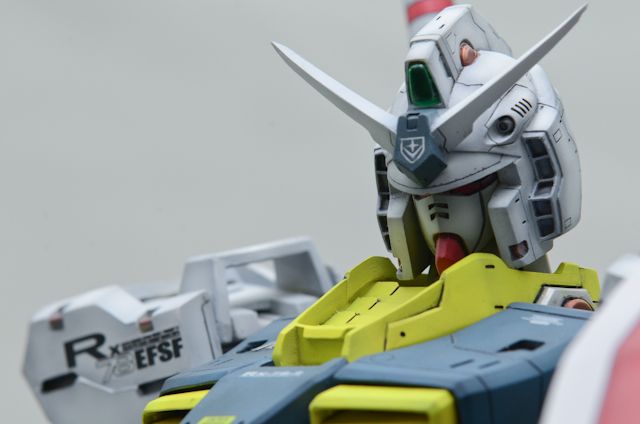
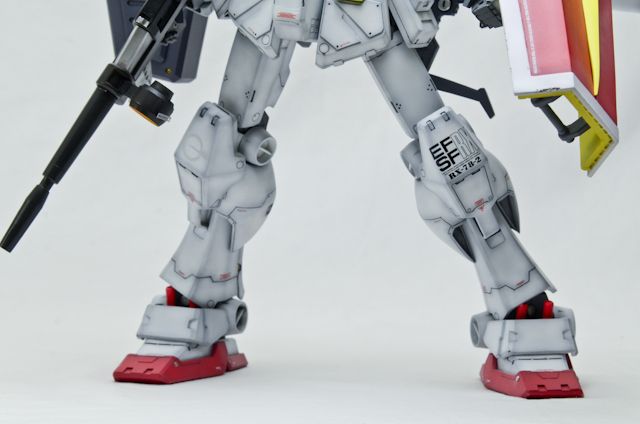
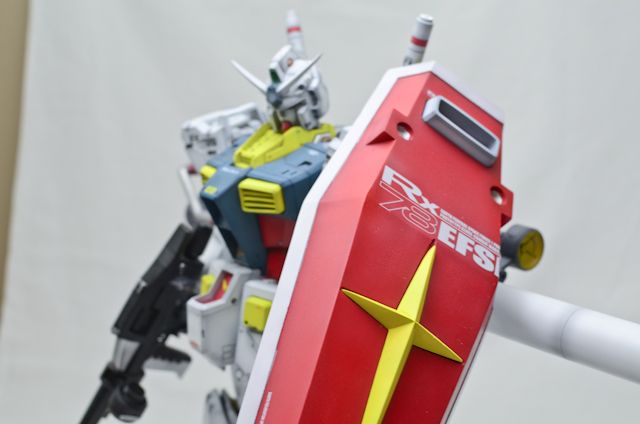
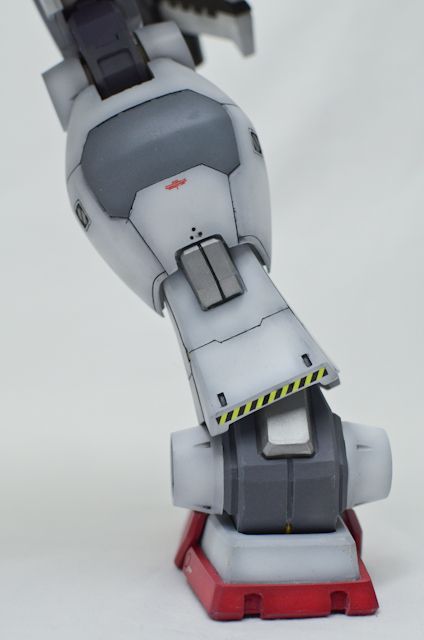
Paint your part - stay 2-3 inches away from the part, and lightly mist each area. It's better to have to paint an area twice than to paint too much in one area and have the paint drip. On contoured surfaces, paint the nooks and crannies before the flat areas (as pictured above). Don't be afraid to paint multiple coats. Refill your cup as often as needed.

Clean your airbrush - in between colors or when you are finished, I have a multi-step, easy process for cleaning the brush:


1. Pour thinner on a paper towel, and rub it on the inside of the cup to clean out the large majority of the paint

2. Pour a bit of thinner into the airbrush and put your finger of the cap of the airbrush and slowly pull the trigger back and you let air flow backwards into the cup. This will help clean out the needle and cup.

3. Spray the thinner into a container. Use a Q-tip to clean out the remaining large chucks.
4. Pour a bit more thinner in and spray until the airbrush sprays clear.
5. Clean out the cup with a paper towel

Let the parts dry - if you were using alligator clips or just using your hands, let the painted parts dry for at least 20 minutes before handling. Enamels can take longer. Acrylics are VERY sensitive to handling. Always handle the painted parts gently before they have a protective coat on them.
Tips and Tricks:

- On a multi-colored piece, use masking tape to mark off areas for clean lines.
- The more time you spend on clean masking, the higher quality the paint job
- If you make a custom color, measure how much of each color you used, so that you can repeat the color if a mistake happens. Don't be too confident in yourself - always remember this.
- ALWAYS prime. I pre-mix a TON of primer before a project, it's much easier to manage.
- Lower PSI for precision areas, also your mixture needs to be more precise when you lower the air pressure. Also, you can get closer when you lower the air pressure to ~1 inch.
- If you screw up on a paint job, I do not recommend touching up by hand painting (unless it's a really small spot). Don't be afraid to re-paint an entire piece. It takes less time than you think, and is worth the payoff.
- I use alligator clips. They're wonderful for holding smaller parts. I just use my hands on larger pieces.
Troubleshooting:
Overspray or Splattering - your needle could be bent. I personally could never re-bend the tip back to it's original shape, and ultimately had to purchase a new needle.
Cobwebbing - there is not enough thinner in your mixture. This is typically seen with lacquer paints - the paint is literally drying mid-air. Do NOT try to just add more thinner to what is in your cup in the airbrush. Empty the cup, remix with more thinner, and also run only thinner through your airbrush to get the paint out. Resume when there is no more cobwebbing from spraying only thinner.
No paint coming out - This could be 1 of 3 things: wrong thinner used, paint mixture is too thick, or the nozzle is clogged.