Some models have raised parts that usually are different colors - on gunpla these usually appear on the chest and sleeves. It would be tedious and hard to either mask or hand paint these details with little margin for error. Thankfully, using the natural properties of the different types of paint and thinners available, we can create a natural reverse wash that makes crisp lines and a great finish.
Materials needed:- model part with raised accents
- primer
- either acrylic or lacquer paints (I use Tamiya's synthetic lacquer spray cans in this example) This will be your accent color
- Acrylic or lacquer thinner
- enamel paint (your base color)
- Enamel thinner
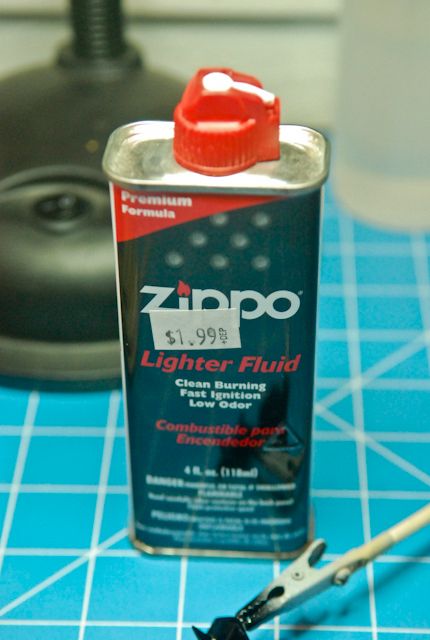
- zippo lighter fluid (turpenoid-based)
- q-tips
- gloss top coat (future is excellent for this). Make sure it is NOT enamel-based.
- Airbrush
As I try to write to include everyone, I'll start off with some basics. If you know about the different properties of paints and thinners, feel free to skip this section.
In general there are 4 major types of paints used in all of model painting. There may be more, but I will be writing on these.
-
Acrylic - This is a plastic polymer paint that is the 'lightest' of all paints I will be describing. It dries in about 20 minutes, and cures in about 24 hours. It is 'water-based' - meaning it can be thinned with water. For airbrushing, we use an alcohol-based thinner that is lighter and dries faster than water.
-
Enamel - This is a paint that usually dries to a hard, glossy finish, and takes usually a few hours to dry, with 24-48 hours curing time. It requires a stronger thinner than acrylic to be thinned properly. Enamel is special also in that a turpenoid-based lighter fluid - like zipppo lighter fluid - can also thin it out (not for airbrushing).
-
Lacquer - This is the 'strongest' paint as far as pigment goes. It is relatively fast drying (around the same as sprayed acrylic) but requires the strongest thinner. Lacquer thinner is dangerous and should be used only in controlled areas with proper breathing precautions taken.
Note: Lacquer thinner can thin all 3 paints listed above, enamel thinner can do both enamels and acrylics, and acrylic thinner can only thin acrylics. However, I would only use the proper thinner with each paint. I use cheap lacquer thinner to clean out all my parts after using them.
The final type of paint is
Oil - This is a very slow drying paint where pigment is put into a type of oil. As a result, mineral spirits is usually used to thin oil paints. Oil paints are not airbrushed and useful for creating weathered washes.
What is a wash? A wash is a cover-all term used to describe any process where you go over a model in two different types of paint, and use the different properties of them to work in harmony for a desired effect. The most common type of wash is for panel lining - after a model has gotten a lacquer or acrylic coating, lighter fluid and enamel paints are used to fill in panel lines. I will have a tutorial soon.
For this tutorial, we will be doing what is called a 'reverse' wash. It is the same basic concept as with panel lines, but when we take away the enamel paint using lighter fluid, we will be showing another paint layer beneath the enamel - either acrylics or lacquers. This is how it is done:

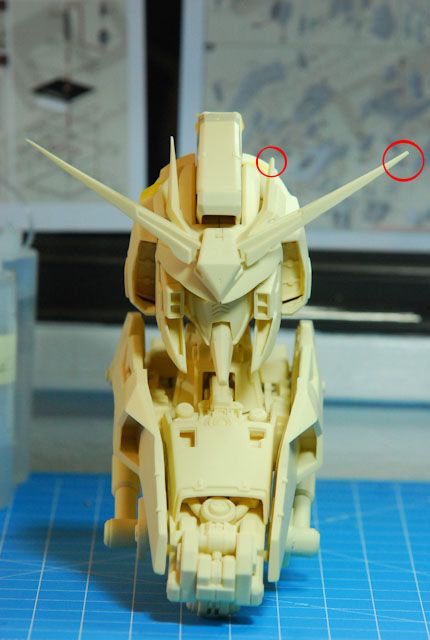
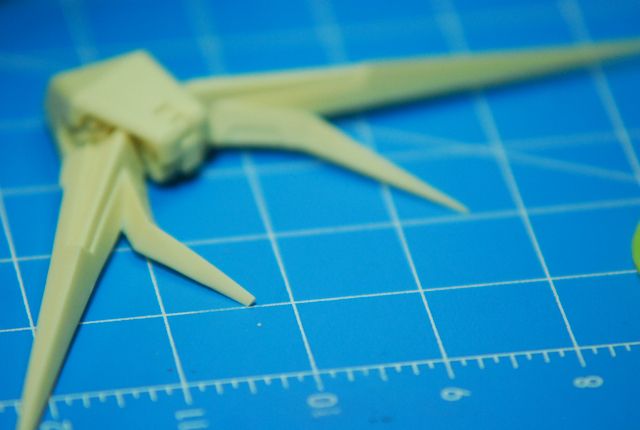
1. Choose your part.
2. Prime your part.
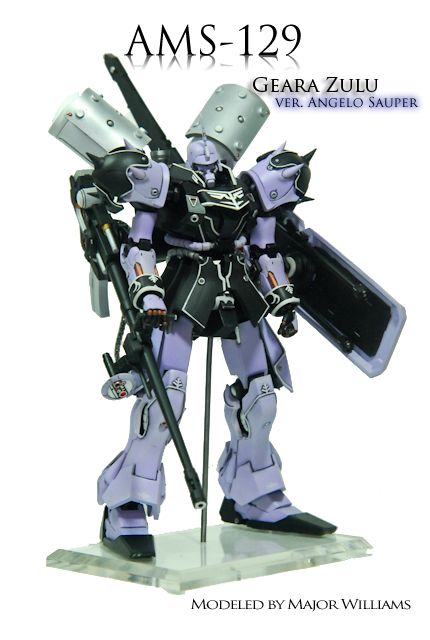
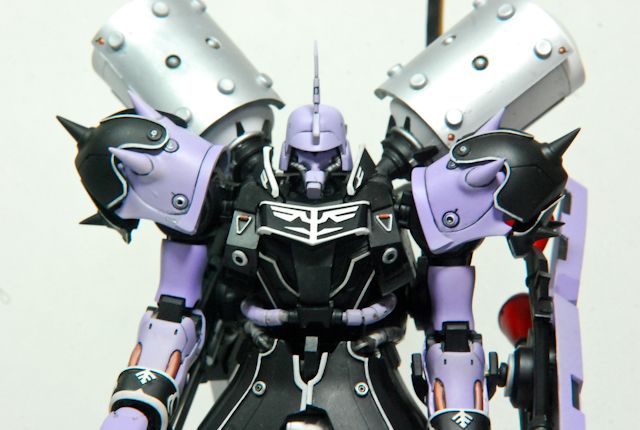
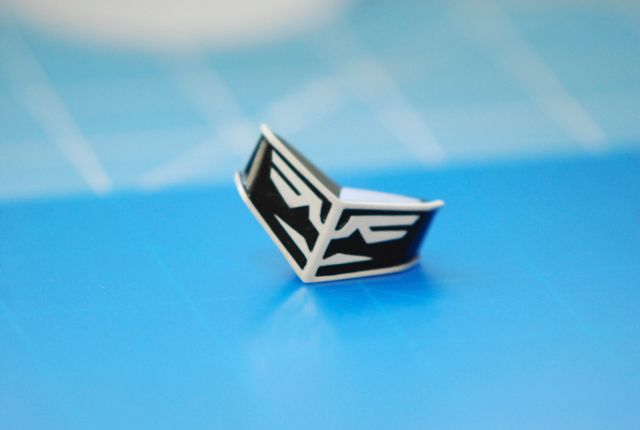
3. Paint your entire part the color of the raised ACCENTS in either lacquer or acrylic ONLY. On this wristband, I want the emblem to be white; on a Sinanju, you would paint this gold. Here I am using Tamiya's synthetic lacquer spray cans. I went lazy and just did spray cans because I had them lying around. You usually want your paint to be glossy here.
4. Once it dries, spray a glossy top coat on. I used Future floor shine (which is acrylic-based), but you can use anything non-enamel.

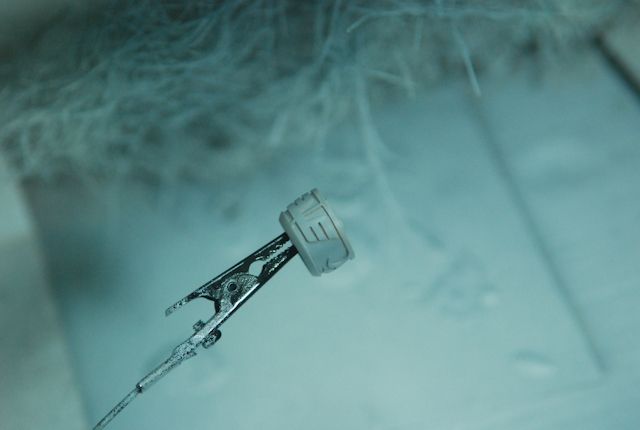
5. Spray on your enamel paint for the fill color (here it is black, it would be the same on the Sinanju). Gloss helps a lot, but it is not totally necessary. It really does help though.
6. Let the part dry for 12-24 hours.
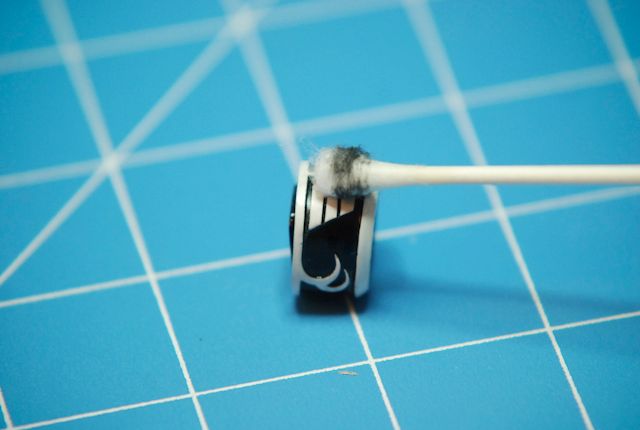
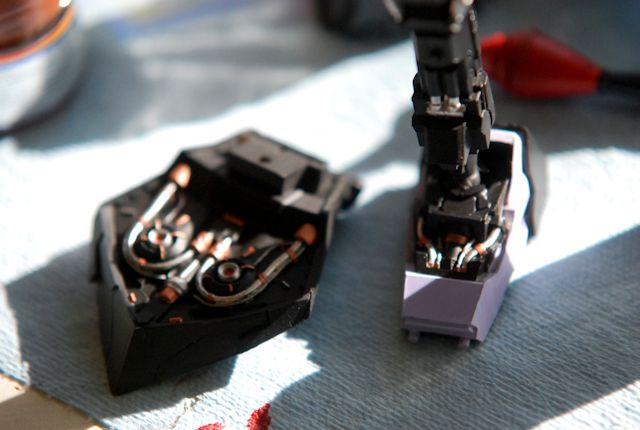
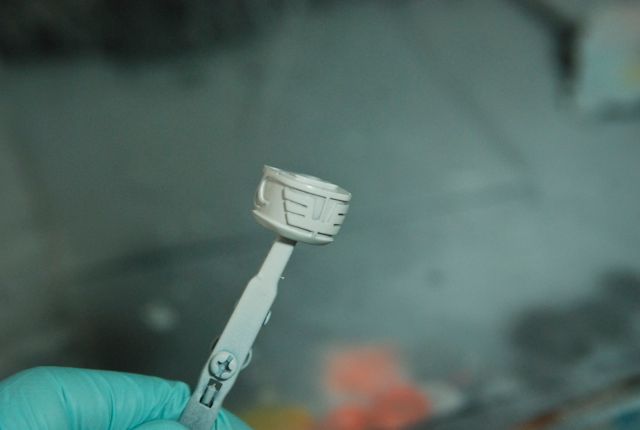
7. Using your q-tip, get it damp/wet with lighter fluid and GENTLY rub it across the raised emblem surfaces. Watch as the enamel just comes right off! Be very careful not to press too hard, and don't be afraid to change out your q-tips. I use about 5-12 swabs per piece depending on the work needing to be done.
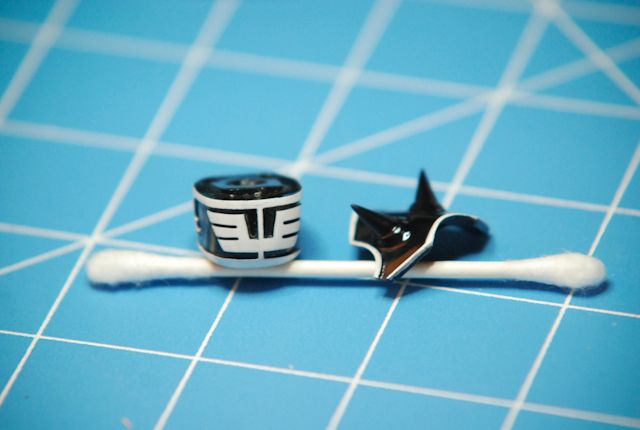
8. Clean up the remaining paint on the surfaces once your are done with CLEAN, lightly damp q-tips, and voila, you are done! Add your flat or gloss coat to protect it.