September 17, 2012

Finished: 1/48 G-System RX-78-2 Eiyuu Tan version 1.0


Well I started it 9 months ago, but it's now finished. I had started the project with the intent to enroll in a competition, but I put it aside as I got distracted by life (and video games). Now I am just happy I completed it, and despite some minor errors I would say I am overall very pleased.

Cast: G-system-best.com
Paint: White, red - Plamo Colour; Blue: custom mix of Tamiya; all others hand painted with Mr Super Metallics
Challenges: Weight. The legs can support the weight, but the actual joint where the leg meets the hips is weak and needed some modification. Also, where the Bazooka rests directly gets in way of the huge shield.

Painted primarily with Plamo Colour paints, details with Mr Super metallic.


For size comparison with 1/100 AGX-041


I feel rusty now lol. C&c always welcomed!

August 24, 2012

Kit Review: 1/72 FA-78-1 Full Armor Gundam

1/72 FA-78-1 Full Armor Gundam Sentinel

Manufacturer: G-System-Best
Cast Quality: 10/10.
The same bar of quality I have come to expect from G-System-Best.  I loved how complex this kit looked, and there are many, MANY pieces in this kit.  As you can see, the details are casted nicely, and it came with all metal accessories and even a rather large stand!  Looking forward to starting this kit.


As you can see, it looks great!

August 9, 2012

100,000 hits! Thank you and a request!

I started this blog primarily because I wanted to create an easy to navigate blog that had tutorials that community lacked clarity on.  I hoped that I may possibly become a resource for the community, and I do it simply to help maybe even one person who was in my shoes when I first started.

So this post is a thank you.  And a request.

If you would like to see any tutorials, please write them in the comments.  Any suggestions are always welcomed as well!


July 9, 2012

WIP: 1/48 G-System 1/48 RX-78-2 Eiyuu-Tan WIP Part 2

Alright, it has been far too long.

Decided I'm NOT going to be doing this for any competition, so I'm just going to finish the project, no holds barred, no careful precision needed. I will use majority precision, but no biggie if I mess up I guess is what I'm saying. I am almost done completely with airbrushing except for the glossy and flat coats. I have to do some more detail painting and decals, then final assembly. Legs are 99% complete though.

Onto the pics:


I'm a bit rusty, it's been 4 months!

May 10, 2012

Gundam Building 101: Panel Line Washes


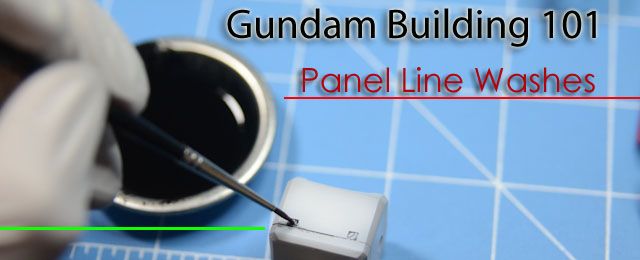
Ah yes, the mysterious panel line wash.

I've seen some tutorials on it, everyone says it's easy, and yet, I see it so little.  If more people knew how easy it was, maybe we would see it more often.  I see many people using the Gundam Markers, sharpies, and pencils where using a panel wash is actually easier and requires less investment.I am creating this tutorial to shed some light on this.

Panel lining is simply adding dark lines to crevasses and lines that occur along pieces in your model.  This adds depth that sometimes is missing using small scale models that would otherwise occur on a larger version.  You can also think of this as 'outlining' or 'inking' your model to give it a much more defined look.

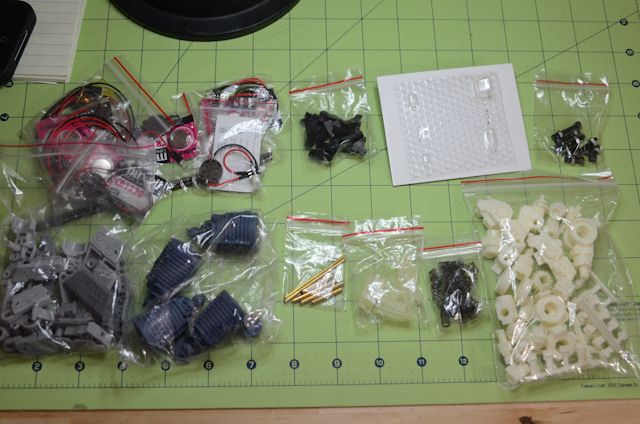
Materials Needed for this Process:
 - Model pieces that may or may have not been painted
 - Glossy Top Coat (Future or any other non-enamel gloss coat)
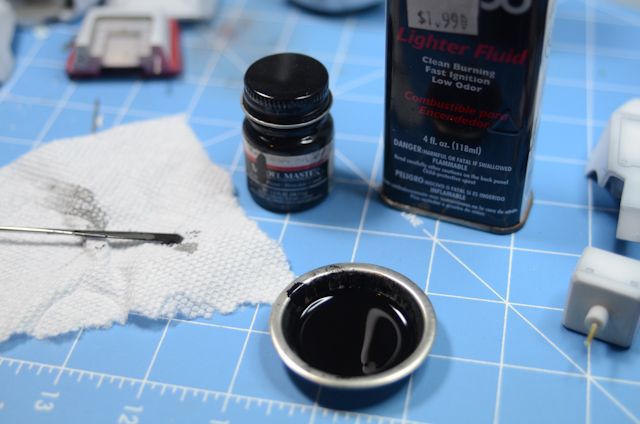
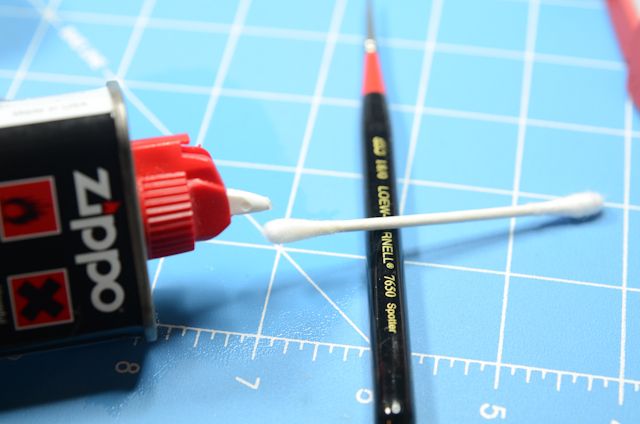
 - A turpenoid based lighter fluid (I recommend Zippo lighter fluid - costs $1.99 for ~3-4oz., there is also a yellow bottle called Ronsonol) - I bought it at a cigarette store, or the cigarette section at a grocery store.
 - Q-tips
 - Black (or gray) enamel paint

Standard Modeling Tools:
 - Mixing tin
 - Small-tipped paint brush


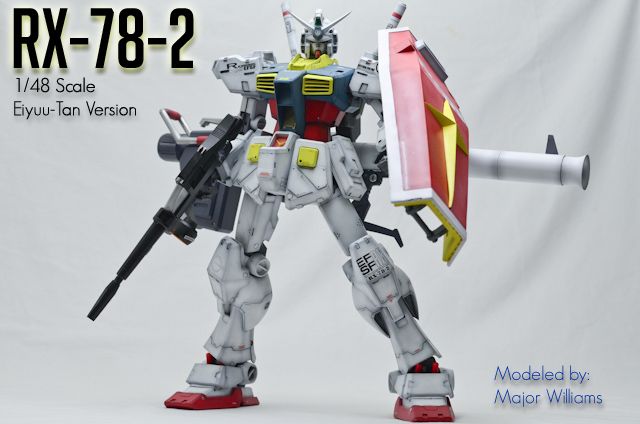
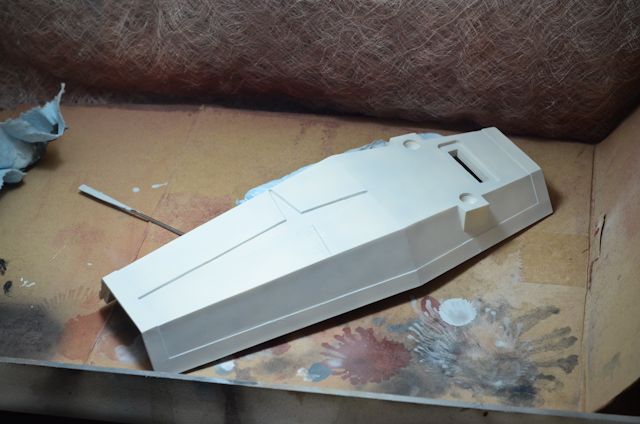
1.  Coat your part with Future or other gloss coat.  I use Plamo Colour Gloss coat (lacquer based).  If you are painting, make sure you are done painting your part for this.  I recommend having the decals on already too.  Let the parts dry. Note: Make sure your gloss coat is either Acrylic or Lacquer, and NOT enamel. This will not work if you use an enamel coat.


2.  Mix enamel black paint and lighter fluid in a 60:40 ratio.  Make sure it is well mixed.
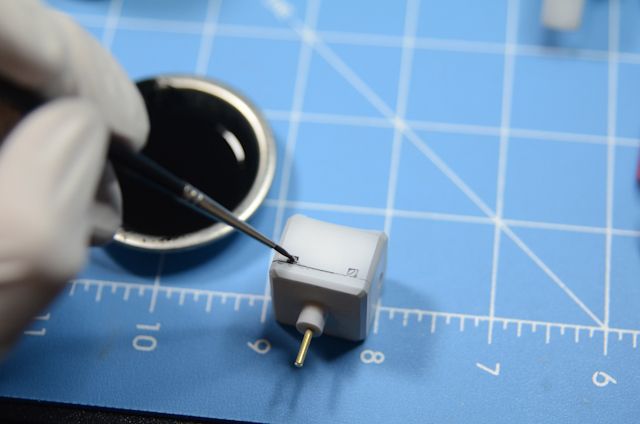
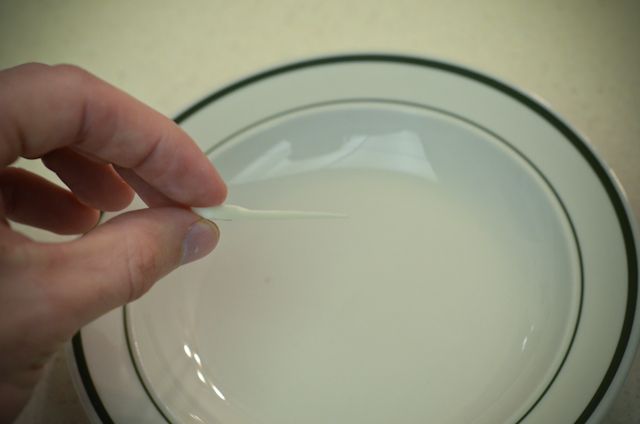

3.  With a fine tipped brush, dab the paint into the crevasses and (if you want) where edges and corners meet. Make sure the paint brush has lots of paint liquid in it, and you only want to DAB it in the crevass so that it will flow out of the tip and into the crevass, like water into a water slide.
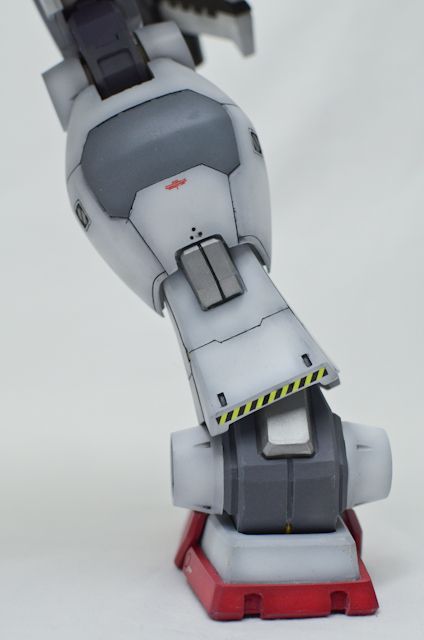
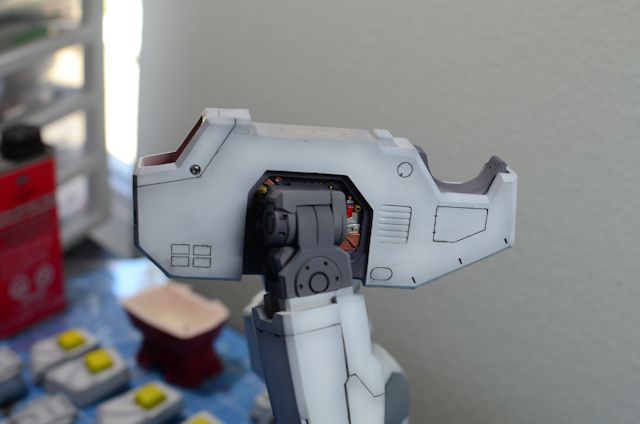
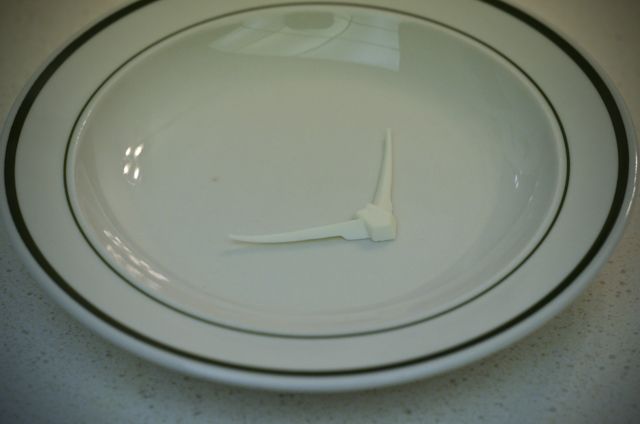
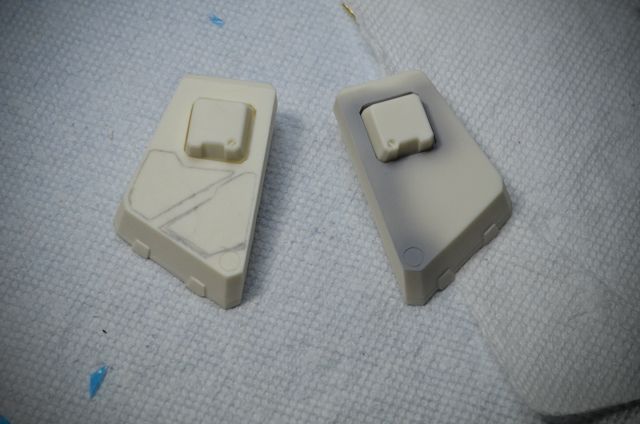

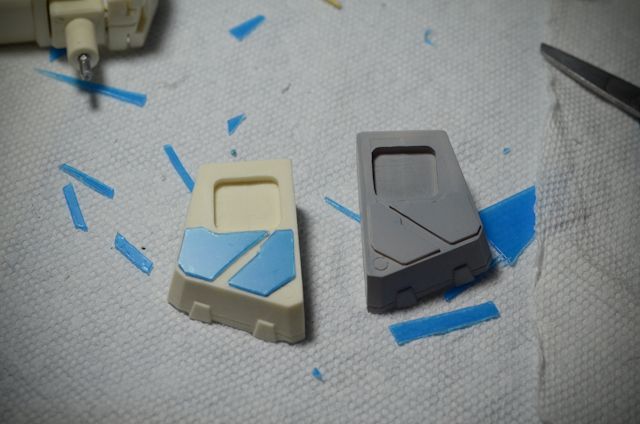
4. Let the part dry for about 5-10 minutes. It should look something like the above.
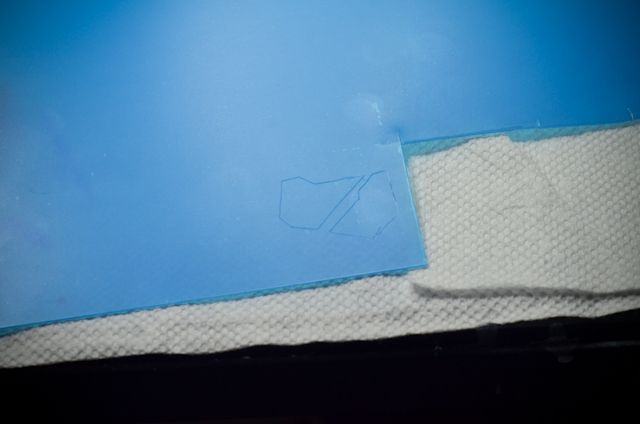


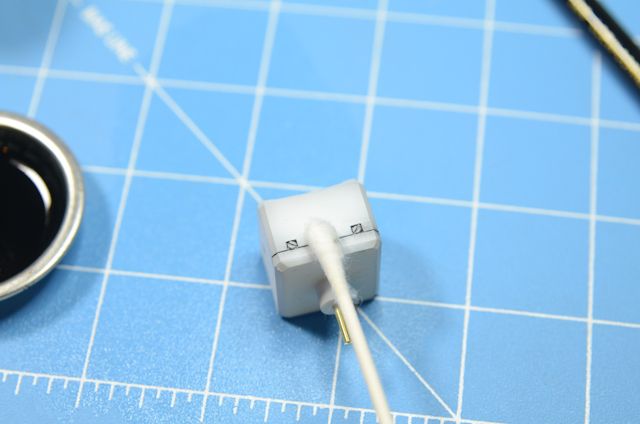
4.  Let the paint dry for about 10 minutes (move onto other pieces), then get your q-tip damp with some Zippo lighter fluid and clean up the paint drops that are on the surface. Note: Here is where technique and practice will come in handy. Make sure the tip isn't covered with liquid, only slightly damp, and evenly and delicately glide the q-tip across the surface.


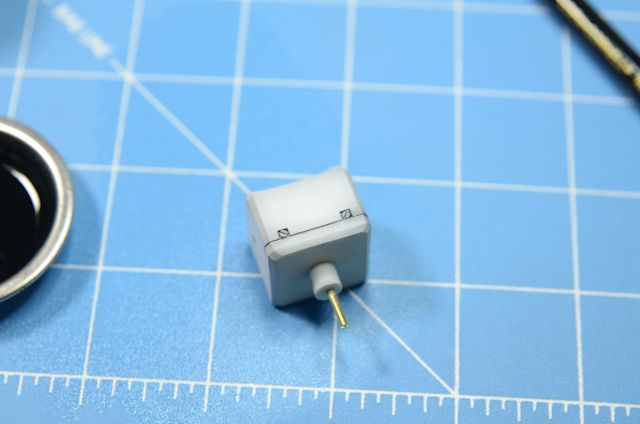
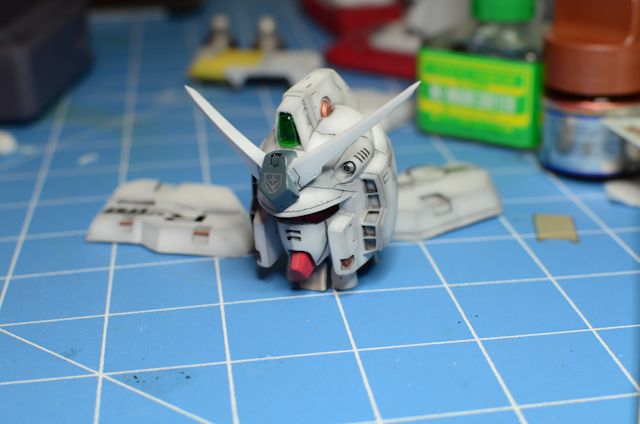
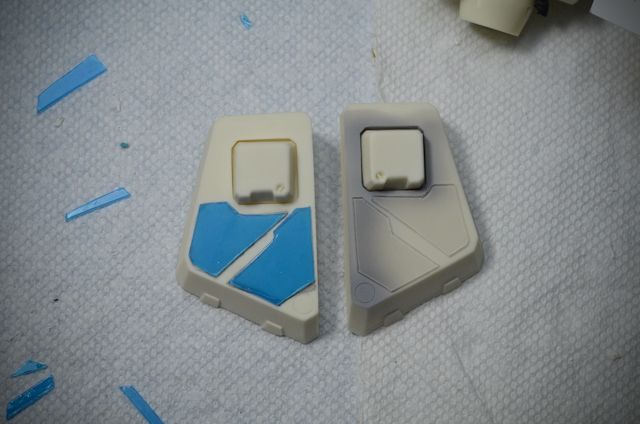
5. Enjoy your hard work. Easy, wasn't it?

6. Add a flat top coat to make it look super slick!

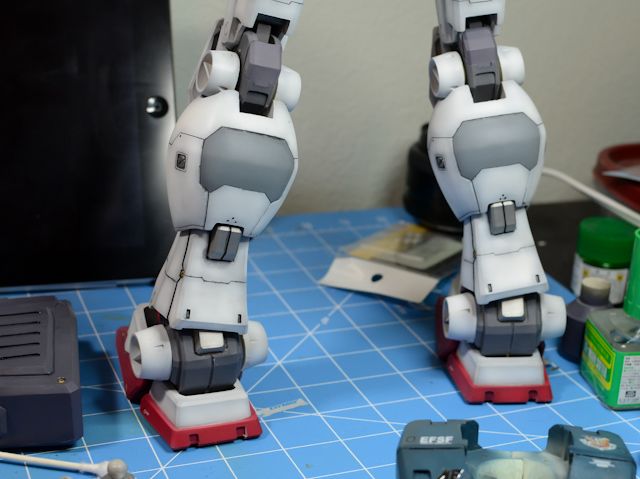
Here are some other before and after pics:


Also note: the lighter fluid dries quickly, even in the tray you mix with paint. Make sure the solution is relatively thin (not thick like paint) before you put it on your part by adding more lighter fluid if necessary.

February 17, 2012

WIP: 1/48 G-system RX-78-2 Eiyuu Tan Ver. Part 1

I began work on this in January - it is my first large-scale resin project.  I've been working on it, and it really isn't too different from a regular 1/100 project - the pieces just require more time to paint.

Casting is phenomenal and I'm going to be entering this into the MAC forum contest (though I am more doing this solely for fun).  Painting will be once again majority Plamo Colour. 


Here's a pic of the pinned project next to a 1/100 model for scale.


Priming the gigantic shield


Added some details to the skirts (see GB 101: Plamo Plate Modification)


80% complete with the gun - have to flat coat it after I add some more details


Painted the lower half of the torso (only showing 1 leg here).  Almost done with all of the white and red, next is gray, then blue.

More to come!


Gundam Building 101: Re-Bending Bent Resin Pieces

I love resin kits.  I love their weight, and just the sheer fact that the majority of the major resin kit manufacturers seem to proportion their kits much cooler looking than the stock Bandai HGUC or MG (or even PG) kits.  And their selection of jaw dropping kits is amazing as well.

However, no caster (or re-caster) is perfect, and when you receive your pieces, you can find many different errors.  One of them is bent pieces.  Typically these happen on smaller and thinner pieces - especially prone is the v-fin.  Historically, I've just ignored it, or tried to re-build the v-fin altogether.  However, fixing the bend is an easy 5+ minute job with steady hands and patience.


1. I received a particularly bent v-fin.  This picture doesn't quite show exactly how bent it was, but it was pretty significant.


2. Get a cup or bowl large enough to hold a part of the piece, and fill it about 60-70% full.  Microwave it until it boils.  I microwaved a coffee-cup sized amount for 2 minutes.  Being careful not to burn yourself, dip the part into the scalding hot water - but don't fully immerse it unless you have to.  Only dip the part until just past the bend.


3.  Keep the part in there for about 20-30 seconds. Gently push and guide the piece into the position you want it to go once you pull it out.  Once that is done, make sure you rest the piece on a flat surface, or one that adheres to the intended shape.
Note: Depending on how thick it is, you may need to dip it longer.  You want the piece to warm up to be almost like a very hard putty.  The way to test this is to SLOWLY and GENTLY bend the piece to how you want it to bend.  If it doesn't budge with gentle pressure, stick it in the water for longer.


4. Voila!  Make sure you leave it alone for about 30 minutes before you mess with it again.  It should be ready in a shorter amount of time, but I err on the side of caution - especially when it comes to v-fins!

I'm sure there are going to be more complicated projects than the one I have demonstrated here for various projects you  may have, feel free to post here for questions.  The process really isn't that scary, and the resin doesn't immediately become doughy or liquidy - it takes some time. 

January 10, 2012

Gundam Building 101: Plamo Plate Modification

As most of the Gundam Building 101 series goes, I will make this a simple, approachable tutorial. There are certainly more advanced techniques to do, and different ways to approach this, but this is the method I've found to be the easiest. Adding plastic styrene sheets (plamo plates) can put depth and highlights in otherwise boring or flat areas of your model. Choosing the right shapes is entirely dependent upon your own creativity (or that google image you just saw haha).

Materials needed for this tutorial:

- Model
- Plastic Styrene sheets (I buy the clear kind, I find it is easier)
- Super glue/Epoxy Glue
- Pencil
- Scissors


1. Choose the piece you want to add depth to. Pencil in ideas of what you want to add here. Keep in mind a few things: the theme of the particular design of the model, the color scheme, and how complex you want to cut shapes. The simpler the pattern, the easier the cut.


2. Using your (hopefully) clear sheet of plastic, place it over the piece and trace an outline of the shapes.


3. Once finished, double check your outline to make sure you can distinguish the lines.


4. Cut out the shapes. When you do this, make sure you don't shake, and try to cut straight lines. I use heavy duty fabric-quality shears. They cut straight with relatvely little power required.


5. I check here to make sure I like the shape, and how it looks. Re cut lines if they aren't straight, or start completely over if you have to. However it looks is EXACTLY how it will look when primed.  Note:  The blue on the left is just a static protective cover.  I removed it on the piece on the right.


6. Super glue/epoxy glue the shape onto your model piece. Make sure once you set it that it stays in place the entire time the glue is drying. MAKE SURE YOU USE ONLY A DROP OF GLUE, don't glob the glue on.


7. Sandpaper the newly added pieces before you prime, then prime that bad boy and enjoy your hard work!


Voila!