Ah yes, the mysterious panel line wash.
I've seen some tutorials on it, everyone says it's easy, and yet, I see it so little. If more people knew how easy it was, maybe we would see it more often. I see many people using the Gundam Markers, sharpies, and pencils where using a panel wash is actually easier and requires less investment.I am creating this tutorial to shed some light on this.
Panel lining is simply adding dark lines to crevasses and lines that occur along pieces in your model. This adds depth that sometimes is missing using small scale models that would otherwise occur on a larger version. You can also think of this as 'outlining' or 'inking' your model to give it a much more defined look.
Materials Needed for this Process:
- Model pieces that may or may have not been painted- Glossy Top Coat (Future or any other non-enamel gloss coat)
- A turpenoid based lighter fluid (I recommend Zippo lighter fluid - costs $1.99 for ~3-4oz., there is also a yellow bottle called Ronsonol) - I bought it at a cigarette store, or the cigarette section at a grocery store.
- Q-tips
- Black (or gray) enamel paint
Standard Modeling Tools:
- Mixing tin- Small-tipped paint brush
1. Coat your part with Future or other gloss coat. I use Plamo Colour Gloss coat (lacquer based). If you are painting, make sure you are done painting your part for this. I recommend having the decals on already too. Let the parts dry. Note: Make sure your gloss coat is either Acrylic or Lacquer, and NOT enamel. This will not work if you use an enamel coat.
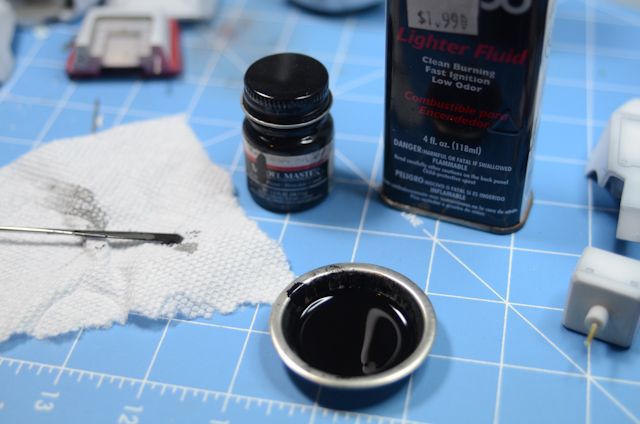
2. Mix enamel black paint and lighter fluid in a 60:40 ratio. Make sure it is well mixed.
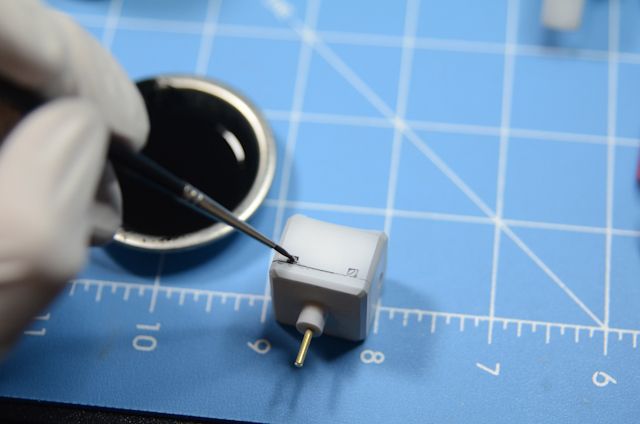
3. With a fine tipped brush, dab the paint into the crevasses and (if you want) where edges and corners meet. Make sure the paint brush has lots of paint liquid in it, and you only want to DAB it in the crevass so that it will flow out of the tip and into the crevass, like water into a water slide.
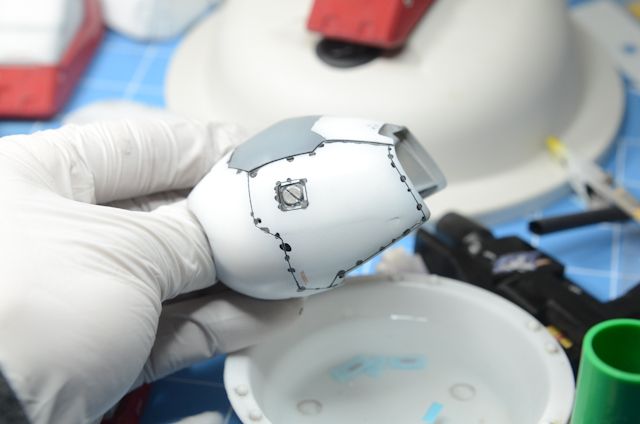
4. Let the part dry for about 5-10 minutes. It should look something like the above.
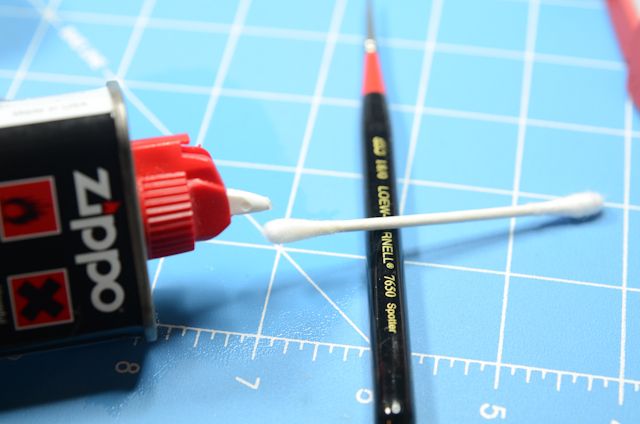
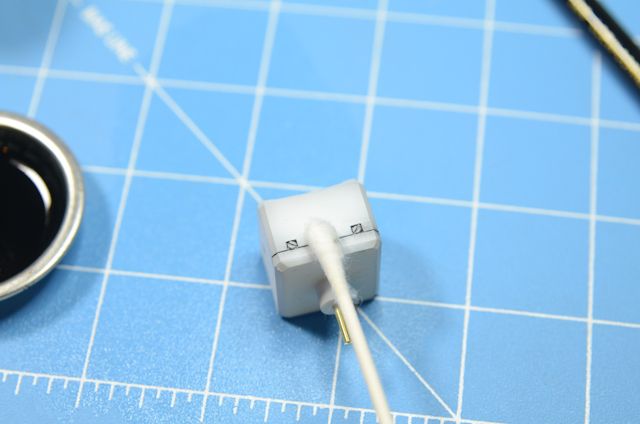
4. Let the paint dry for about 10 minutes (move onto other pieces), then get your q-tip damp with some Zippo lighter fluid and clean up the paint drops that are on the surface. Note: Here is where technique and practice will come in handy. Make sure the tip isn't covered with liquid, only slightly damp, and evenly and delicately glide the q-tip across the surface.
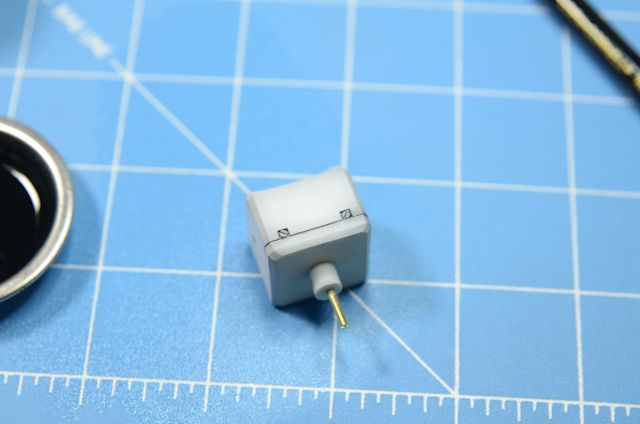
5. Enjoy your hard work. Easy, wasn't it?
6. Add a flat top coat to make it look super slick!
Here are some other before and after pics:


Also note: the lighter fluid dries quickly, even in the tray you mix with paint. Make sure the solution is relatively thin (not thick like paint) before you put it on your part by adding more lighter fluid if necessary.
