
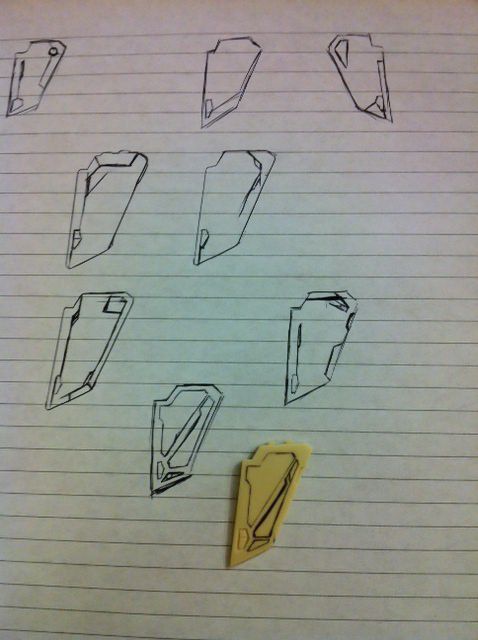
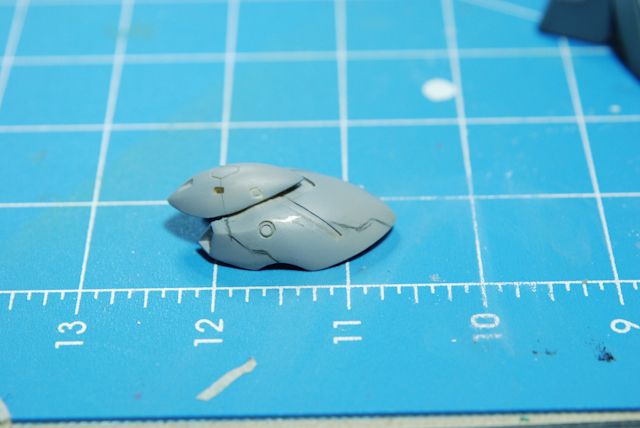
I painted a little today to see how the colors I was planning on using were going to look. I say awesome.
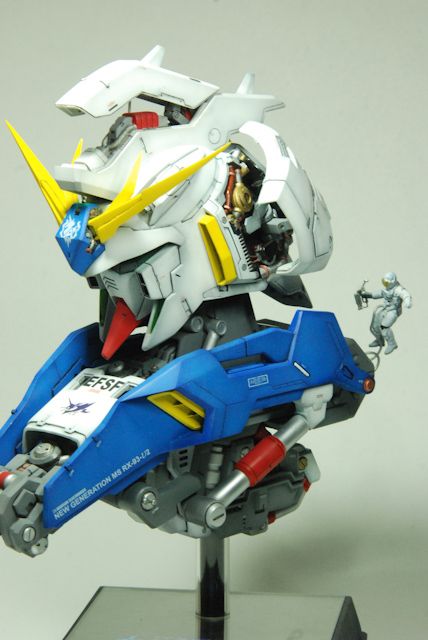
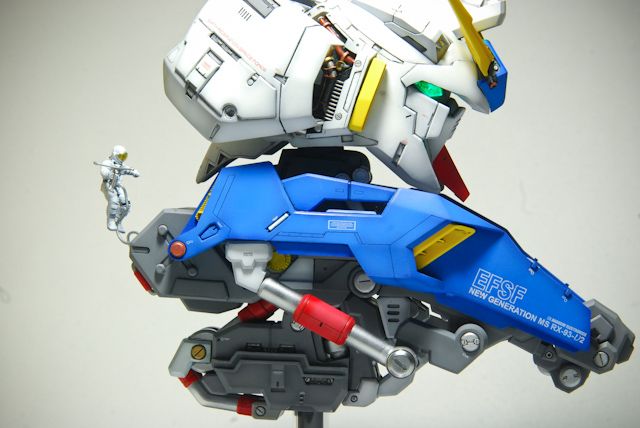
 I've preshaded using Tamiya's medium blue and added white to get the "shaded" look.
Next I'm going to begin the panel line creation. Then I'll probably give plastic plating a try.
I've preshaded using Tamiya's medium blue and added white to get the "shaded" look.
Next I'm going to begin the panel line creation. Then I'll probably give plastic plating a try.
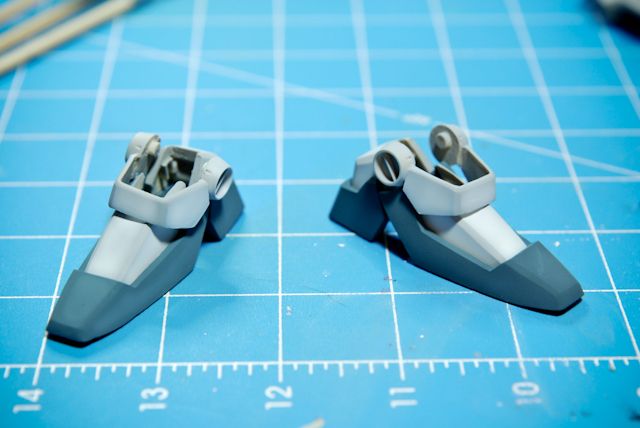
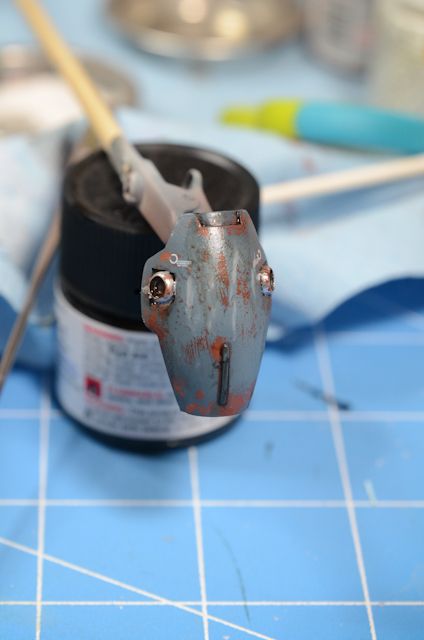
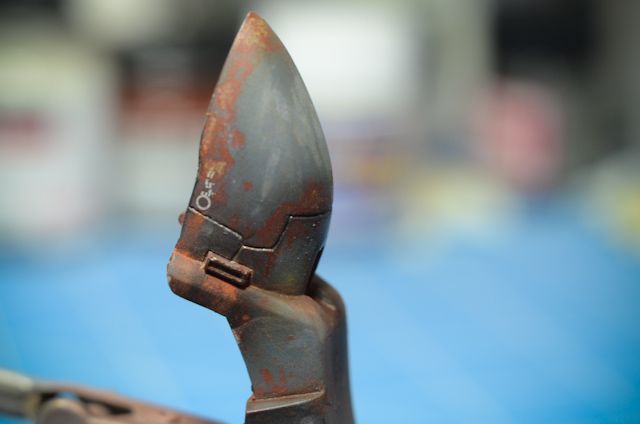
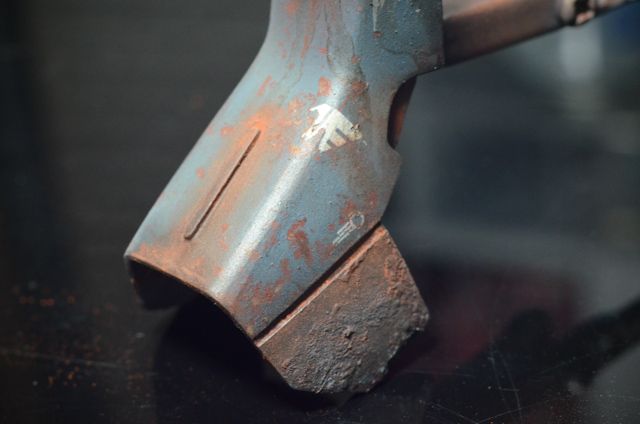
 Just started some prep work for other, more rusted surfaces. First, airbrushed Rust on, then clear coat, then hairspray/salt. It's tough to put on in the way I would like it to.

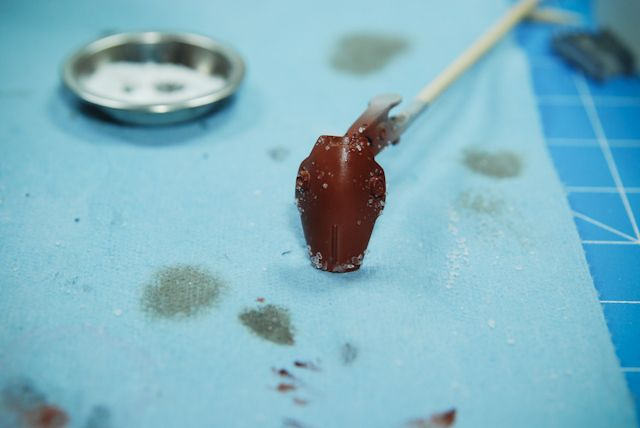
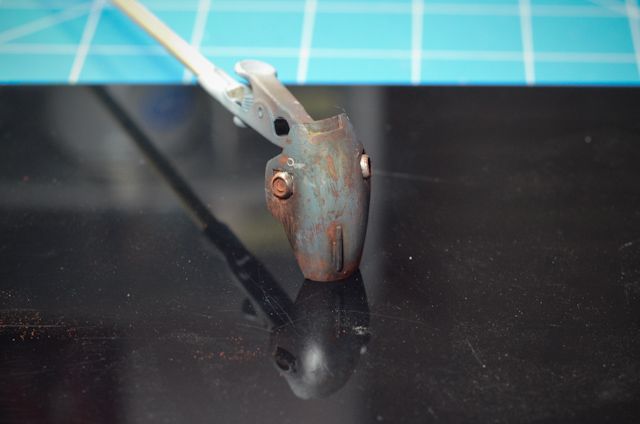
 Also, I acquired this handy tool:
 Tested it out, pretty decent IMO for ~$6. Better than anything I could get in a local shop.
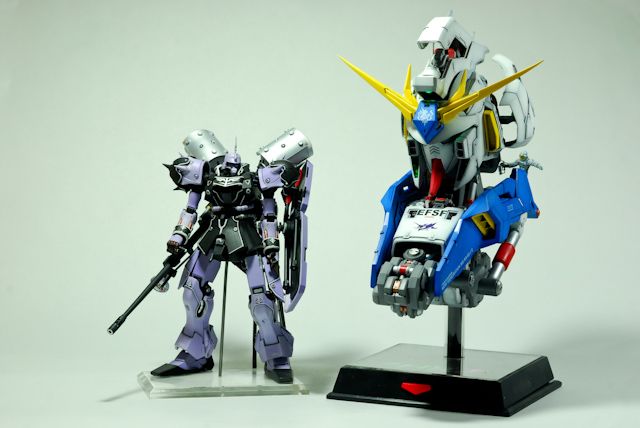
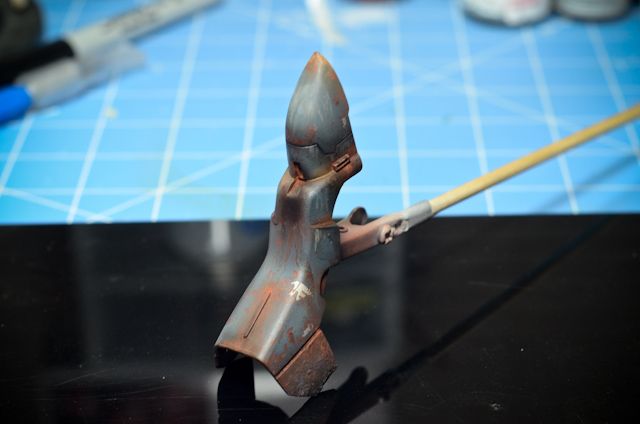
 So I've figured about 25 steps in all starting from priming to finished for a full weathering. I'm at about step 17 or so in the process on my 2 beta pieces, so bare with me.
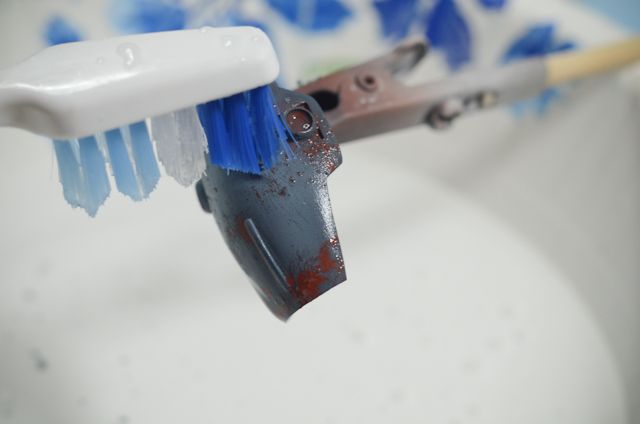 Dunking the pieces in H2O makes the salt rub off easier, and allows the paint to be 'scratched' a bit more realistically too.
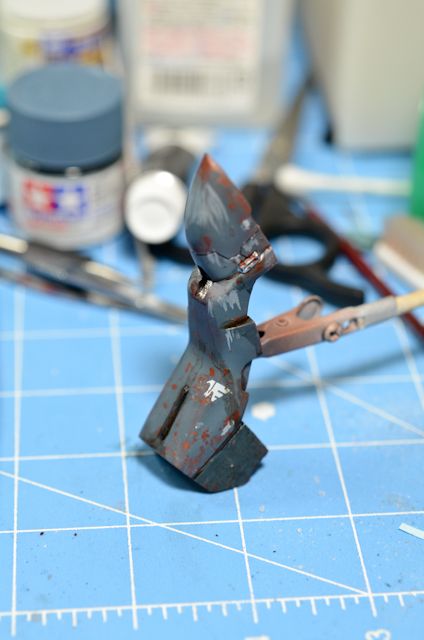
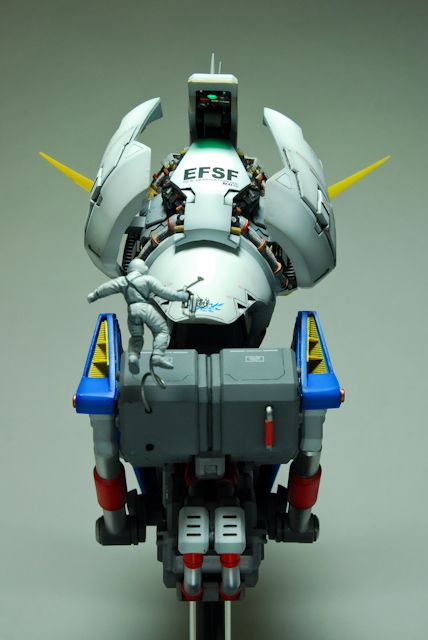
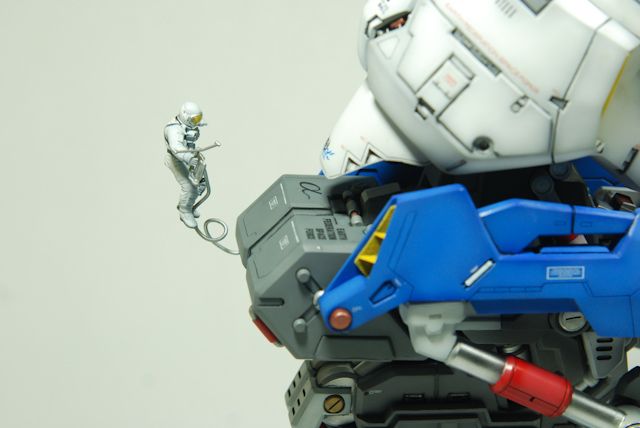
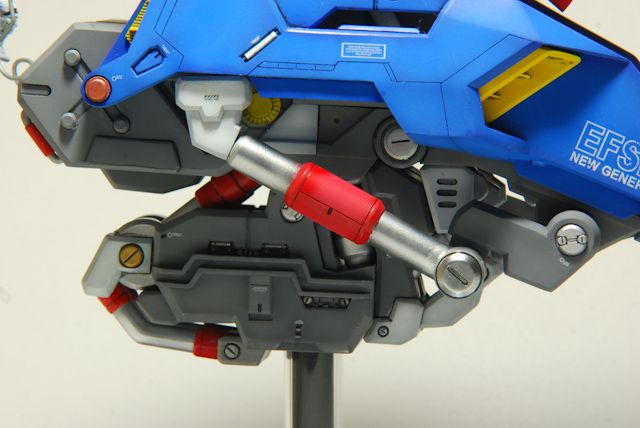
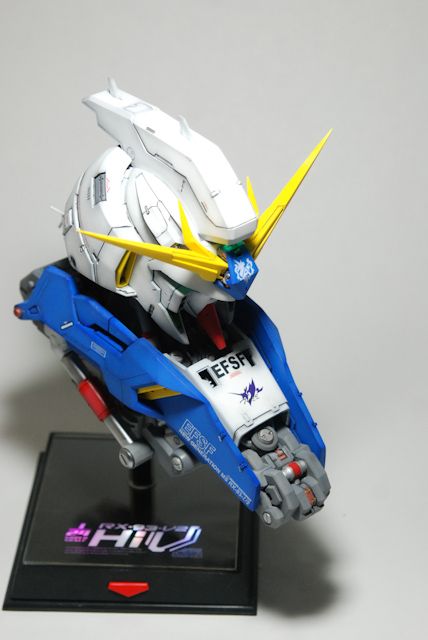
Pieces have been salted, panel lined, decal-ed, metallics painted, and a black wash for oil drips/water drips has been added. Next is the brown wash and real fun work of weathering. I think I am going to go for a really weathered scheme with this guy. In order to effectively use weathering techniques on other kits in the future, it would really help me out to truly understand how each technique is applied in the fullest sense. How it will make this kit turn out, I have no clue. It could look great, or it could look dumb. Hopefully not the latter :D I would really like to know what you think of the weathering - if it is in indeed too much, tasteful, where I could have improved, etc. I took some macro shots to expose my work here and welcome some friendly criticisms. Your words go a long way! Thanks ahead of time. Really.

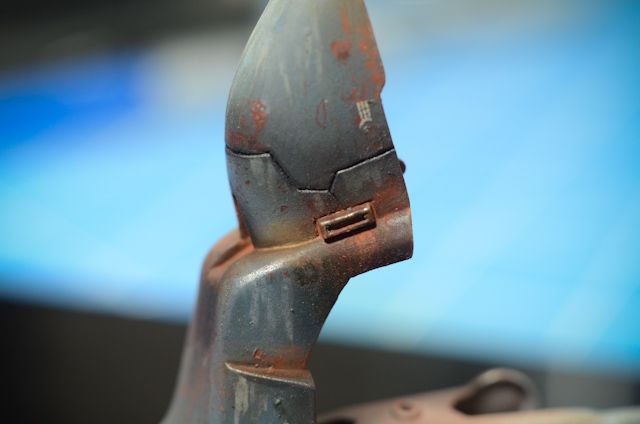
I will be making a full tutorial now that I have finished these pieces. So far, the technique from Primer to finish takes 25 steps! I think I may have to add a few more too haha.