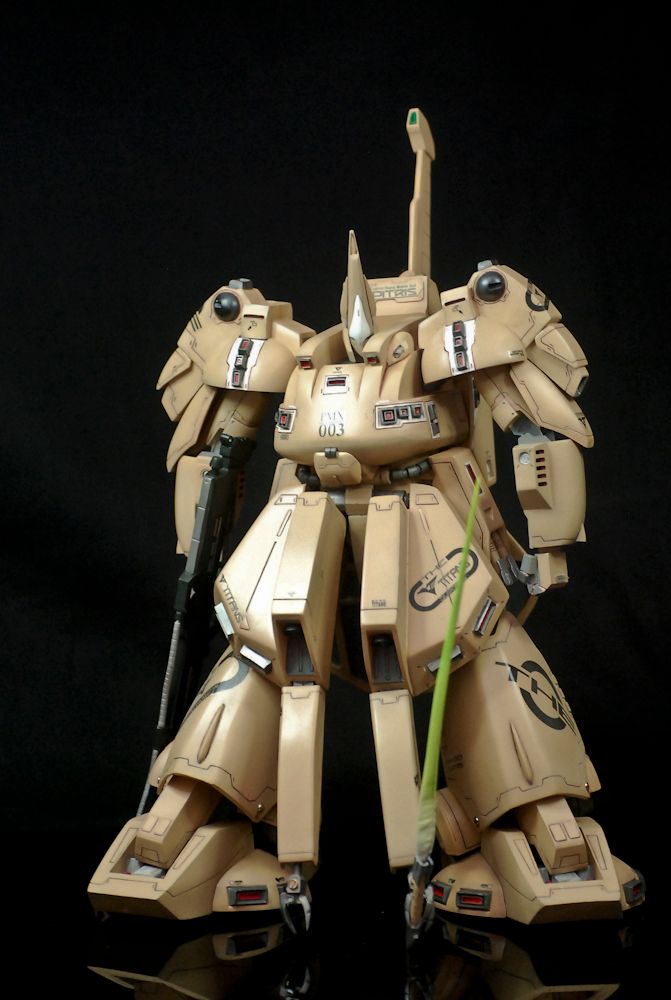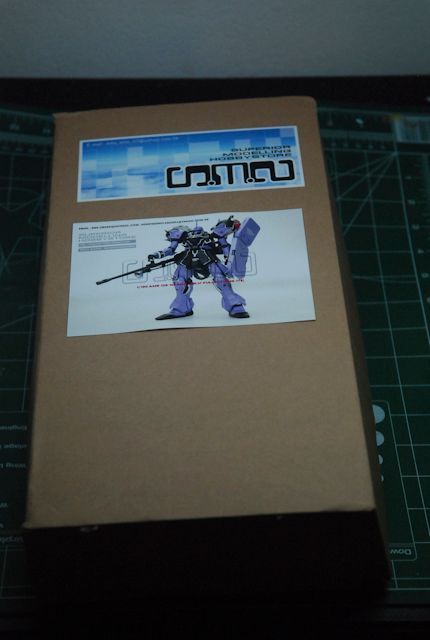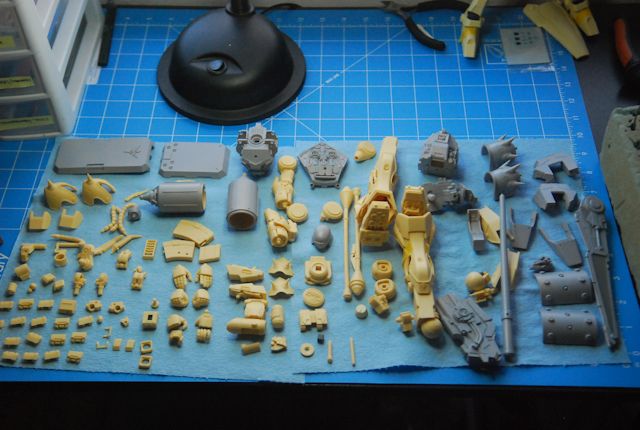

For one reason or another, you've decided: I want to make a resin kit. Either it's a model that you want that Bandai hasn't made yet, or the proportions of the resin model appeal to you. Or maybe you just want to try something different. Resin for me was very intimidating and it seemed like only advanced modelers were making resin kits.
While there is more skill needed, the same basic principles apply: patience, planning, and care. If you apply these to your models whether its plastic or resin, your model will come out better than most and you will learn that really it's not that much harder than the plastic kits.
So you've got your resin kit. Is it a conversion kit? Or is it a standalone full kit? The builds are a bit different, but you'll understand how to make a full kit here. I may add a small conversion kit how-to once I start on one.
Materials needed for doing a resin kit (in general, without mods):
Consumables for this kit
- Your model kit
- Decals
- Paint shades to your liking
- PRIMER! Super important with resin.
- Solid brass rods. Sizes: 1/16", 3/64", and if you have large pieces, 3/32"
- Epoxy Glue (I usually use 5 minute, but it isn't as strong)
- Various grits of Wet Sandpaper (400-1500 grit)
- Masking tape for painting (lots needed)
- Resin cleaning solution (I use purple degreaser)
- Hobby Base Yellow Submarine joints (optional)
- Neodymium magnets (optional)
- Putty for filling holes (semi-optional)
Standard tools
- Nice hobby nippers
- Hobby Knife
- Something to hold painted parts (alligator clips or blu-tack and Kabob sticks, styrofoam)
- Pin Vise
- Paint Brushes
- Paper towels
Optional tools that I find valuable:
- Drill, drill bits corresponding to brass rod size
- Lots of Q-tips
- Multiple tweezers
- Airbrush/compressor (easier than spray cans)
- Sharp, small hobby scissors for cutting decals
- Nice tamiya paint stirrers
- Pipets (indispensable IMO)
- Paint booth
- Breathing mask
- Daylight spectrum light (to see the actual colors)
This step by step is merely meant as a rough guide. This is the method I generally employ, and I am still learning myself. I took great care writing and planning this guide out, but I'm not perfect. Any screw-ups made by you are not my fault :)
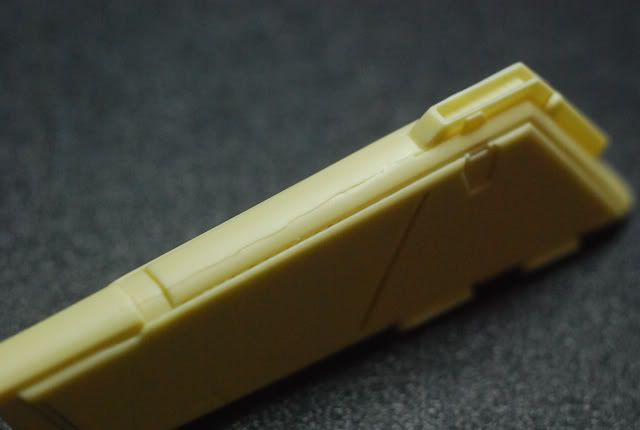
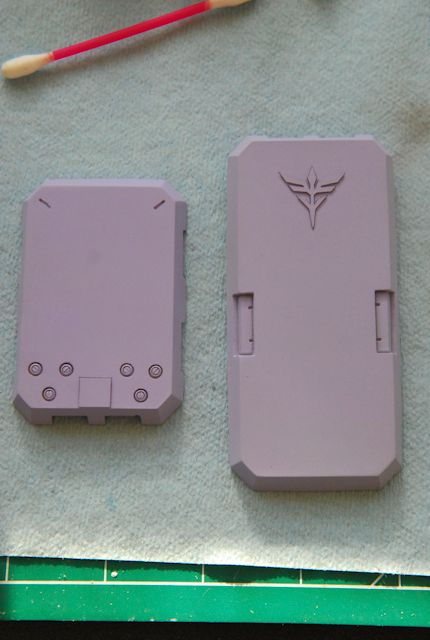
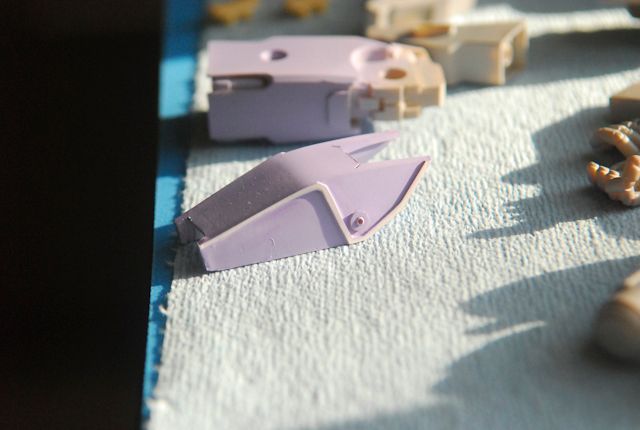
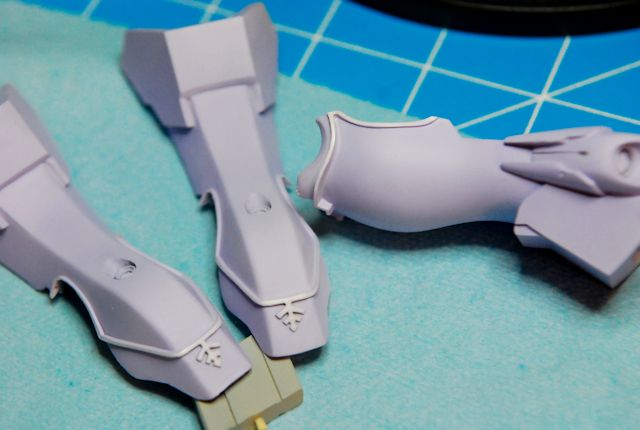
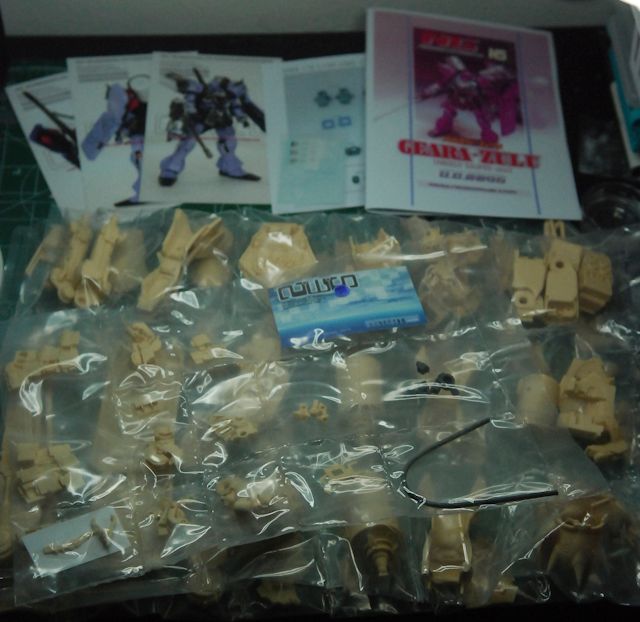
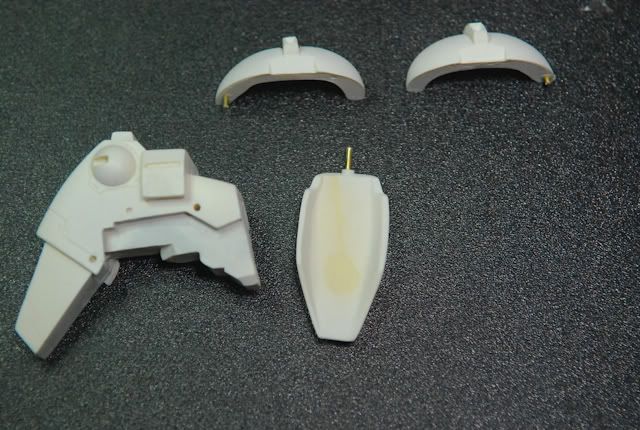
1. Inspection. I always inspect the resin quality when I receive a new kit. Are there bubbles? Bad flash spots? Warps? Bad seams from bad casting? I take mental notes and sometimes even mark them with a pencil on the resin if the mistake is something I won't notice without close inspection.

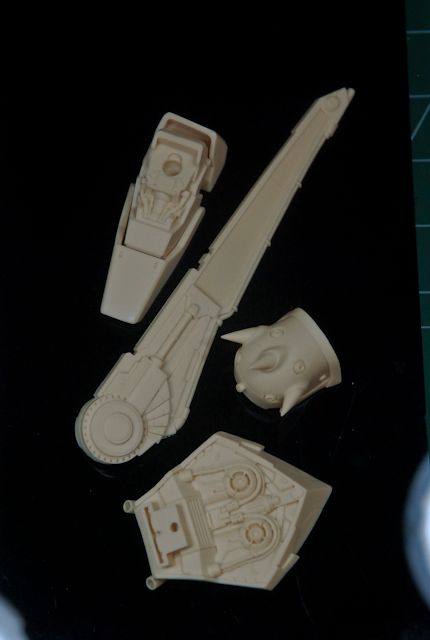
2. Flash (nub) removal. I begin taking the flash off of the pieces. This is a very relaxing process IMO, and you can generally do this while you watch TV. To see the full process and a tutorial, see it here: (tutorial has yet to be made)
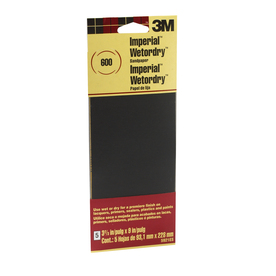
3. Wet sanding. Because resin dust is dangerous (it can clog your lungs like asbestos over time), you'll want to use wet sandpaper during this part. It's real easy to use - just cut out a small sheet of sandpaper and dip it in water and sand away. As with all sanding, start with lower grits then work your way to higher ones until you get a clean finish. Sand over imperfections and over the now-removed flash nubs. Make sure to wipe clean your parts after sanding. I also highly recommend wearing a breathing mask as well.

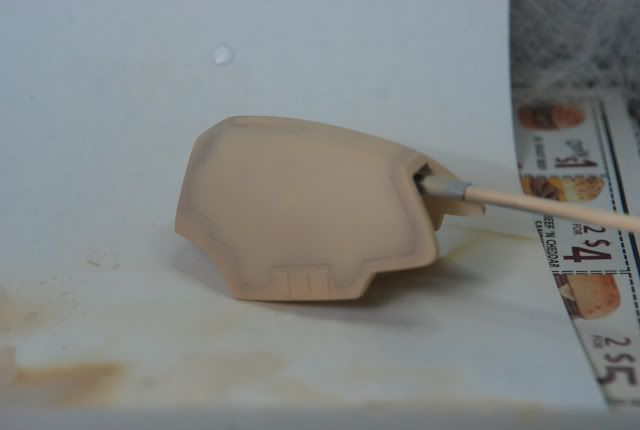
4. Fixing resin. Here is where you will use putty and other techniques you have picked up to remove casting errors. I won't go too much into detail here unfortunately because there are so many possible errors to fix. I may have more tutorials in the future, but for now, I only have 1 up. See my tutorial on how to use putty here: Gundam Building 101: Putty filling for beginners. It really is a great starting place.

5. Cleaning resin. Give your parts a nice dip in purple degreaser to release the molding grease that is on the parts. This helps paint and primer stick better to the piece as the molding agent is slippery and paint won't stick well to the pieces. I use a mixing ratio of 1:12 with water. Sometimes I'll leave it over night if I feel good, but it really only needs ~30 minutes to an hour because the stuff is so powerful. ~$5 at an autoparts store or even Walmart in the auto section.

6. Primer. Paint primer on all of your parts. Some folks use Mr. Surfacer 1000 (I do occasionally, as in the picture above), others use the large Krylon spray cans, and there are a few more good primers out there (i.e. Tamiya, etc).
7. (optional) Check for minor imperfections, fill in putty, sand again, then prime again. Don't be afraid to be obsessive about it.
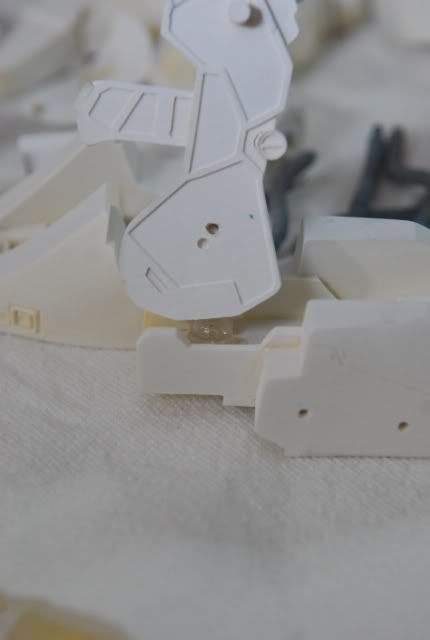
8. Pinning and modification (including joints and magnets). Really this goes hand in hand with the next step, but they are a bit separate. This is where you will have to study the instructions and figure out where you want what to go. Here is a simple guide for how this process flows in general:
- Joints typically go at big joint areas where you want movement, like the ankle, knees, hips, shoulders and/or head. I usually only go for the ankles - so the model's feet can lay flat when posing in case I screw up a gluing incident - and the head so it can move around. See my joint making tutorial here: (tutorial has yet to be made)
- Magnets typically go where you want to remove items easily for moving the model around, or you want to see inside a part. I will have a magnet tutorial up shortly.
- Pinning is for the rest of the parts. This ensures a good, solid fit between parts, and allows large and heavy parts to be solidly in place. This is where you will be using the brass rods and pin vise (Tutorial has yet to be made)
- Add whatever mods you want now. Thrusters, pla cards, etc etc. Note: if you are adding small metal details, do not add them until after the FINAL top coat if you want to maintain the nice shiny finish of the metal. Just make a hole for it to fit in. The Thruster tutorial is here: Gundam Building 101: Metal Thrusters.
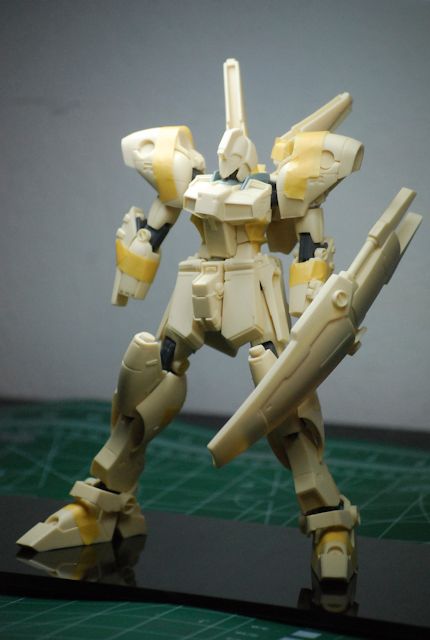
9. Prefitting. Here is a good test to see how your parts come together. After pinning and adding joints/magnets, begin assembling your model using primarily the large pieces. Small pieces that need to be glued in place don't need to be added here. This is to see how well your model fits together and what pose you want to make it in. Always be cautious though, never try to force fit anything! Snapping a part is never fun.
10. (optional) If some of the parts you handled lost some primer because of extensive handling, drilling, etc, go ahead and re-prime.
11. Begin painting your primary color! I have a pre-shading tutorial if you want to do that (always fun, but adds a few more days of painting): Gundam Building 101: Pre-Shading.
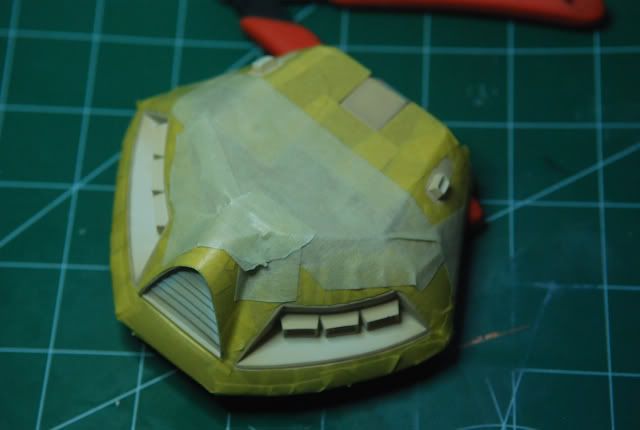
12. Taping. Because resin parts come as large pieces, multiple colors need to be painted on one piece. After your primary color is laid down, tape off the parts that need to be painted in other colors. Make sure you tape well - however good you mask here is EXACTLY how it will look after you remove the tape. It is very unforgiving.

13. Finish painting and taping in layers. Pay attention to detail here, and don't be afraid to sand it all off and paint it again if you screw up.

14. Add a gloss layer to your kit. I use future.
15. Panel line. I recommend using a panel wash (tutorial has yet to be made).
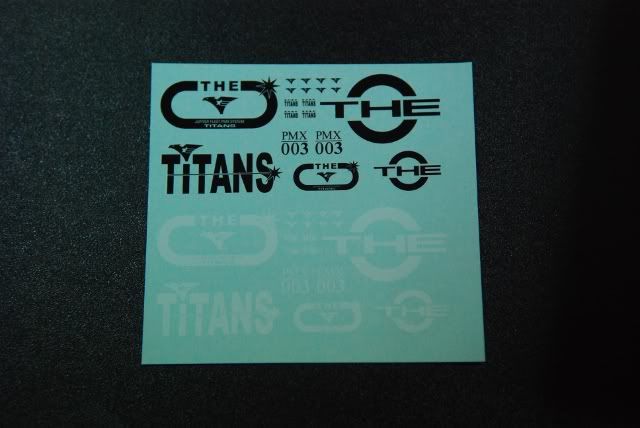
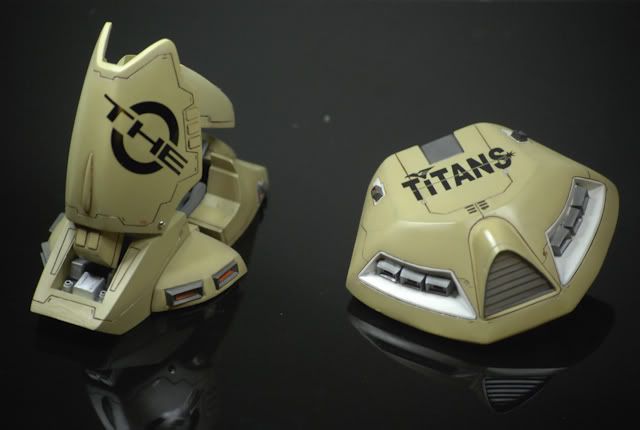
16. Decals. Add your decals carefully. To help with seams you can cut closely around the decals.
17. Final top coat. It can be glossy or flat, whatever you choose. I use Future again for this (Flat I mix with Tamiya Flat base - see the afore-mentioned pic with Future)
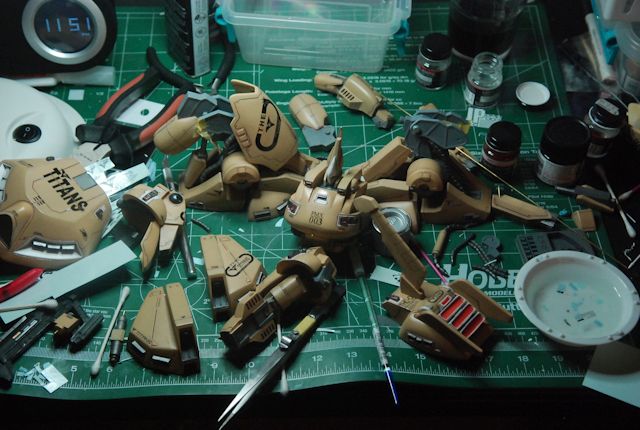
18. Final assembly. This is tricky, and very scary (for me at least) and fun because so many completed pieces are on your workspace at once. Start with the feet first, and make sure you have your pose in mind. I use epoxy glue for the majority of parts, and super glue for the small ones. Epoxy glue is simple to use - just combine the two parts (epoxy and hardener) on a piece of cardboard with a kabob stick and apply it! It settles quickly, so only make a small batch at a time and make sure your ratios are even! I typically only get 3-7 good glues out of each round. Because I use 5 minute epoxy, I let it set for 5-10 minutes, then move onto other parts of the body for the next round of gluing. If some of the first parts need additional parts glued on, then I go back to them after they have set for at least 20-30 minutes and add other parts. DO NOT apply too much glue. The glue will seep out after you firmly press it in place and it will stick out like a sore thumb. Also note: take care to not get it on your fingers because as you touch other model parts for the next 10 minutes, you will be spreading small bits of glue throughout the model. I also recommend wearing gloves during this part as the glue is susceptible to showing finger prints if you press hard on a part.
Check for any errors and Voila!