I love resin kits. I love their weight, and just the sheer fact that the majority of the major resin kit manufacturers seem to proportion their kits much cooler looking than the stock Bandai HGUC or MG (or even PG) kits. And their selection of jaw dropping kits is amazing as well.
However, no caster (or re-caster) is perfect, and when you receive your pieces, you can find many different errors. One of them is bent pieces. Typically these happen on smaller and thinner pieces - especially prone is the v-fin. Historically, I've just ignored it, or tried to re-build the v-fin altogether. However, fixing the bend is an easy 5+ minute job with steady hands and patience.
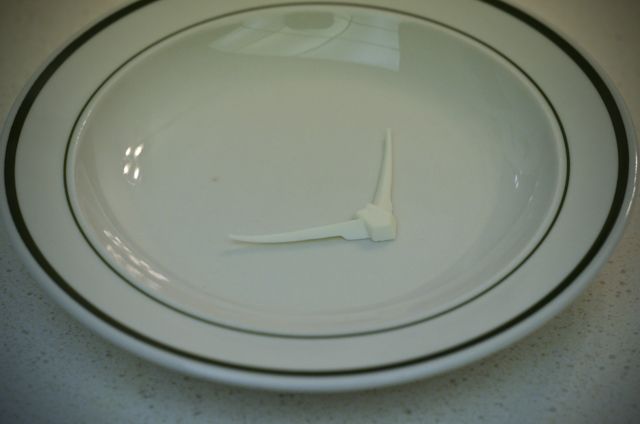
1. I received a particularly bent v-fin. This picture doesn't quite show exactly how bent it was, but it was pretty significant.

2. Get a cup or bowl large enough to hold a part of the piece, and fill it about 60-70% full. Microwave it until it boils. I microwaved a coffee-cup sized amount for 2 minutes. Being careful not to burn yourself, dip the part into the scalding hot water - but don't fully immerse it unless you have to. Only dip the part until just past the bend.
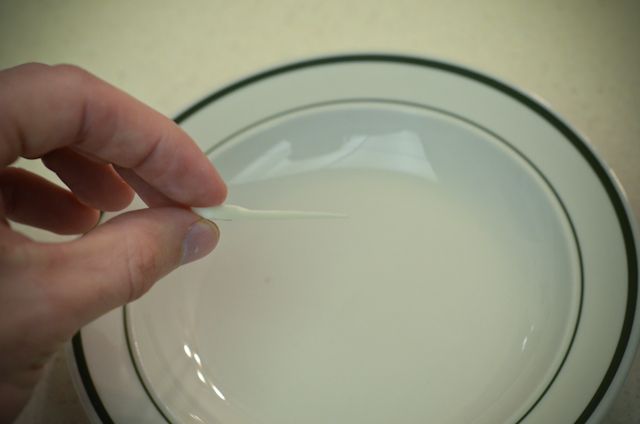
3. Keep the part in there for about 20-30 seconds. Gently push and guide the piece into the position you want it to go once you pull it out. Once that is done, make sure you rest the piece on a flat surface, or one that adheres to the intended shape.
Note: Depending on how thick it is, you may need to dip it longer. You want the piece to warm up to be almost like a very hard putty. The way to test this is to SLOWLY and GENTLY bend the piece to how you want it to bend. If it doesn't budge with gentle pressure, stick it in the water for longer.

4. Voila! Make sure you leave it alone for about 30 minutes before you mess with it again. It should be ready in a shorter amount of time, but I err on the side of caution - especially when it comes to v-fins!
I'm sure there are going to be more complicated projects than the one I have demonstrated here for various projects you may have, feel free to post here for questions. The process really isn't that scary, and the resin doesn't immediately become doughy or liquidy - it takes some time.