December 16, 2010

Finished! G-System 1/100 The-O

After about 2 and a half months of work, I have finally finished this kit! This is my first large resin kit I've ever done, and it really is quite tall at 12 inches (and HEAVY!).

I tried to go with a desert camo feel with some minor, minor pre-shading. Most of the pre-shading has all but vanished because I wanted to get the shade just to my liking. I posed him in a semi-aggressive pose, but it kind of makes the back look funny. Also, regarding decals, I know you can still kind of see some, but I was having difficulty with my Future coat interacting with the decals for some reason.

Majority of paints are Tamiya acrylics (custom mixes with most colors except white), and I also used some Model Master Metallic paints, Humbrol metallics and Model Master enamels for some details. The wash is with Testor's enamel. and all coats are done with Future. Decals are OOB and samuel decals.

All other WIP details can be found on my blog. Onto the pics!


Warning: Lots of images!


And a size comparison to my first 1/144 resin kit


I sincerely appreciate all of your support during my WIP and would love feedback!

December 6, 2010

1/100 PMX-003 The-O Resin kit: Part 3

I've been putting a lot of work into this guy, with very little updates here.

I've finished almost all of the airbrush painting, and I've gloss coated everything, then panel lined and put a few decals. I'm waiting for some of the Samueldecal decals to come in the mail so I can finish this bad boy up.

Some WIP pics:


Side view


You can really see the 'burnt metal' color. It looks great.

After Panel lining and some decals:


After this is more decals, detail painting, flat top coat, final pinning and gluing. Exciting days ahead!

November 18, 2010

Assisted Build: 1/10 Rockman

So I helped a friend build his first model over the past few weeks. He really liked the look of the 1/10 Rockman so we built it and painted it. I assisted with many things, but he did almost everything by himself. I helped out when things went wrong and gave him general guidance for how to make a plamo model. Overall a fun little model. No internal frame, and a nice, easy build.

Total build time: ~20 hours, over 4 build days.

Krylon white primer
Tamiya acrylic paints, custom mixtures

Posing in the pics is a bit off because he was running out of time and I wanted to be sensitive of the top coat, which was sprayed ~40 minutes before the photo session.


Let me know what you all think about it, my friend would love to know.

October 27, 2010

Gundam Building 101: Pre-Shading

Preshading is a relatively simple concept that can yield amazing results with enough patience and practice with an airbrush.

The term itself is precisely what you will be doing here - shading before you actually paint in the real color you want the piece/model to be.

Tools you'll need:

- Model
- Airbrush/Compressor
- Primer of choice
- Paint in Color(s) of choice
- White paint
- Gloves (recommended as you'll get paint on your fingers)
- Alligator clips and foam to hold the clips (recommended)


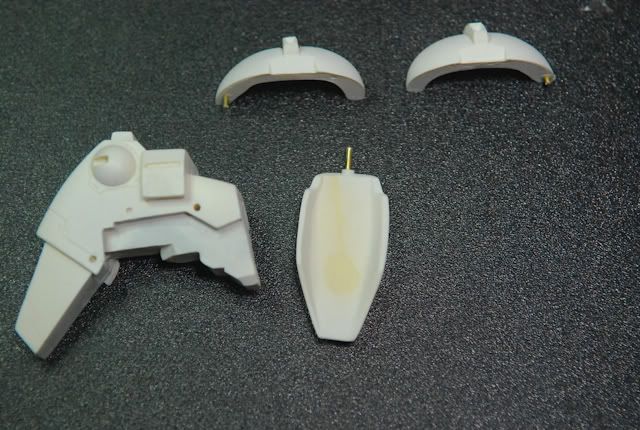
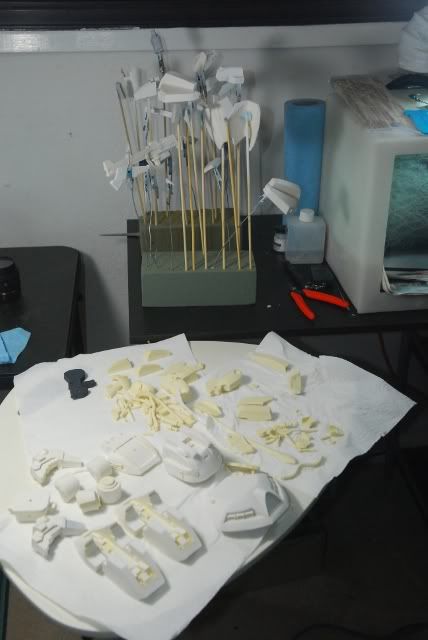
First, make sure your piece is primed. You always want to make sure of this!

Then, there are two ways you can go about pre-shading.

- Paint the whole piece in a darker shade, then fill in with a lighter shade.
- Paint the seams/edges with a wide spray with the darker color, then fill in with a lighter color.

I'm going to show you the latter way, and you can surmise how to do it the first way.

First you choose your paints:

You can pre-shade using quite a few coloring methods:

- Black [darker shadows]
- Gray ['natural' shadows]
- White [Fading effect - not usually recommended]
- A compatible darker shade of your chosen color
- Your chosen color plus gray/black ( then fill in with your normal color)
- Your chosen color (then fill in with your color with white added)


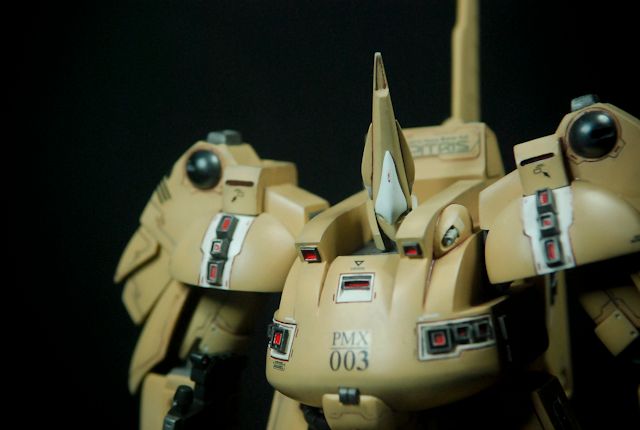
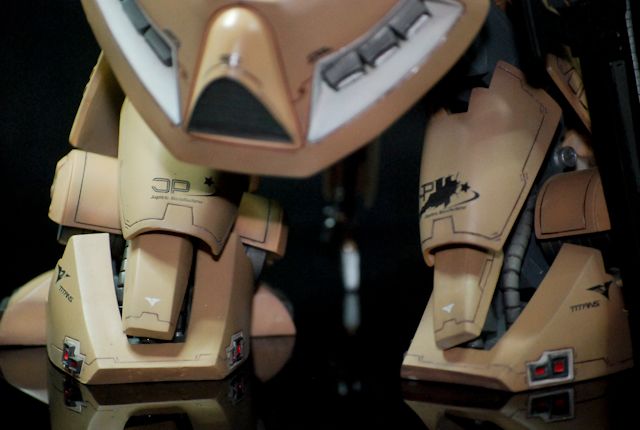
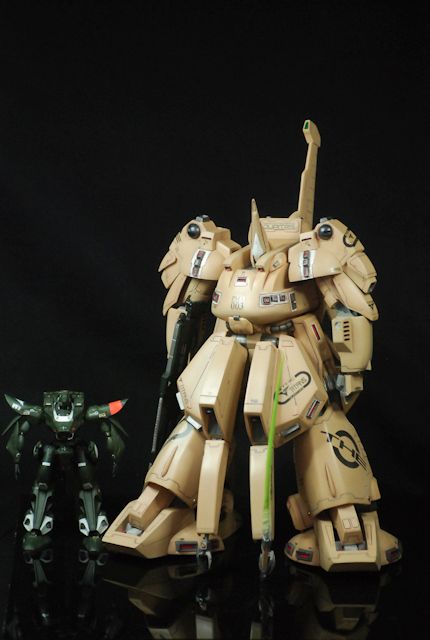
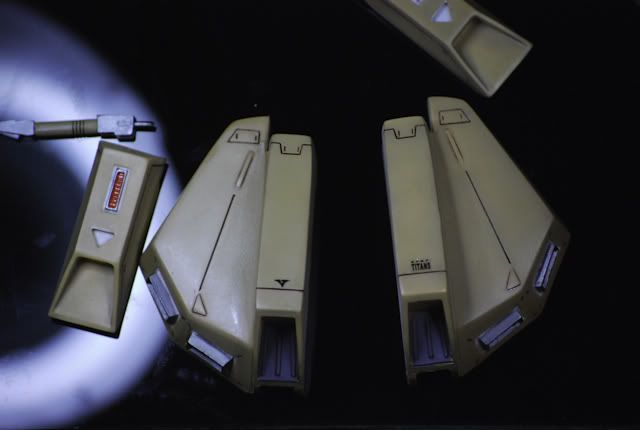
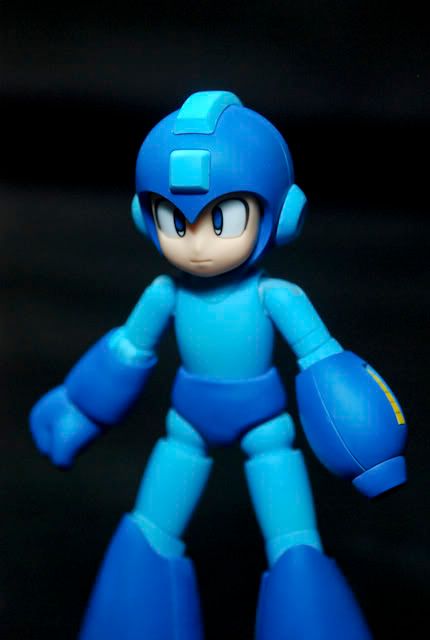
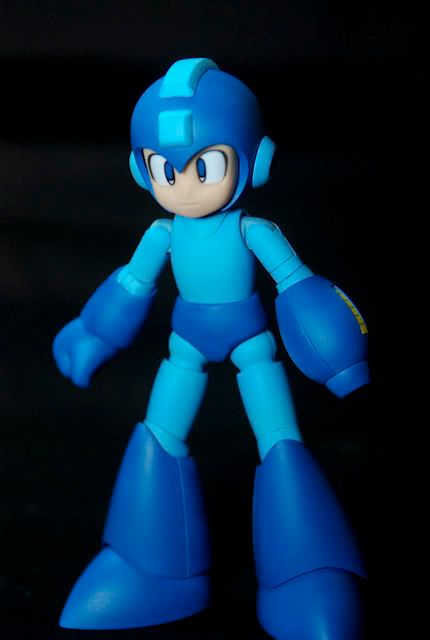
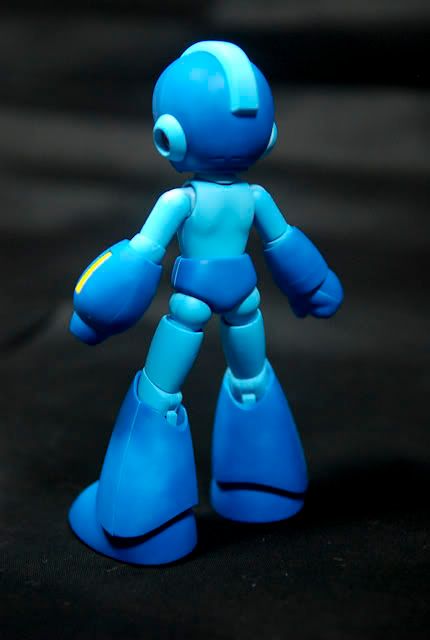
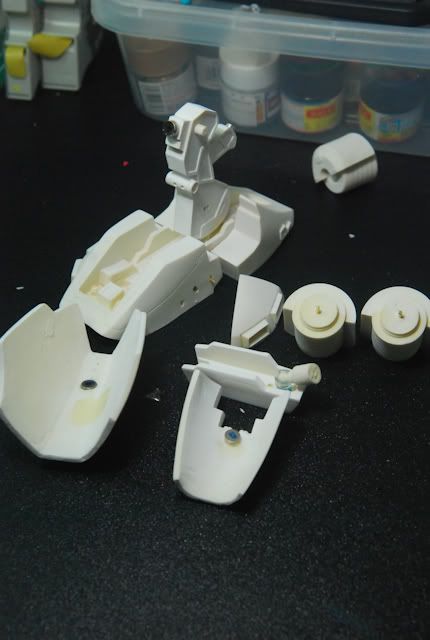
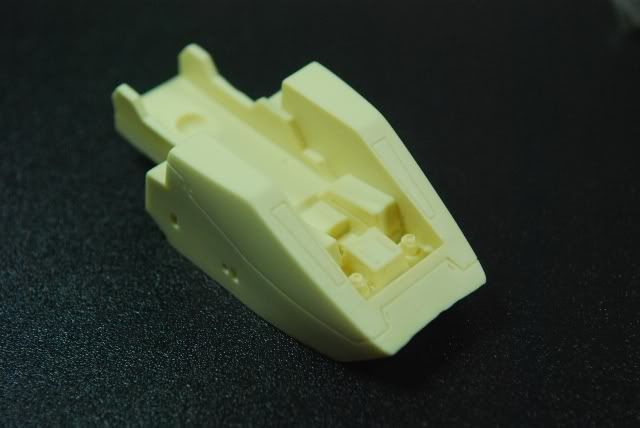
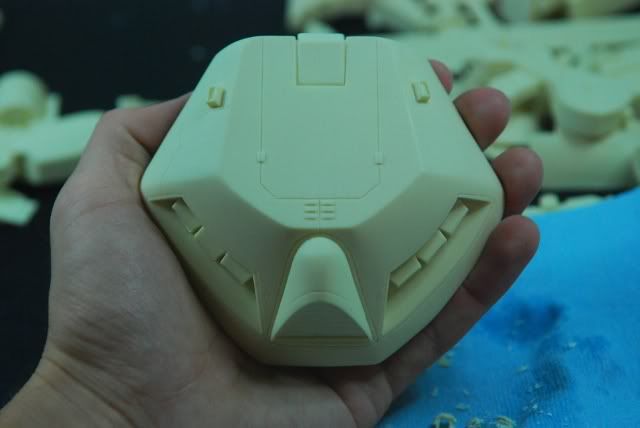
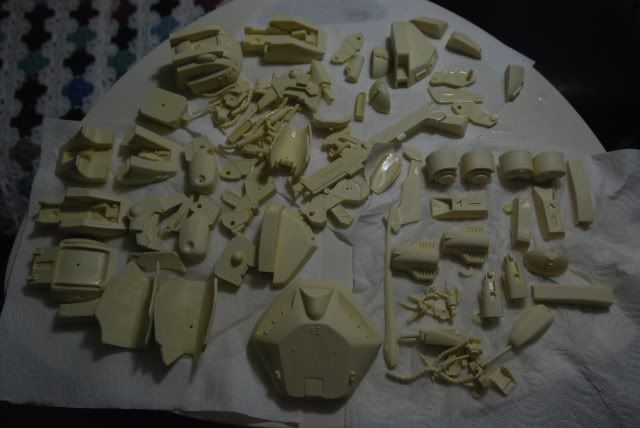
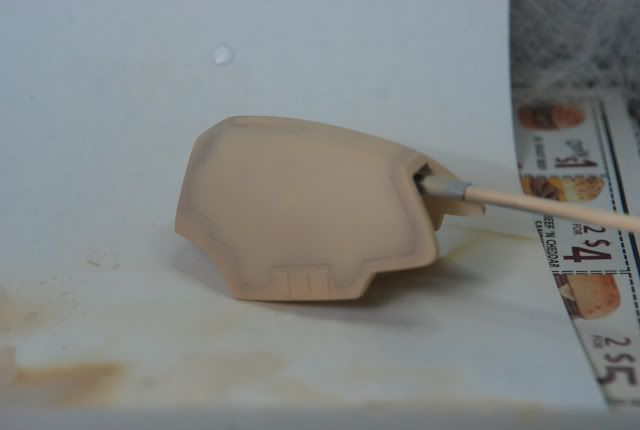
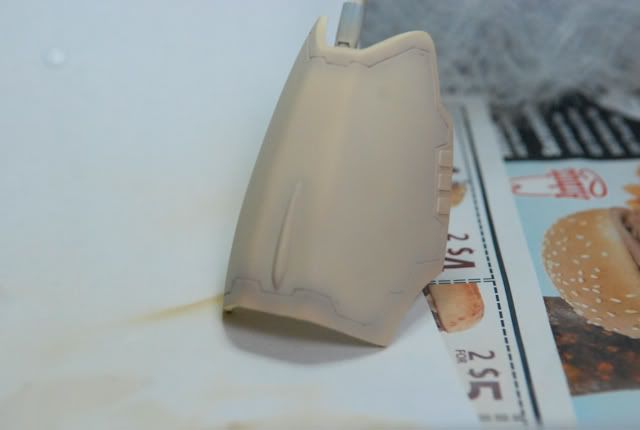
A pic of your piece before it is shaded - make sure you prime! It's just easier.


Now, make your darker color. If you have it as it's own color, just thin it and paint! If you are adding colors to darken the shade, make sure you use caution - don't over or under do it! If it's too dark, your shadows will be more harsh than you expect, and too light, you won't be able to see your hard work!
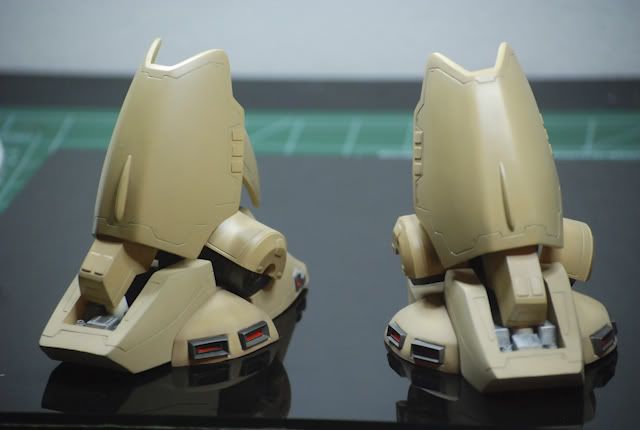
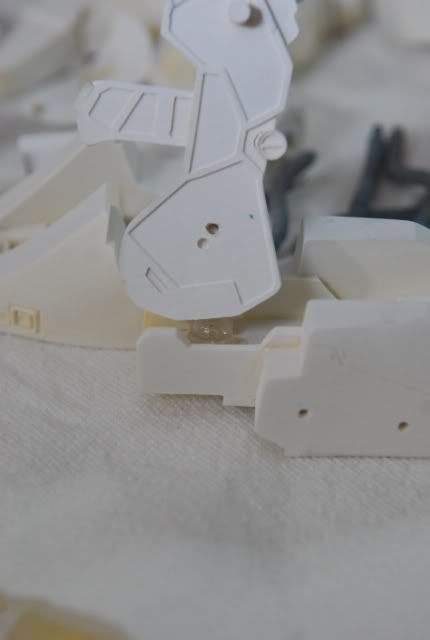
The trick here is less is more - 
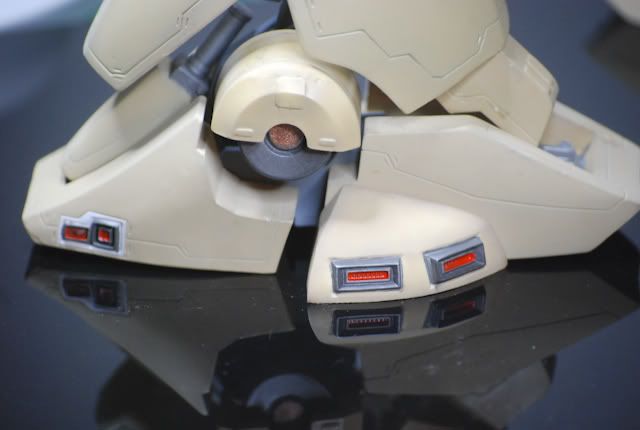
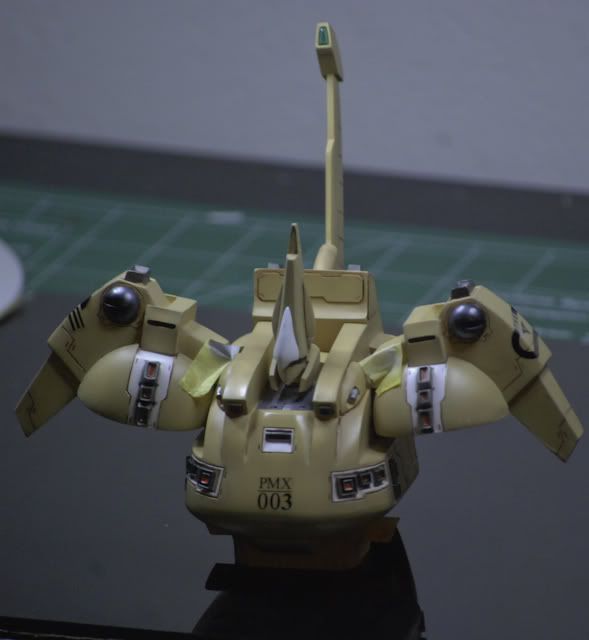
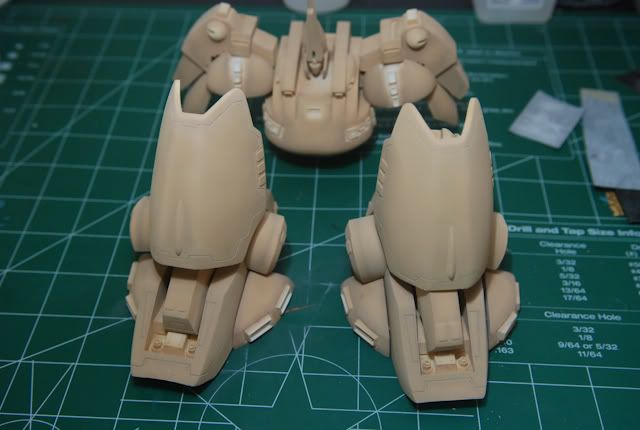
but you want to be sure that the color is filled in the middle of your spray so that no primer showing.
Just follow along the edges and/or seam lines. Take care choosing which lines you want to shade - not all edges should be shaded (some are part of a larger piece), and only highlighting panel lines can look great too.

The more precise you are, the better. You can fix your mistakes later depending on how you chose your colors, but sometimes the shading can show through your next layer of lighter paint. I've heard on a few youtube videos say that you can be lazy on this part, but I have found this on the contrary. The more precise I am, the easier it is for me on the next part.


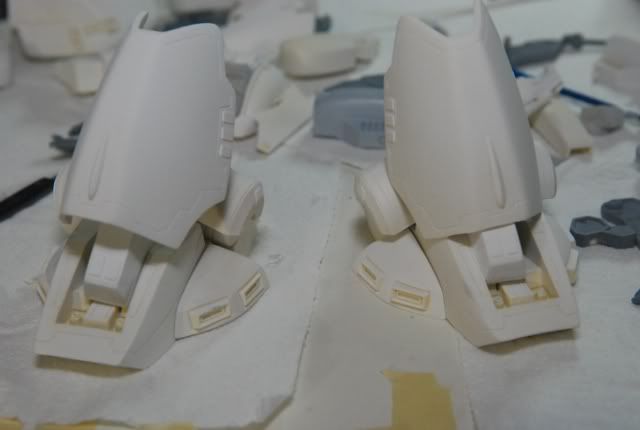
Now you create your lighter color. If it is it's own color, just thin it and go. If you need to add white to it, mix accordingly. A great way to test if your shade is too light or not light enough - paint a large square on a white piece of paper using your darker color. Then test your new shade and see how it compares. Remember, if there isn't enough of a difference between the two colors, your hard work of preshading will go unnoticed.

While painting your lighter color, you want to be as precise as possible, and really pay attention to how 'natural' the gradient is between colors. This is where experience and practice really pays off. I suggest using a 'test' piece first. ALWAYS paint starting in the MIDDLE first, then work your way out - this helps you determine how wide your airbrush's spray is.


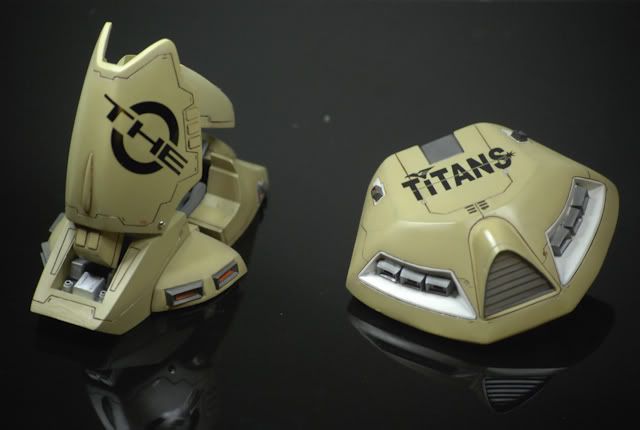
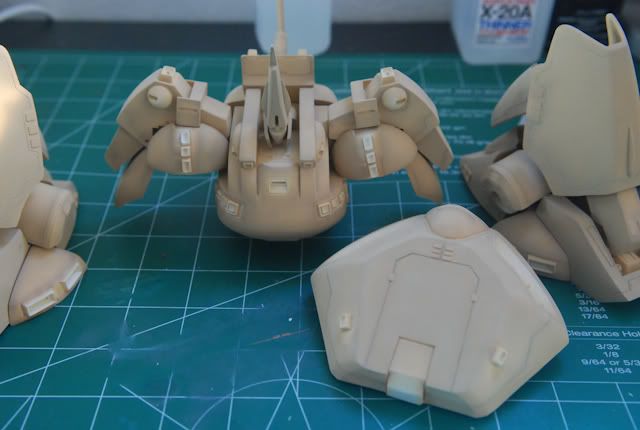
If you like, you can paint over the darker color to soften the change between colors. I went ahead and did it to my colors because I didn't realize the difference was going to be so drastic. I just lightly painted over everything first, then filled in the middle with the same color with a bit more flat white paint added.

Once complete, you can add more white to your color, and add highlights to certain high areas of a given part. This part is optional, but can really add pizazz to your model, and it's not too difficult once you nail the preshading down. You don't want to do this step too much though - again, less is more here.


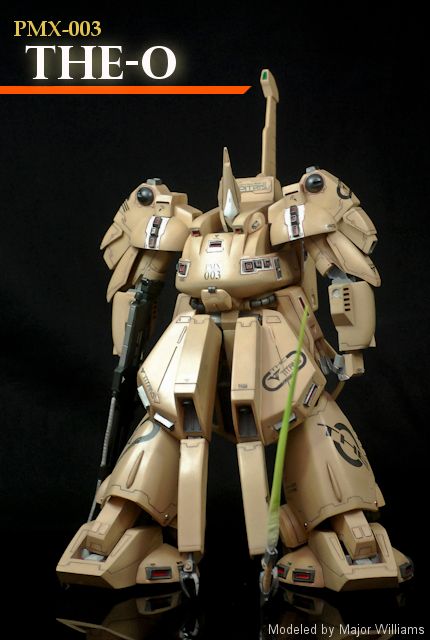
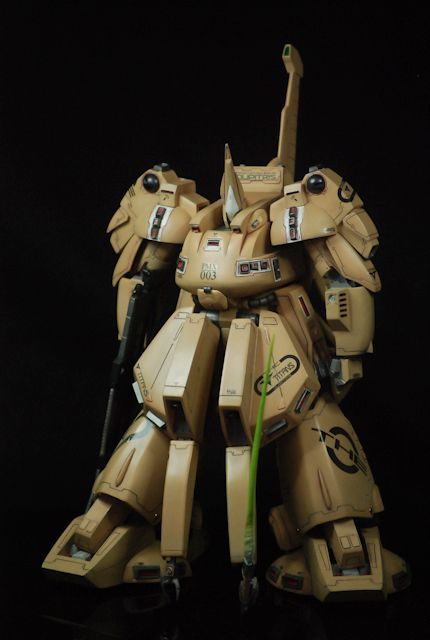
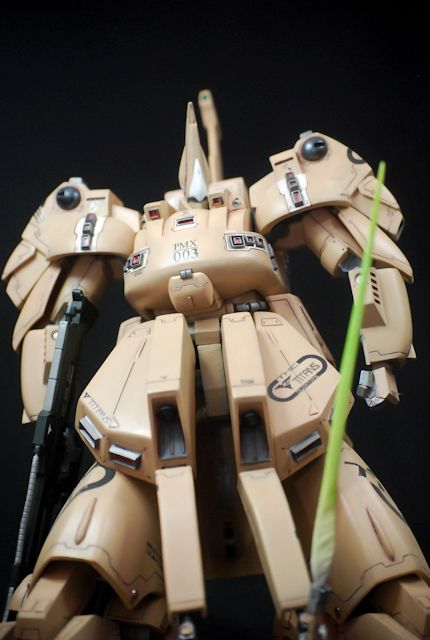
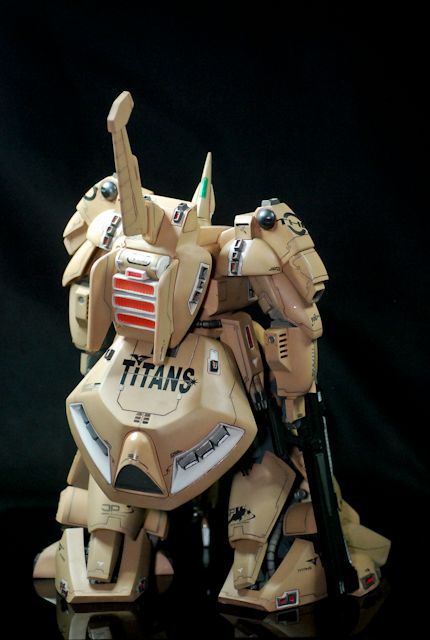
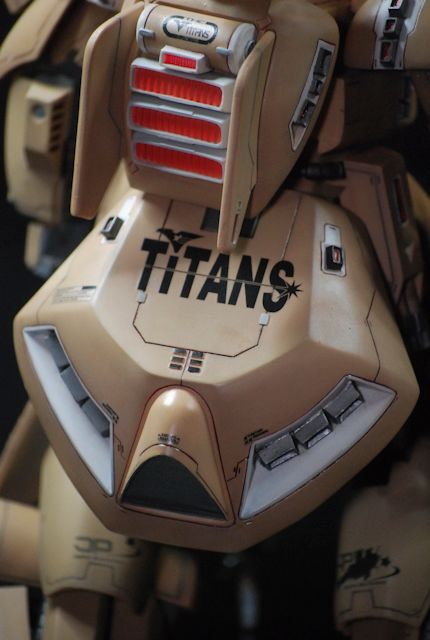
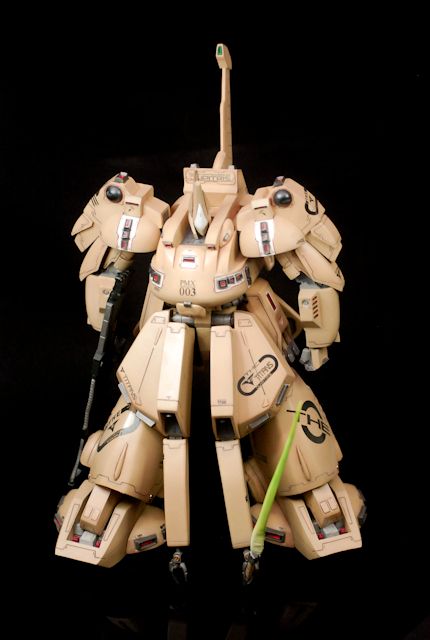
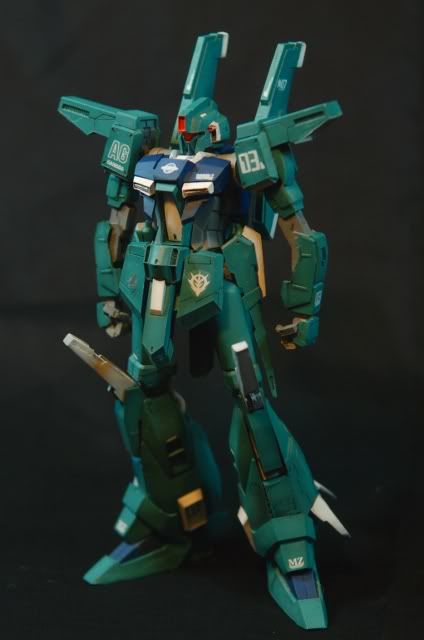
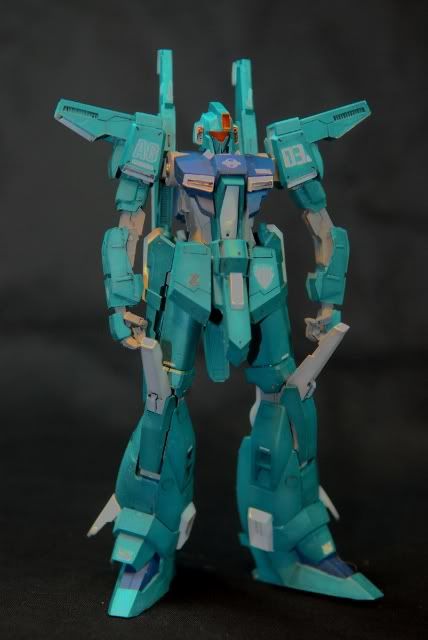
And voila! You have wonderful preshaded pieces that look fantastic!

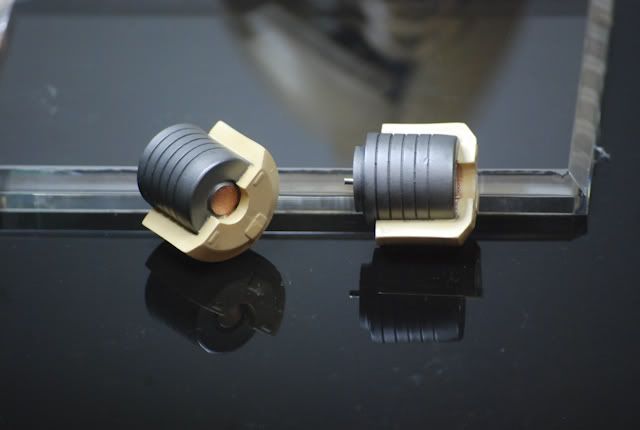
Alternately, over at the fichtenfoo.com forums, user "T1000" posted his method for applying paint, and is a great visual for how to go about preshading. All credit goes to him for this picture:


I hope this helps everyone. Post questions you have or revisions I might have missed in the comments please!

I will have more pics up soon - I realized I may need a few more pics to illustrate some points as I was typing this out.

1/100 PMX-003 The-O Resin kit: Part 2

Began pinning a bunch of parts together


Added a joint to the neck piece (the piece is upside down here)


An exploded view of the larger parts of the foot


Because of how lighting can greatly affect how the colors look, I'll just put up a bunch of pictures of how the desert yellow is coming along. You can judge for yourself if you like it or not. I personally think it looks awesome - like blasted sand. I have pre-shaded the parts with dark yellow, then filled in with a desert yellow mixed with white - all are Tamiya paints.


I'll be making another Gundam building 101 - this time for pre-shading. As usual, it will be for noobs like myself.

Up next is taping and more painting!

September 30, 2010

1/100 PMX-003 The-O Resin kit: Part 1

So I got this kit from g-system-best.com. Not a bad price (cheaper than the MG haha), and I am amazed at the casting quality.


I have to do almost no cleanup - just removal of the molding nubs.


This kit is pretty big for 1/100 scale.

I finished cleaning up the nubs and ran it through some degreaser.


And began priming everything.


Now I'm just working on pinning and adding joints. The resin is very heavy.


More updates soon!

September 15, 2010

Finished - MSZ-007

So I had a goal: finish my latest model before the launch of Halo: Reach. A fun goal that my wife actually helped me achieve. All was going well. Until I had the final photo shoot. These are the last known pictures of the final configuration of the model... You'll see why.

1/144 MSZ-007 Mass Produced Suit by Studio Reckless (recast kit)


So I had fun building this kit - though there was a lot of prep work that needed to be done (and probably a lot more too, but I was just a bit too lazy with this small kit) - and I think it turned out pretty well. It was my first attempt at pre-shading, and was an awesome learning tool.

Colors:
Custom teal (using light blue, lime green and yellow(?) I believe)
Flat Blue
Model Master Acryl Some sort of hot orange I found at the hobby shop
Flat white

Panel lined with zippo lighter fluid and enamel black


Just as I was about to take some better pictures of the back once I had a lighting setup I was comfortable with, the background sheet had tipped over so I stood up to fix it. The next thing you know, I hear a crash and look down, and cried a little bit on the inside. I picked up the pieces and took a picture of the remains with what was left of my dignity.


C&C always welcome! Critics especially (I need the criticism before beginning my next big resin model (1/100 The-O))