September 26, 2011

WIP: 1/100 GMG AMX-041 Gerbera Tetra Part 1

Finally I'm going to start this. Instead of an afterthought of a project like I had originally intended, this will be a full project. I am going to attempt minor weathering with the salt painting technique and some pigments. 
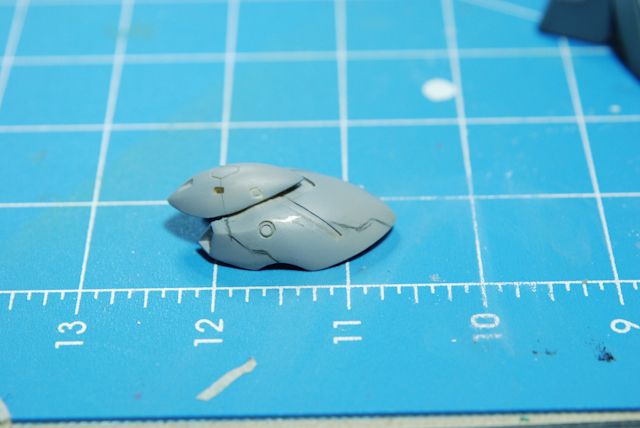
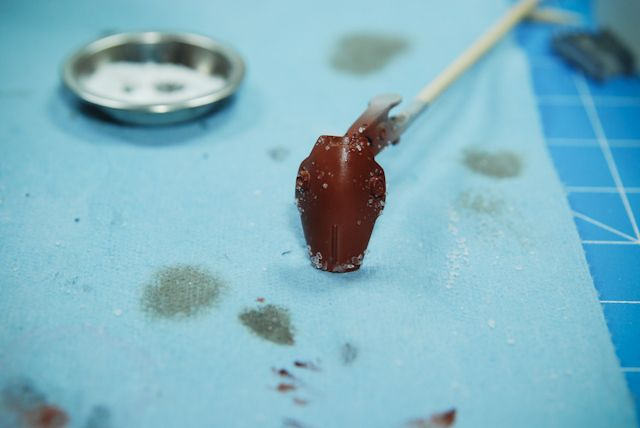
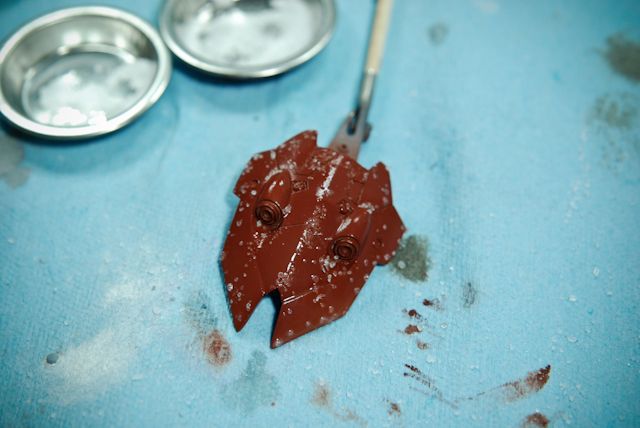
I painted a little today to see how the colors I was planning on using were going to look. I say awesome. I've preshaded using Tamiya's medium blue and added white to get the "shaded" look. Next I'm going to begin the panel line creation. Then I'll probably give plastic plating a try. Just started some prep work for other, more rusted surfaces. First, airbrushed Rust on, then clear coat, then hairspray/salt. It's tough to put on in the way I would like it to. Also, I acquired this handy tool: Tested it out, pretty decent IMO for ~$6. Better than anything I could get in a local shop. So I've figured about 25 steps in all starting from priming to finished for a full weathering. I'm at about step 17 or so in the process on my 2 beta pieces, so bare with me. Dunking the pieces in H2O makes the salt rub off easier, and allows the paint to be 'scratched' a bit more realistically too.
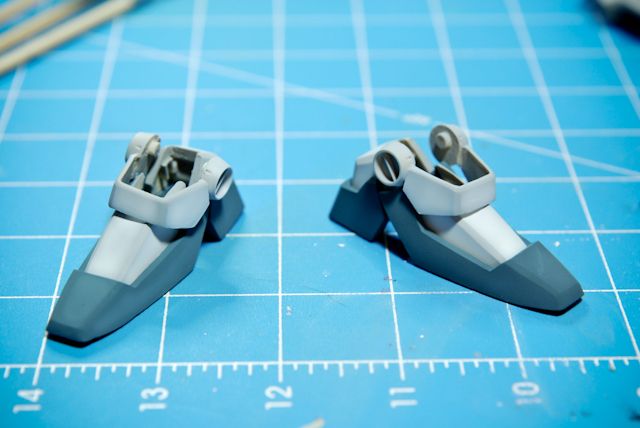
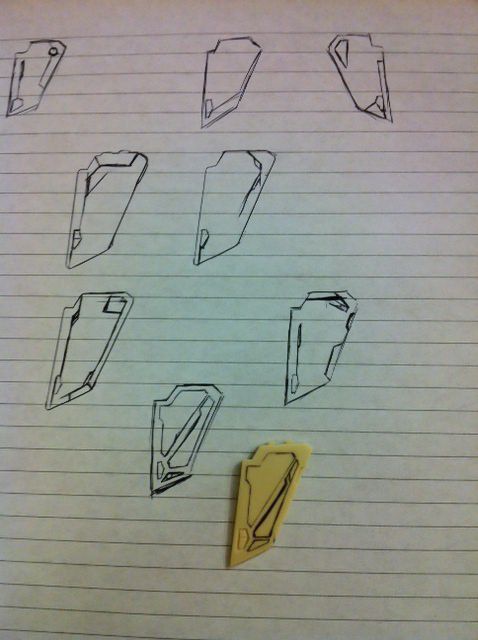
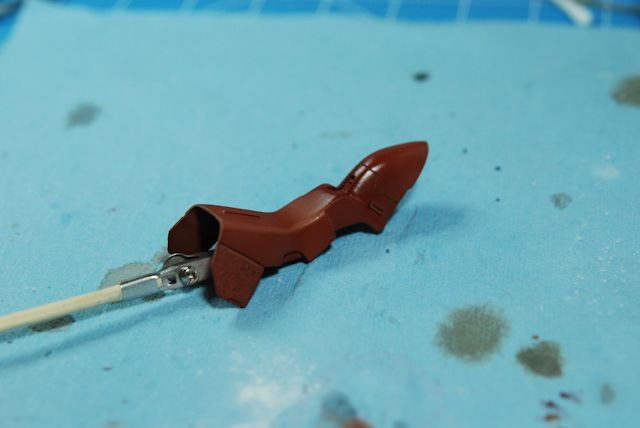
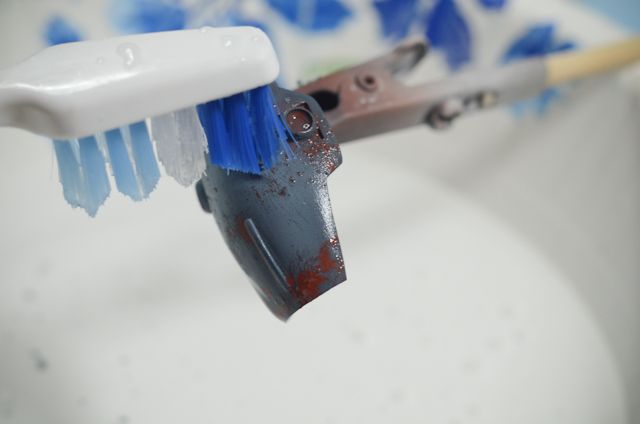
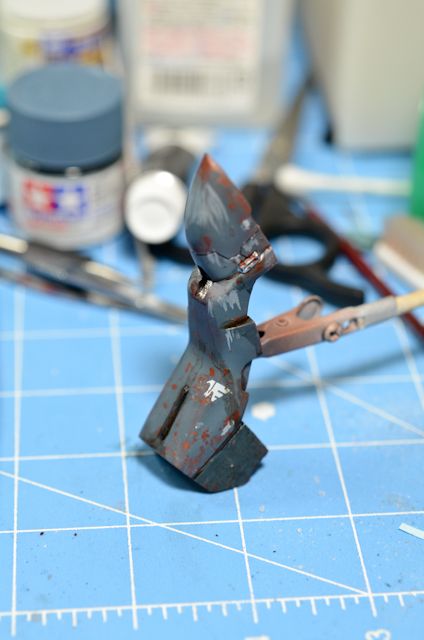
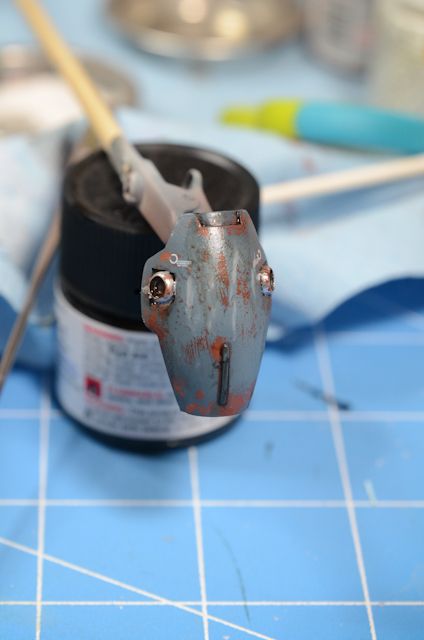
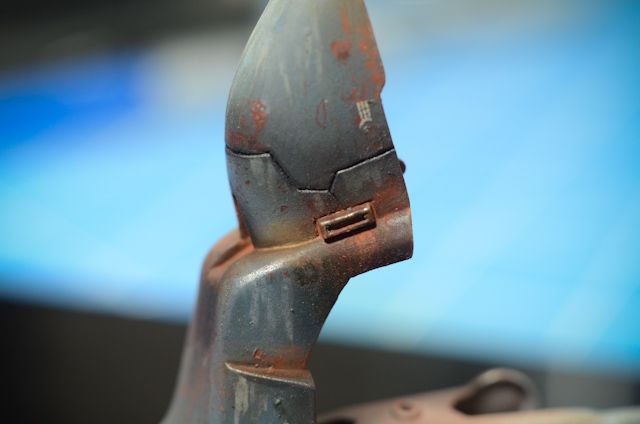
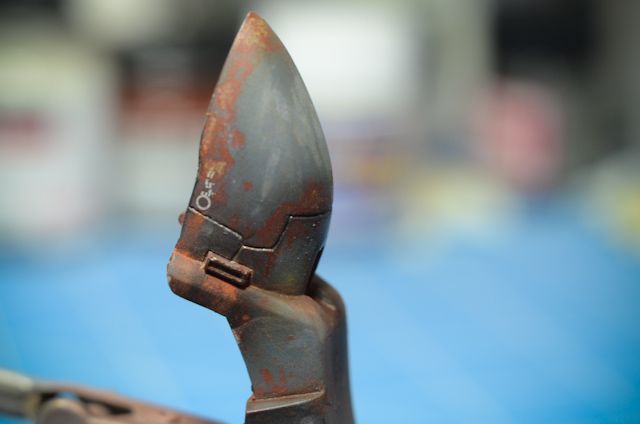
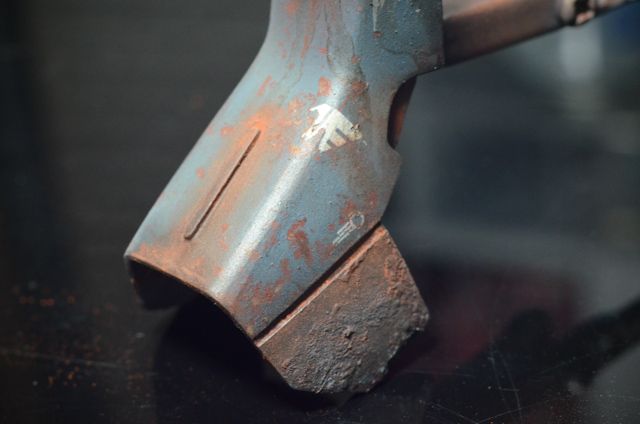
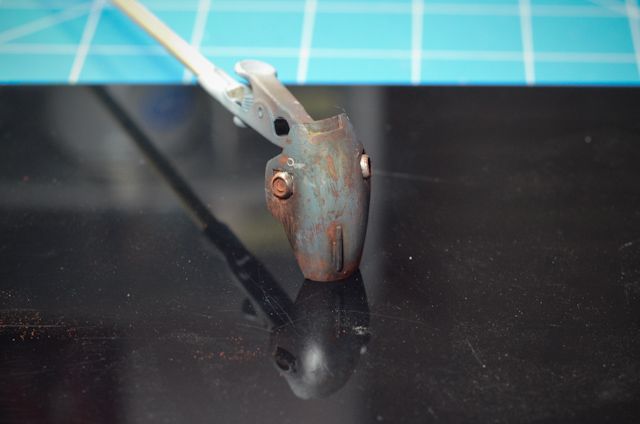
Pieces have been salted, panel lined, decal-ed, metallics painted, and a black wash for oil drips/water drips has been added. Next is the brown wash and real fun work of weathering. I think I am going to go for a really weathered scheme with this guy. In order to effectively use weathering techniques on other kits in the future, it would really help me out to truly understand how each technique is applied in the fullest sense. How it will make this kit turn out, I have no clue. It could look great, or it could look dumb. Hopefully not the latter :D I would really like to know what you think of the weathering - if it is in indeed too much, tasteful, where I could have improved, etc. I took some macro shots to expose my work here and welcome some friendly criticisms. Your words go a long way! Thanks ahead of time. Really.
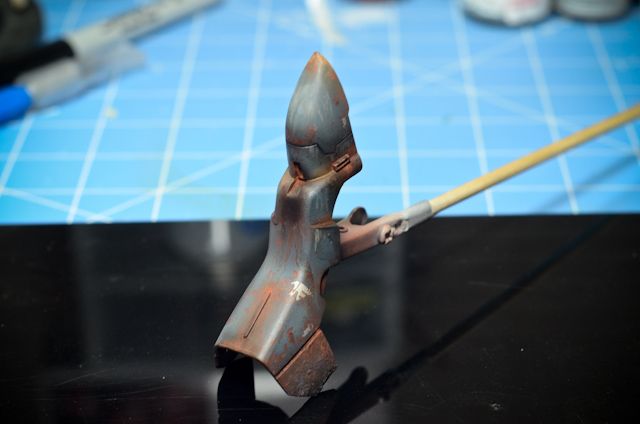
I will be making a full tutorial now that I have finished these pieces. So far, the technique from Primer to finish takes 25 steps! I think I may have to add a few more too haha.


September 1, 2011

Finished! 1/24 Hi-Nu Bust (SMS Version)

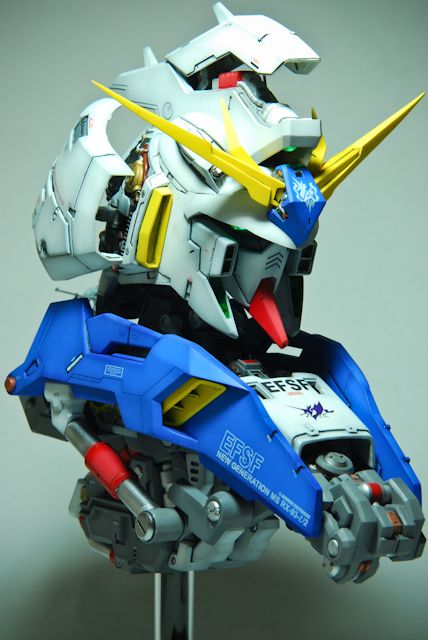
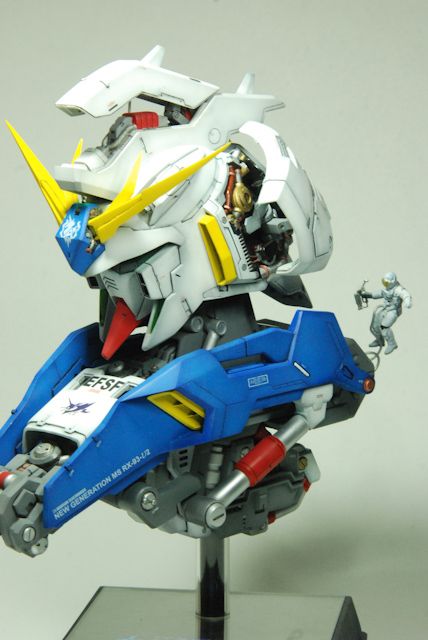
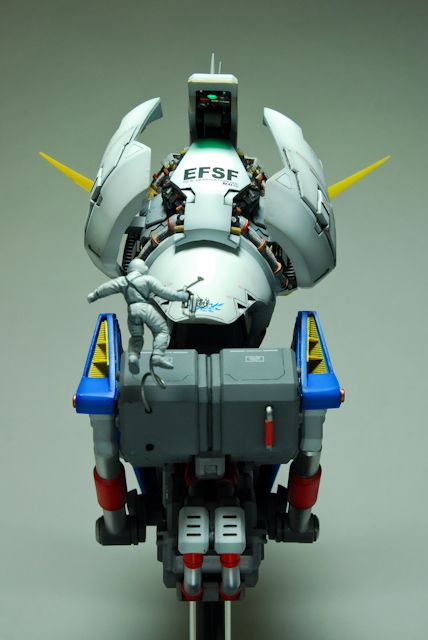
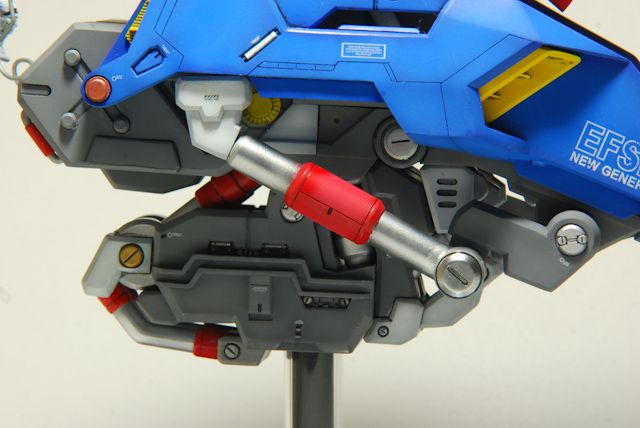
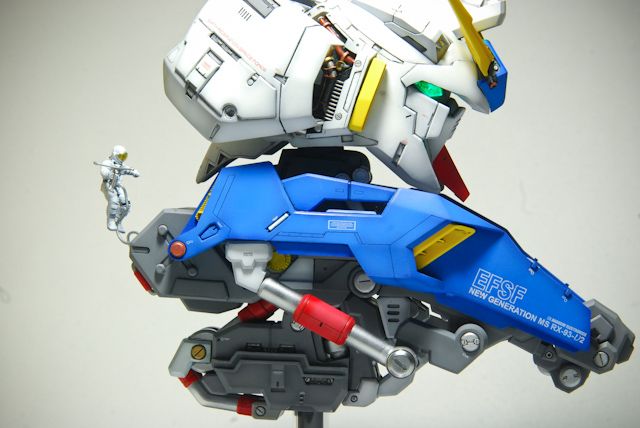
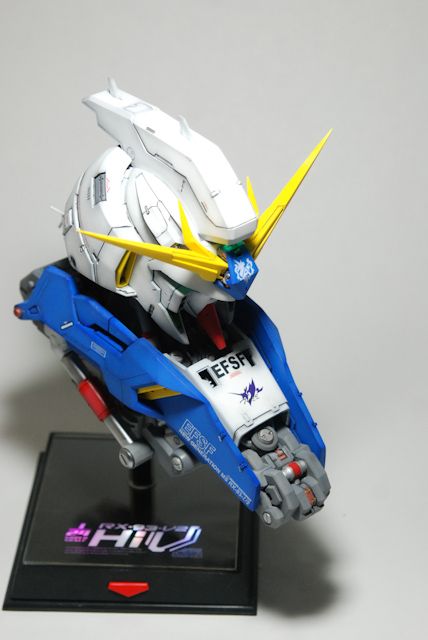
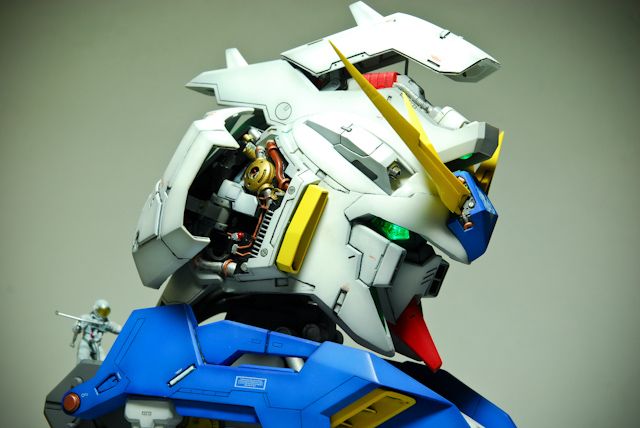
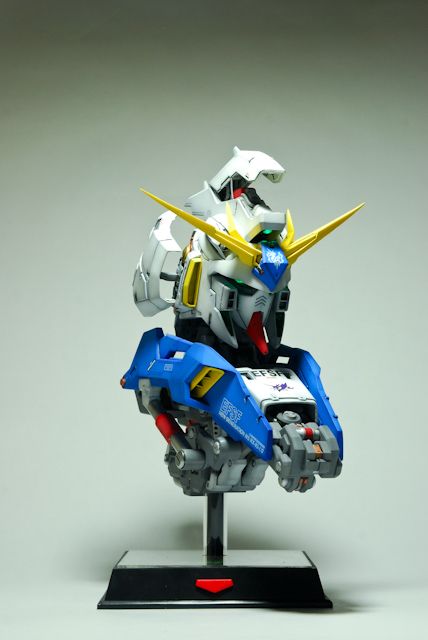
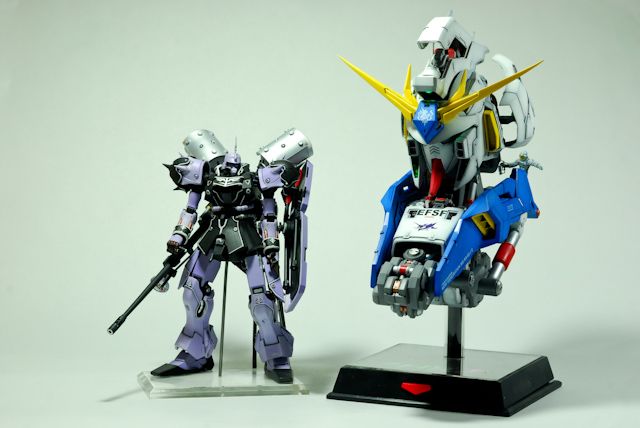
I've finished the 1/24 Hi-Nu Bust (SMS version), my first bust ever. I started it on May 7, and took about 4 months to finish. I took ~1 month off to move and play video games though, but I've put ~100 hours into this bad boy, and I could be way off with my estimate too. The hardest parts were a broken vfin and loose wiring that had to be re-wired. Decals are 80% from samuel decal, the rest are stock.

All airbrushed paints were done using PlamoColour's paint line. In summary, the Plamo paint line is very nice, and he provides a lot of paint, even in the 60mL size. The price might be the same as a large jar from another company, but the size of the bottle is about 3x larger than that. Even more value is in the 100mL bottle. The quality of the paints speak for themselves - the primer is GREAT for both resin and plastic, the paints are buttery smooth, and the matte spray leaves a VERY nice finish, and goes a long way to boot (covering this whole kit with a matte coat only took up ~40% of the bottle). My only recommendation - buy lots of paint in one order if shipping overseas, and pay attention to all of his thinning ratios!

All details were painted using a mixture of Testor's line of lacquers and enamels, Model Master's enamels, and Mr Super Metallics. I did an enamel wash using Model Master's gloss black, and as mentioned before the matte coat was provided by Plamo Colour. Decals are a mixture of the ones that came with the model and some samueldecal.com decals.  Great stuff!

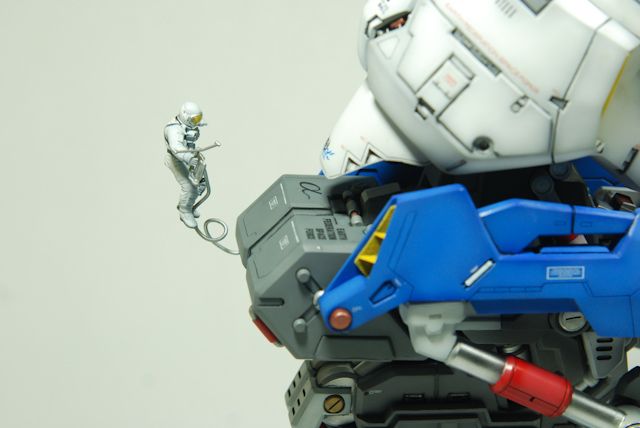
I added a 1/24 size astronaut (approximately), just for scale and coolness factors. If you look on the arm, you can see I put an AE decal there for further immersion :)

Onto the pics! Shot with a Nikon D80, 24-70mm f/2.8 and a 70-200mm f/2.8, spot lighting with a daylight-frequency bulb.


Closed vents:


Night shot:


A size comparison - note: the model on the left is on a stand.

C&C always welcome! I had a lot of fun building this bust! Thanks to all for the valuable feedback, and a HUGE thanks to Plamo colour for letting me try out the paints!

Lesson's learned: do NOT use liquid masking solution. Period.

Unrelated note: I have liquid masking solution for sale.

August 29, 2011

1/24 SMS Hi-Nu Bust WIP - Part 5

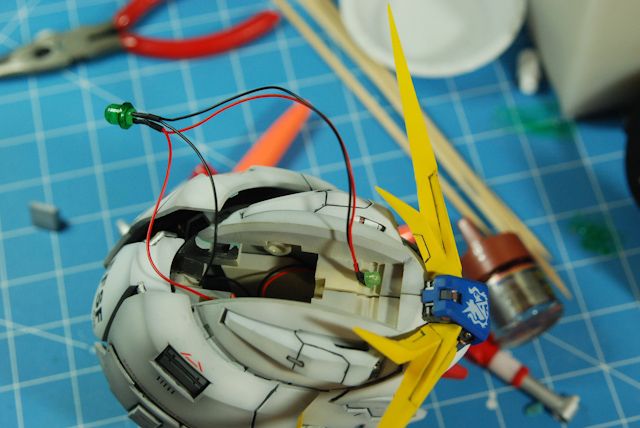
Almost completed with everything - gluing is going well. Just thought I'd document the LED wiring for those who haven't done it before (I haven't) and want to see what goes into it.

It's relatively easy, just some minor preparation and forethought goes into the process before final assembly to ensure all the wires are long enough and hidden. With a little bit of epoxy glue, I've adhered them to the places where they would fit the best.


August 22, 2011

1/24 Hi-Nu Bust WIP - Part 4

I have now added a flat finish, two pieces need white patch-up paint tomorrow, but I believe everything else is in final order. Should be finished here soon. Astronaut was added to add some scale to the kit. Should look pretty neat with the final presentation I'm hoping.

Pics here:


^^The friggin wiring was so small (22 gauge I believe), that when I pulled on it, it came undone. One trip to home depot and 1 hour of re-wiring with 18-gauge wire later, and we are in business!

When I have time I will finish this kit! C&C and criticisms ALWAYS wanted!

August 9, 2011

1/24 SMS Hi-Nu Bust WIP - Part 3

Eensy update, got lots done though.

Most parts painted and given a nice glossy shine with Future. Panel lining has begun, and I pre-fit everything to make sure everything will fit well. I'm thinking so.


Things left: Minor painting for parts, decals, flat coat, final gluing and assembly. Yay!