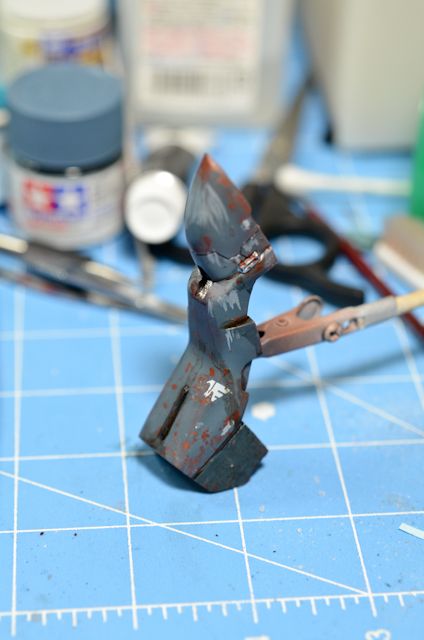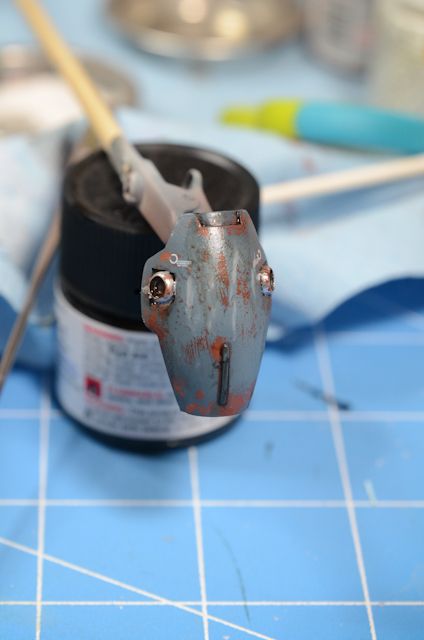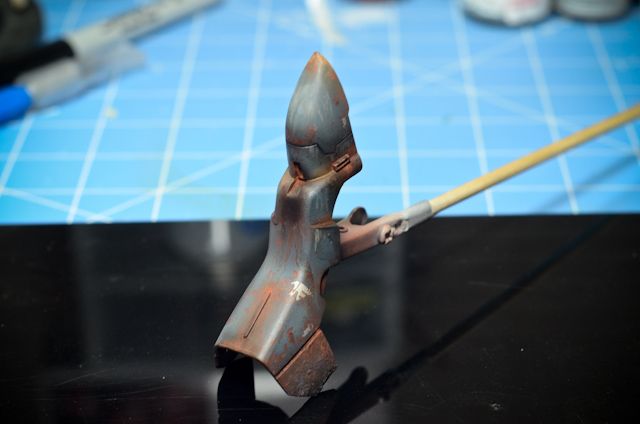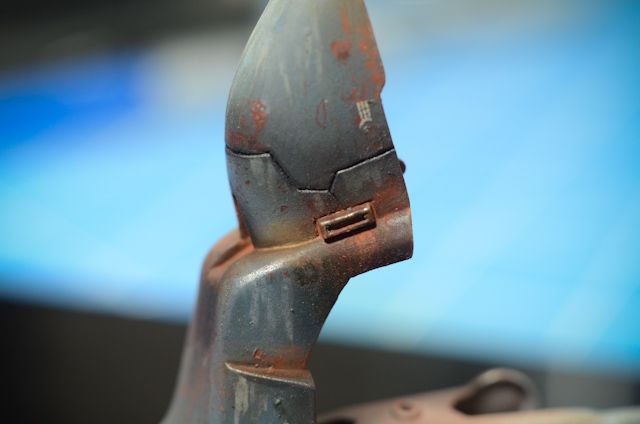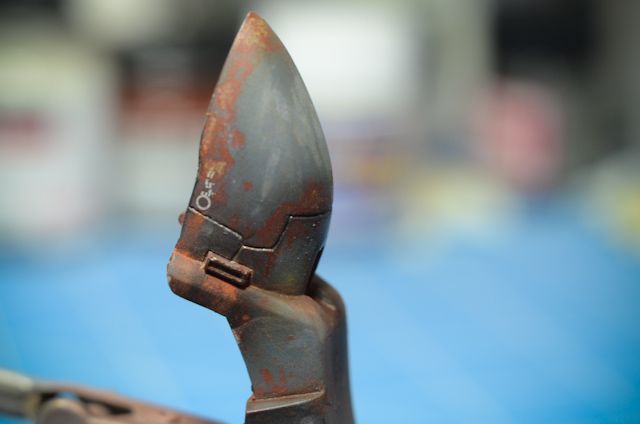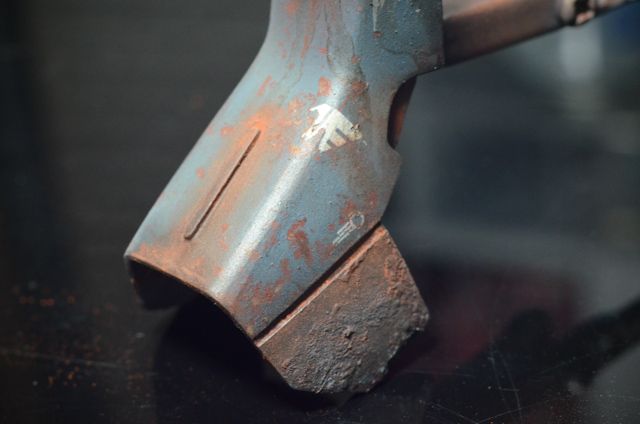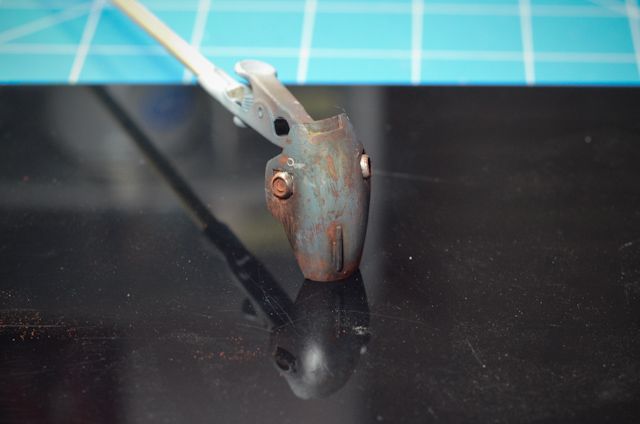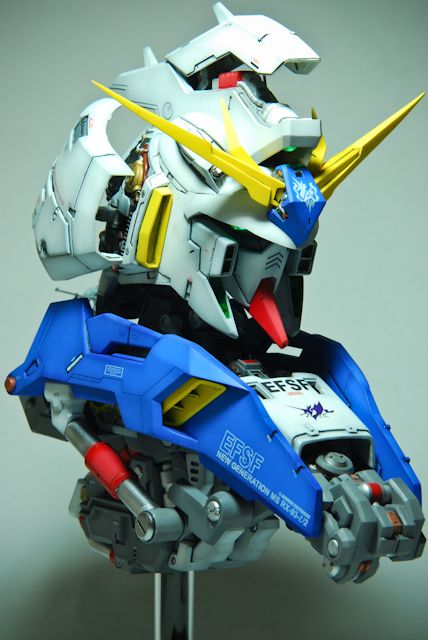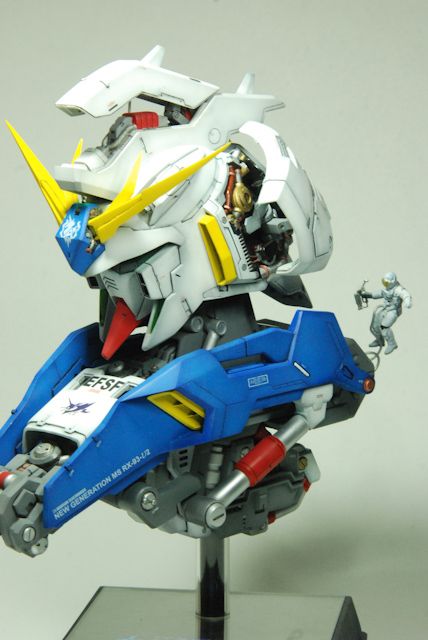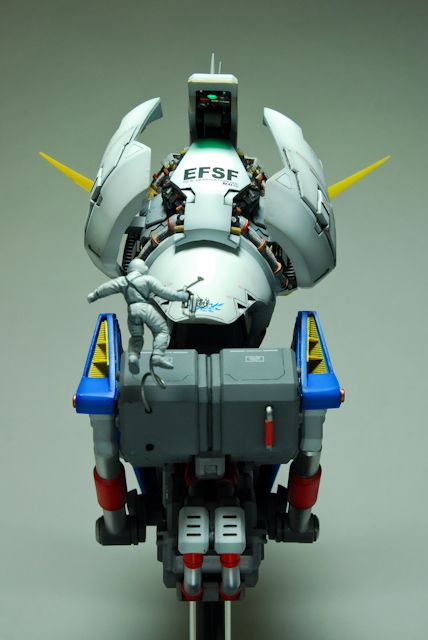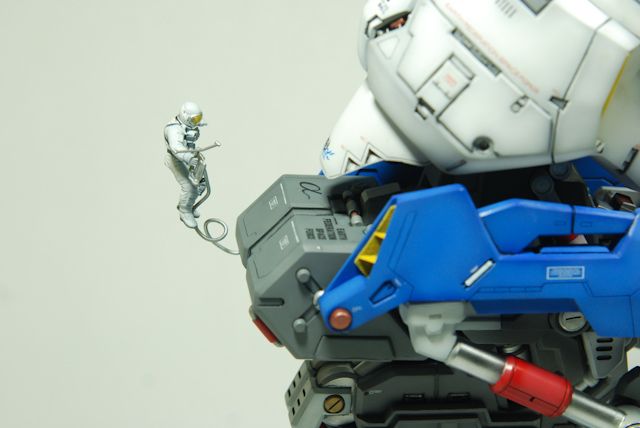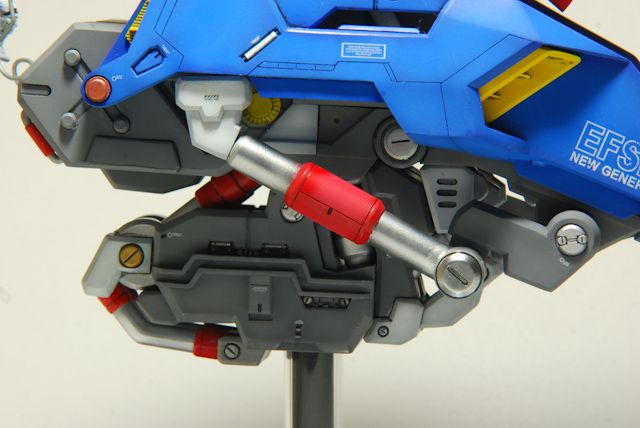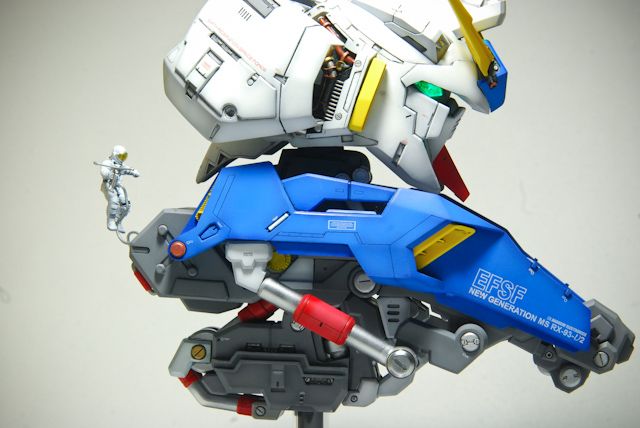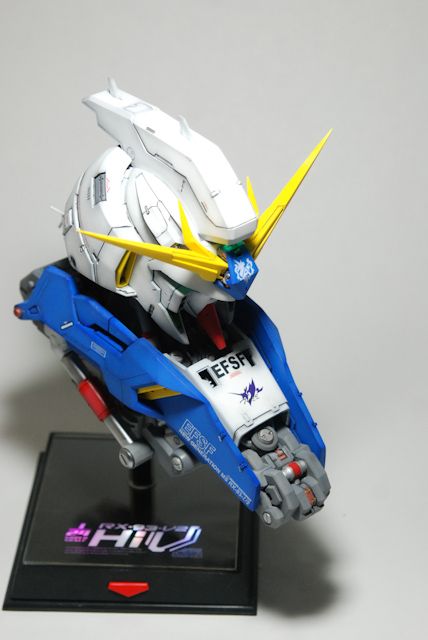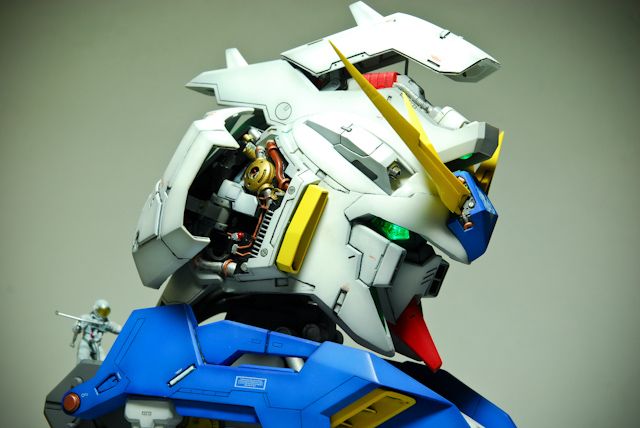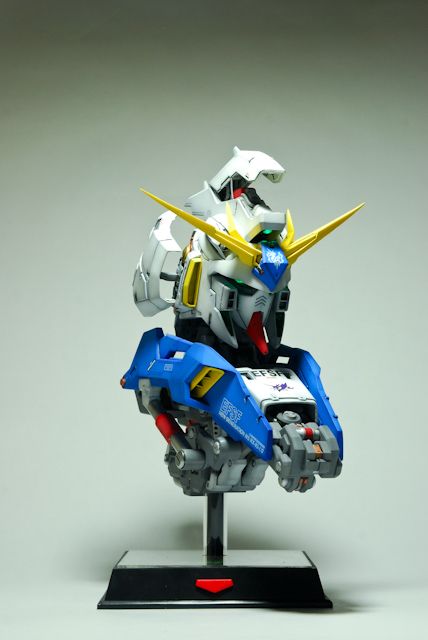
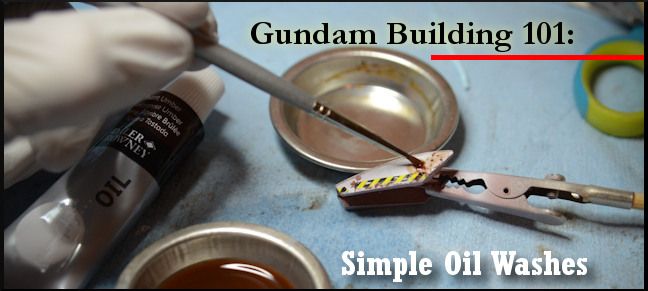
If you're looking to weather a piece, or just create a cool effect on different panels of a wall, an oil wash is an easy way to get this effect with minimum effort. This very well may be my shortest tutorial. I wrote it separate simply because I heard many people talk about it, and didn't see much on it in the way of gundam modeling. The basic concept of this is to apply a thin layer of oil paint (which is kind of greasy when mixed with mineral spirits) on a painted piece. This will tint the piece slightly (or heavily) in whatever pigment you're using.
Materials Needed:
- Model piece
- paint brushes
- mixing tray/cup
- oil paint (I got mine from Wal-Mart and Michaeal's for cheap)
- Mineral Spirits
This is how I think the colors are ideally used in whatever settings:
- Black is used for shading, oil stains and grease. Gray can also be used to shade parts
- White (and slight mixing of white) is used to lighten colors underneath
- Brown is used for earth and general rusting.
- Mix reds with browns, or use red ochre (if available) for a rust shade.
- Light teals are used for staining copper as if it were used
There are many more applications - be creative!
Technique:
- To tint a piece, just paint a thin layer across the entire piece. Make sure as it is drying it is set up the way you want gravity to pull the paint.
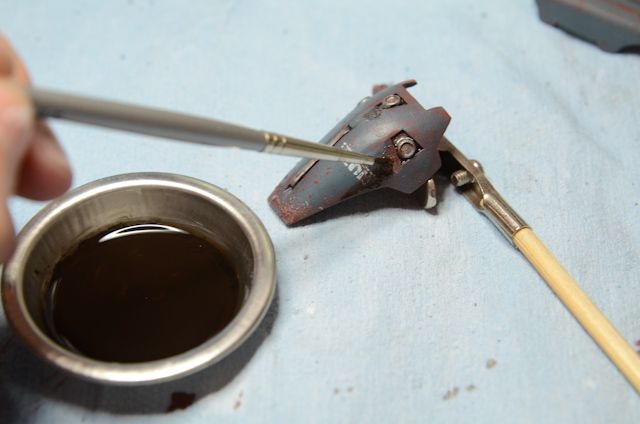
- For specific areas, use a detail brush and grab a bit of paint and just drag it down with the flow of gravity or whatever is spitting out the color you're using.
- Paint oil leaks/ detail washes first! Then apply the whole layer of a wash if you're weathering. I.e. paint oil leaks out of a vent with a black oil wash, then paint the whole piece with a brown oil wash.
Onto the pics!

1. Squeeze a small amount of the oil paint into the mixing cup, and mix with a small amount of mineral spirits. The mixture should be a "milky" texture. To determine this, pull a bit of paint with the paint brush up to the edges and watch as it falls. If it falls very slowly, add more mineral spirits, if it falls VERY quickly, add more paint.
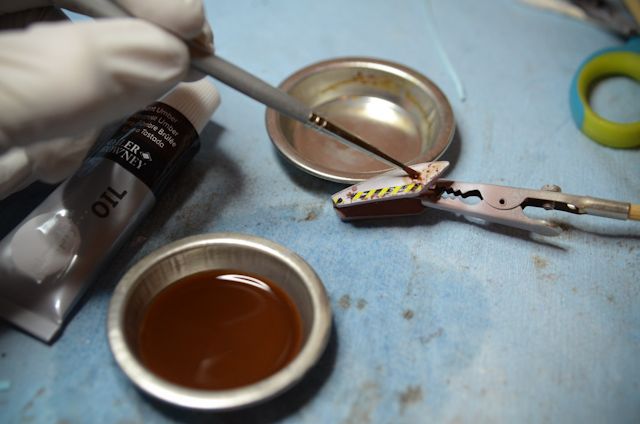
2. Paint to your hearts desire! Just make sure you use caution and patience when painting. You CAN go overboard, and you can paint too light of a layer that you'll have to do it again. Be very choosy with your streaks if you're only painting oil leaks.
Here is an example of painting oil leaks:
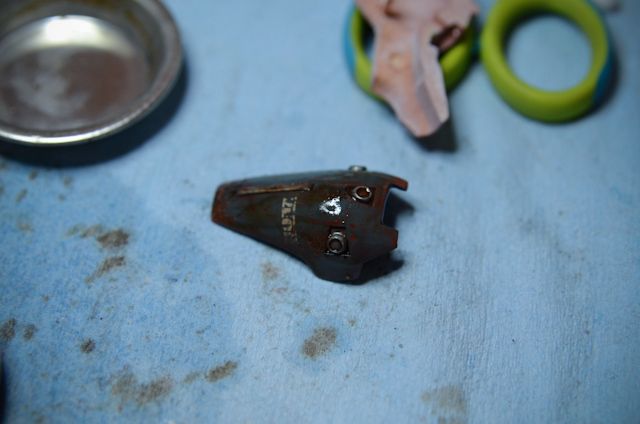
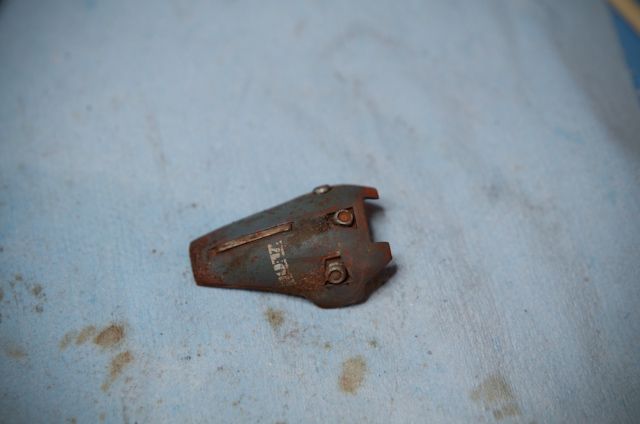
And here is an example of a before and after a brown oil wash:
If you have any further questions, or need clarification on this, just ask! This is intended as a side tutorial for my large weathering tutorial.


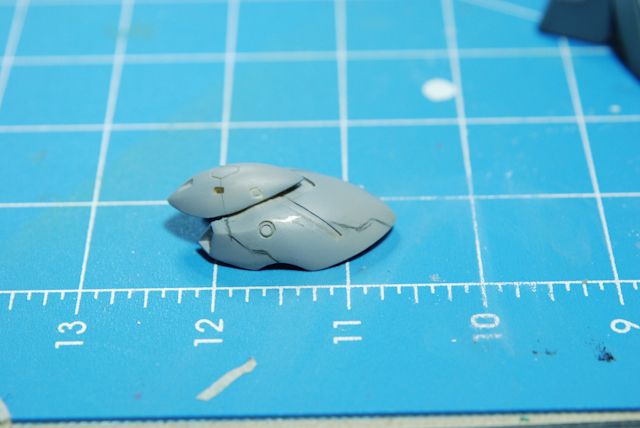
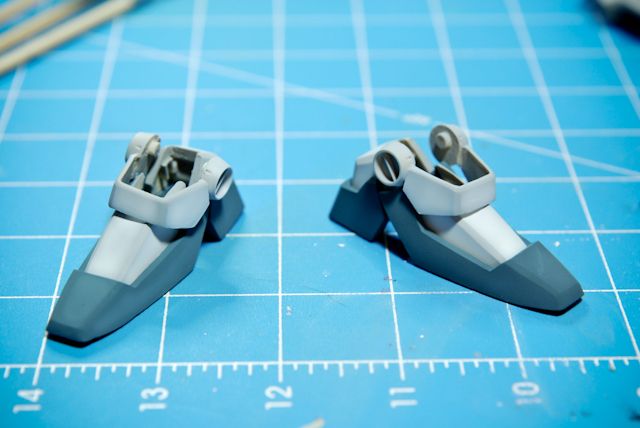 I've preshaded using Tamiya's medium blue and added white to get the "shaded" look.
Next I'm going to begin the panel line creation. Then I'll probably give plastic plating a try.
I've preshaded using Tamiya's medium blue and added white to get the "shaded" look.
Next I'm going to begin the panel line creation. Then I'll probably give plastic plating a try.
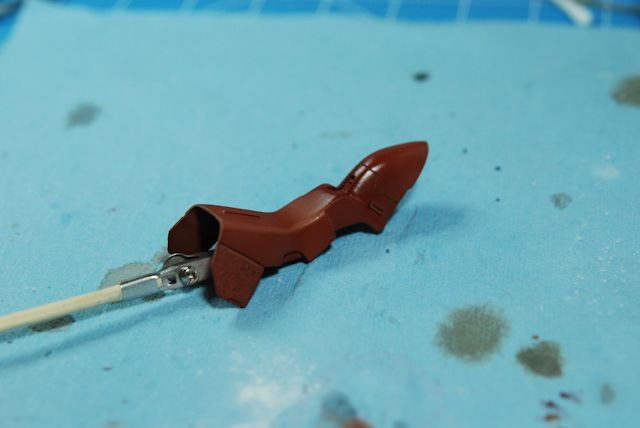
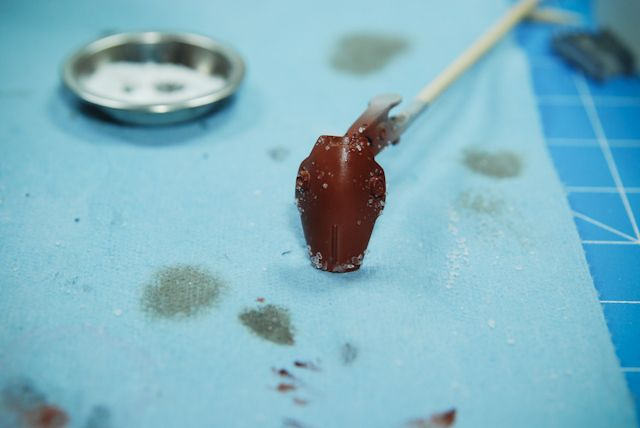
 Just started some prep work for other, more rusted surfaces. First, airbrushed Rust on, then clear coat, then hairspray/salt. It's tough to put on in the way I would like it to.
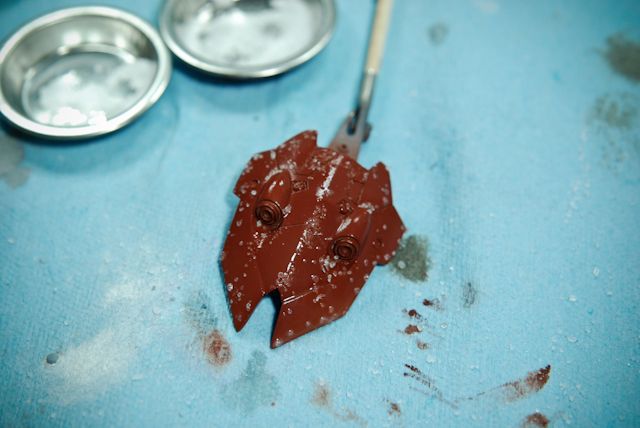 Also, I acquired this handy tool:
 Tested it out, pretty decent IMO for ~$6. Better than anything I could get in a local shop.
 So I've figured about 25 steps in all starting from priming to finished for a full weathering. I'm at about step 17 or so in the process on my 2 beta pieces, so bare with me.
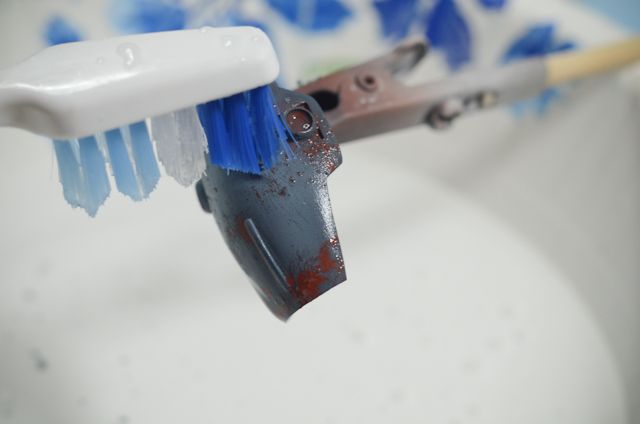 Dunking the pieces in H2O makes the salt rub off easier, and allows the paint to be 'scratched' a bit more realistically too.