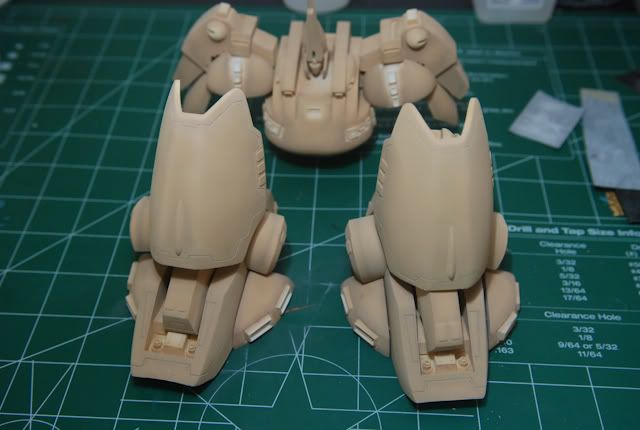
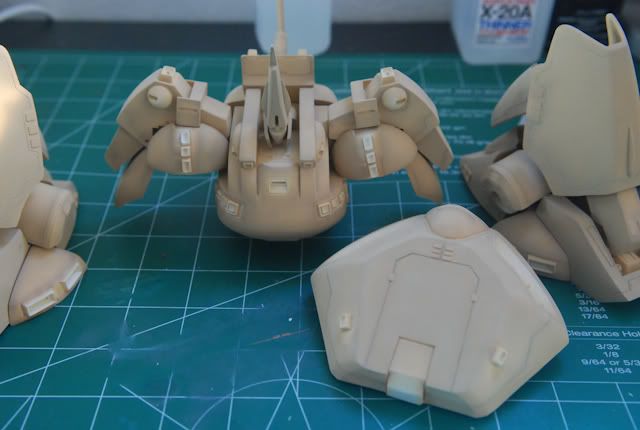
The term itself is precisely what you will be doing here - shading before you actually paint in the real color you want the piece/model to be.
Tools you'll need:
- Model
- Airbrush/Compressor
- Primer of choice
- Paint in Color(s) of choice
- White paint
- Gloves (recommended as you'll get paint on your fingers)
- Alligator clips and foam to hold the clips (recommended)
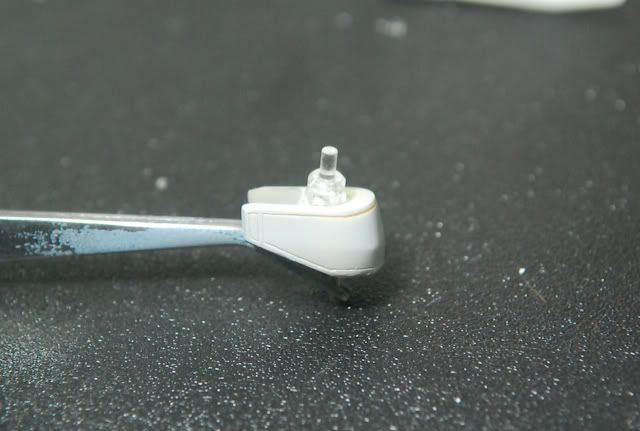
First, make sure your piece is primed. You always want to make sure of this!
Then, there are two ways you can go about pre-shading.
- Paint the whole piece in a darker shade, then fill in with a lighter shade.
- Paint the seams/edges with a wide spray with the darker color, then fill in with a lighter color.
I'm going to show you the latter way, and you can surmise how to do it the first way.
First you choose your paints:
You can pre-shade using quite a few coloring methods:
- Black [darker shadows]
- Gray ['natural' shadows]
- White [Fading effect - not usually recommended]
- A compatible darker shade of your chosen color
- Your chosen color plus gray/black ( then fill in with your normal color)
- Your chosen color (then fill in with your color with white added)

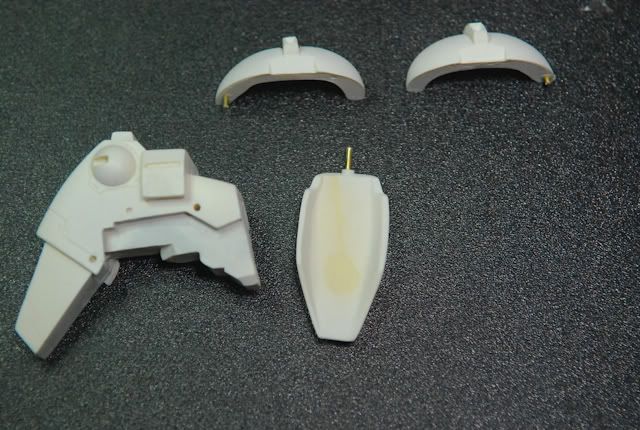
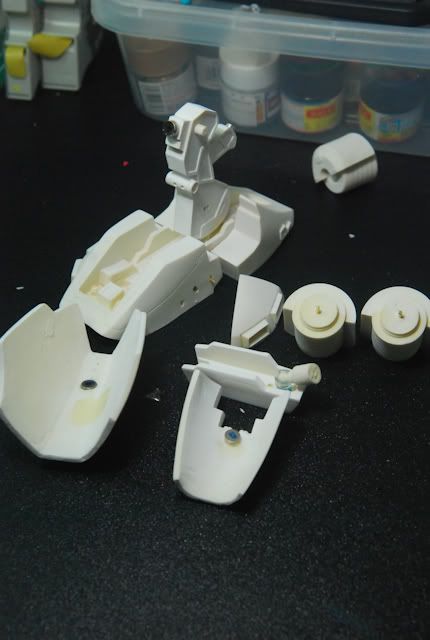
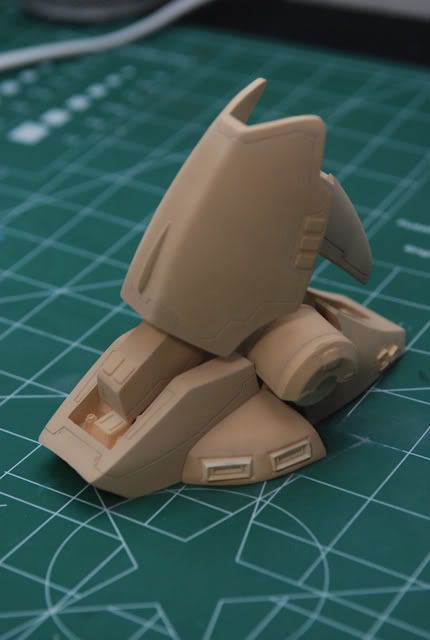
A pic of your piece before it is shaded - make sure you prime! It's just easier.

Now, make your darker color. If you have it as it's own color, just thin it and paint! If you are adding colors to darken the shade, make sure you use caution - don't over or under do it! If it's too dark, your shadows will be more harsh than you expect, and too light, you won't be able to see your hard work!
The trick here is less is more - but you want to be sure that the color is filled in the middle of your spray so that no primer showing.
Just follow along the edges and/or seam lines. Take care choosing which lines you want to shade - not all edges should be shaded (some are part of a larger piece), and only highlighting panel lines can look great too.
The more precise you are, the better. You can fix your mistakes later depending on how you chose your colors, but sometimes the shading can show through your next layer of lighter paint. I've heard on a few youtube videos say that you can be lazy on this part, but I have found this on the contrary. The more precise I am, the easier it is for me on the next part.

Now you create your lighter color. If it is it's own color, just thin it and go. If you need to add white to it, mix accordingly. A great way to test if your shade is too light or not light enough - paint a large square on a white piece of paper using your darker color. Then test your new shade and see how it compares. Remember, if there isn't enough of a difference between the two colors, your hard work of preshading will go unnoticed.
While painting your lighter color, you want to be as precise as possible, and really pay attention to how 'natural' the gradient is between colors. This is where experience and practice really pays off. I suggest using a 'test' piece first. ALWAYS paint starting in the MIDDLE first, then work your way out - this helps you determine how wide your airbrush's spray is.
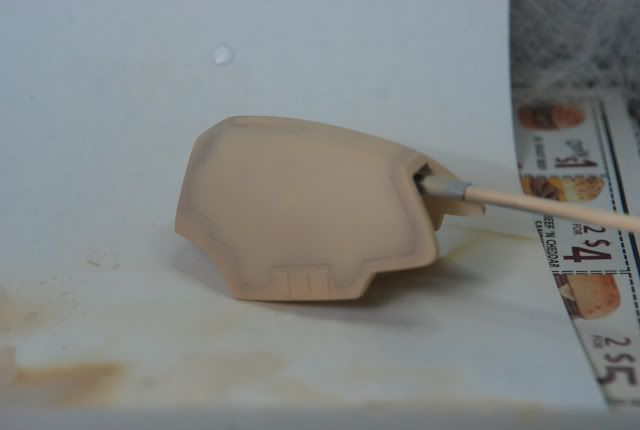
If you like, you can paint over the darker color to soften the change between colors. I went ahead and did it to my colors because I didn't realize the difference was going to be so drastic. I just lightly painted over everything first, then filled in the middle with the same color with a bit more flat white paint added.
Once complete, you can add more white to your color, and add highlights to certain high areas of a given part. This part is optional, but can really add pizazz to your model, and it's not too difficult once you nail the preshading down. You don't want to do this step too much though - again, less is more here.
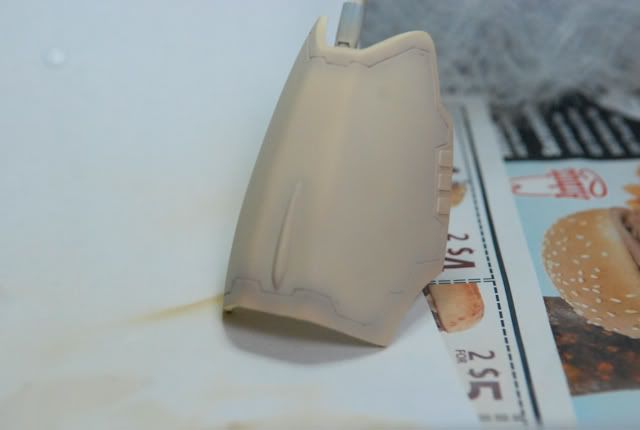
And voila! You have wonderful preshaded pieces that look fantastic!
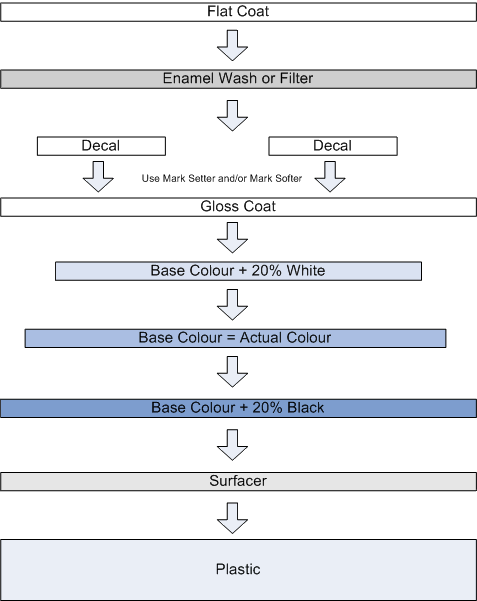
Alternately, over at the fichtenfoo.com forums, user "T1000" posted his method for applying paint, and is a great visual for how to go about preshading. All credit goes to him for this picture:
I hope this helps everyone. Post questions you have or revisions I might have missed in the comments please!
I will have more pics up soon - I realized I may need a few more pics to illustrate some points as I was typing this out.
