September 7, 2010

Gundam Building 101: Putty Filling Tutorial (Beginners)

Beginner's Putty filling tutorial

This is made mainly for those who are new to the resin world. Not amazing by any means, but I feel it's useful, and something I wish I had seen when I was getting into resin.

Materials needed:

Resin piece
Putty (Any sandable kind will do, but I've heard Mori Mori is good stuff too)
Sand paper
Gloves (recommended)


So this is a particularly bad molding that I decided to repair and make a quick and dirty tutorial for. I'm using sandable molding putty.


Squeezed some putty parallel (not perpendicular) to the crack along the seam. I let it dry for about an hour, then sanded it down. If you notice, there are still gaps that need to be filled.


So I just run putty over it again! This putty is very sandable, so it makes this process easy.


Once it is dry (in an hour), just sand over it again and you have a smooth piece! I may do this 1 more time to fill in some small gaps I see.

Also: I recommend priming with a gray primer after this to check for imperfections.

Gundam Building 101: Metal Thrusters

A quick semi how-to for thrusters:


I purchased some thrusters from eBay (make sure you measure how big yours are according to the largest diameter at the bottom in millimeters (mm)). Kind of expensive I guess at $10.50 for 4, but that's the nature of gunpla itself haha.


Figure out where you want to put the thruster. Usually there is already a place for you to put the hole in, or you'll have to cut off a nub for the plastic thruster to go on the plastic kits in order to drill.


Make the hole pretty deep. Note: If you have a shallow piece, you can also snip the long pole to be shorter.


Test fit the part that will go in the hole once you're done.


And Voila!

]

Update and MSZ-007 WIP Part 1

So it's been awhile since my last post, but I've been busy!

Summarized events of Gunpla activity for the summer:

1. Bought and received 1/100 Kshatriya resin kit.
2. Upon cleaning parts, realized I had to recast an entire piece
3. Sold Kshatriya (haha)
4. Bought 1/144 MSZ-007 Gundam resin kit.

And so it begins.

Here is a new WIP for you all. Nothing new or crazy major happening with it. Frankly the casting quality is pretty bad and I don't want to deal with the small pieces any longer so I'm going to just paint it and glue it and call it a day.

Reckless released some new 1/144 resin kits last year at C3, and while I loved all of them, I wanted to start with this one. The MSZ-007 Mass Production model.

I ordered this recast from tatsuhobby.com, came safely to my door.


After cleaning the parts (and realizing that there are 158 parts for this 1/144 model!!!) I began to clean the resin off.


And casting quality is terrible yet again on quite a few pieces. This is not even supposed to have a line at all across the surface.

Yeah. Kind of upset, but whatev.

You can see my How-to for putty filling and sanding here: Gundam Building 101: Putty Filling for Beginners


I put in some Yellow Submarine joints for added flexibility. It just takes a lot of drilling and planning where you want it to go. Usually on a resin kit there is already some sort of joint in place so it makes it semi-easy.


I thought they're a bit too high here after taking the picture, so I made the joints a bit shorter. The joint itself will be eventually covered in the final model. Also the great thing about Yellow Submarine joints is that they are paintable, so even if some did poke through, it would be the same color as everything else anyways.

Got some 6mm thrusters from eBay. Kind of expensive for what you get, but I guess that's the nature of gunpla itself...


Pretty Snazzy if I do say so myself.

You can see my How-to for putting thrusters on here: Gundam Building 101: Metal Thrusters


Began painting the base layer of paint on last night for shading. I got too tired in the middle of it so I had to stop painting all of my pieces haha. Has that ever happened to you guys?

I don't really know why, but my camera is off with the color I painted it. It looks blue in this pic - but IRL it's more teal.

I have summarized quite a few days worth of WIP, but there will be more in the coming days.

July 6, 2010

Completed: Jaguar II Zwei


So I finally finished my first resin kit. I made a ton of mistakes, but in the end was worth it. I went into it knowing I was going to make mistakes, so it was primarily to learn and make my next model a little better. I experimented with magnets as well (the shoulders are magnetized as opposed to glued)

I dry brushed at the end with black, rust and yellow, but as you can tell in the pics, I went a bit crazy with yellow on the left arm :P

I know I could have touched up a few things, but I don't really want to re-paint, I am too excited to start my next kit! This one was a mere stepping stone haha.


Dry brushed this stuff on.


The casting quality of this kit was pretty poor, so it was hard to work with, and because the parts were so small, clean-up was hard to do as well. But overall, it was a fantastic experience and I feel the model is at least somewhat presentable!

As always, C&C are welcome!

Update: I'm going to add some decals to it, so stay tuned!

June 30, 2010

1/220 Jaguar II Zwei Resin kit

So it's been awhile since I've updated, but I began working on my first resin kit. FYI: Banshee is put on indefinite hold due to some major breakage (the cat and dog knocked it over, then trampled over it). When I feel good about it again, I'll start it back up.

I originally was going to start on the 1/100 Kshatriya, but just couldn't bring myself to make that my first kit. I need to get my feet wet with a cheap, easily damaged kit. Enter the 1/220 Jaguar II Zwei Geara Doga version. For $30 from Tatsu Hobby, I figured hey, why not. It's got to be an Olive green, going to require taping, gluing, pinning, mangets, etc kit that will be a great way to mess up and learn.

Since this is my first post since starting the kit, I'll summarize in as few pics as I can of what I've worked on over the past 2 months.


Here it is right out of the box.


The casting quality was UTTERLY terrible on 6 or so pieces, but I got what I paid for I guess.


Cleaned up the pieces using auto degreaser - speed ups the process and works REALLY well, only had to soak overnight. I found this for $4 in Auto Zone (or Kragen)
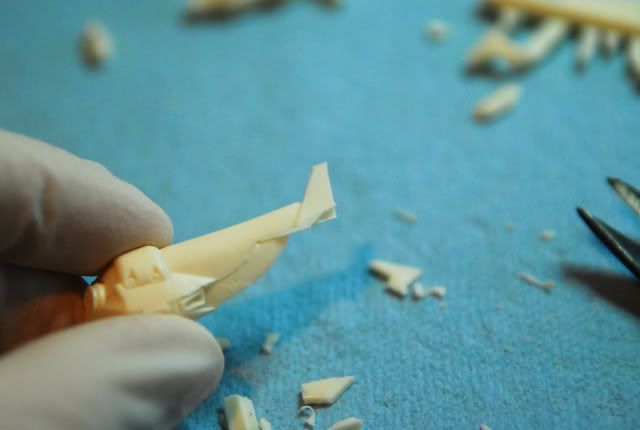

Cleaned up quite a few pieces
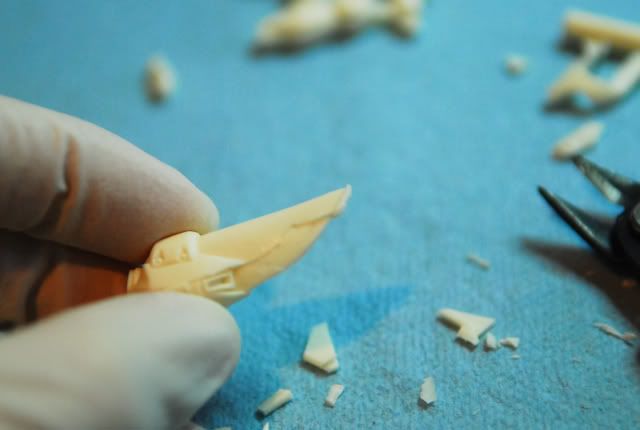

Remember it's better to cut less than more. You can always go back and sand off the edges to make it look smooth.


Began the arduous process of taping and painting (past few pics). No one ever told me taping was such an arduous process. Seriously. But the fact remains: However good you tape, that's how good your paint job will come out.


And here's where we are today: almost ready for assembly with top coat on it. finishing covering minor details and stuff like that.


Lessons learned:

1. PIN AND PUT MAGNETS/GLUE whatever you can BEFORE you begin painting. It's going to be a pain in the a$$ to do this on a painted kit because I wanted to get started without pinning.

2. Tape is a huge pain, but so worth every effort you put into it. The lazier you are, the crappier it will look. Slice, slice, slice that tape.

3. Resin kits are an immense amount of fun. Almost more fun than the Bandai kits. There is way more detail. I don't like the 'flexibility' of the plastic models, rather the actual model itself. I want it to look badass on the shelf, not playing with it, or what poses I can put it in.

Updates will be coming a bit more sooner now.