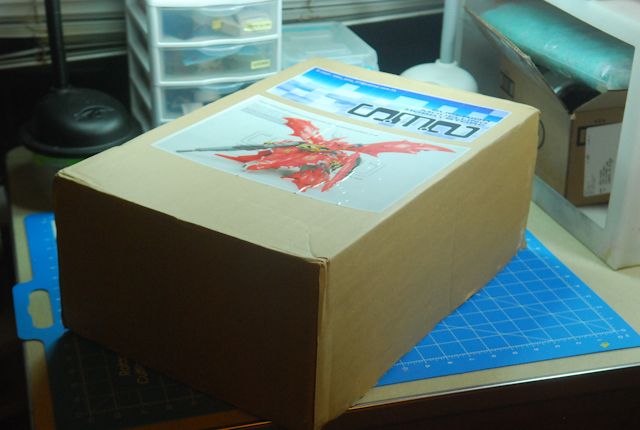
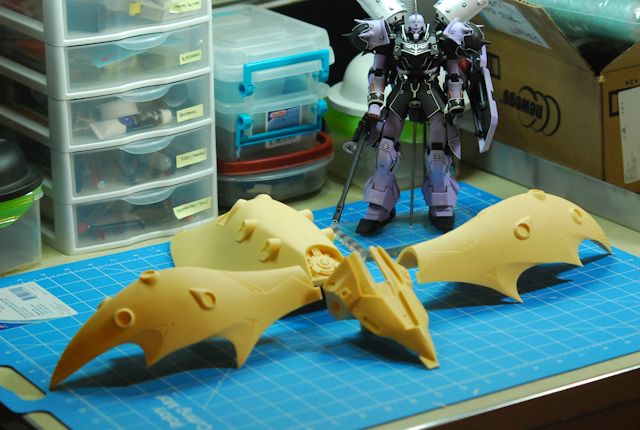
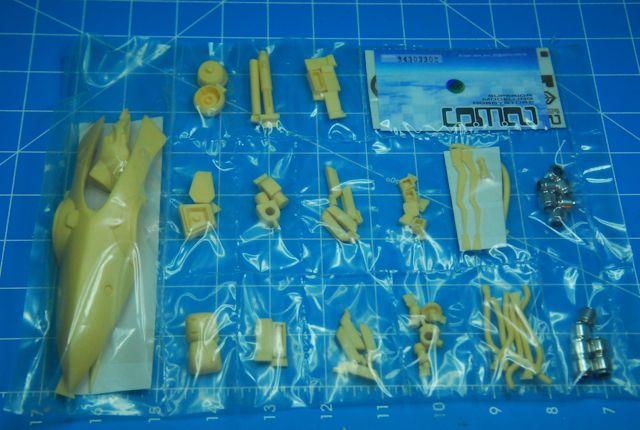
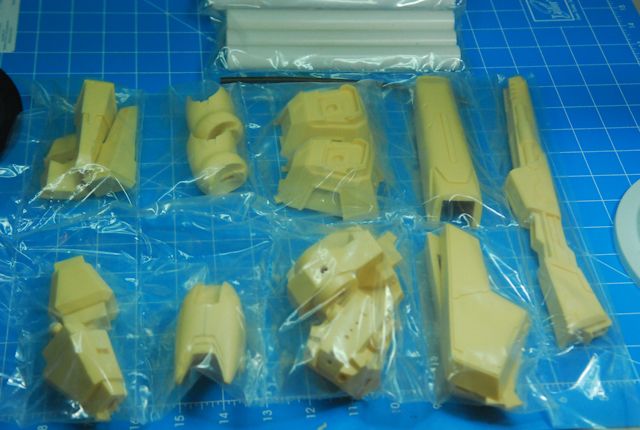
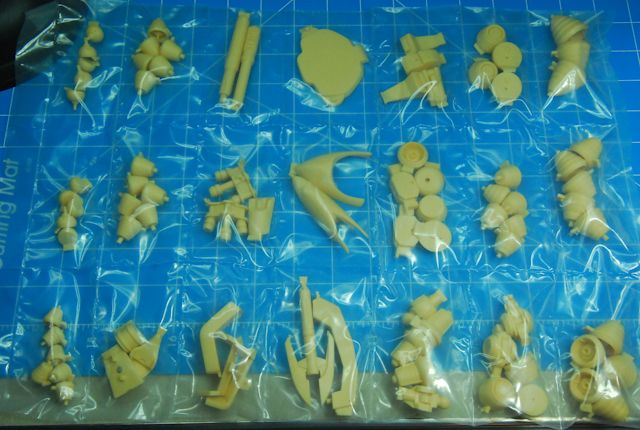
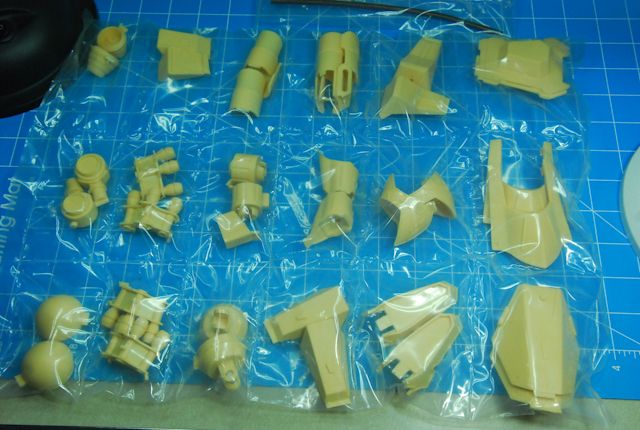
1/100 NG Nightingale (SMS Version)
Manufacturer: SMS
Cast Quality: 10/10.
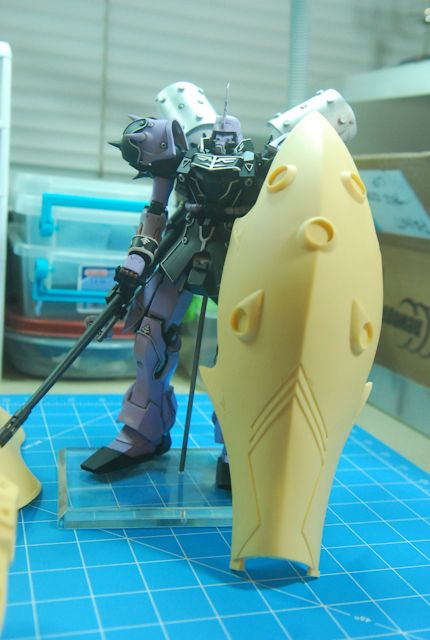
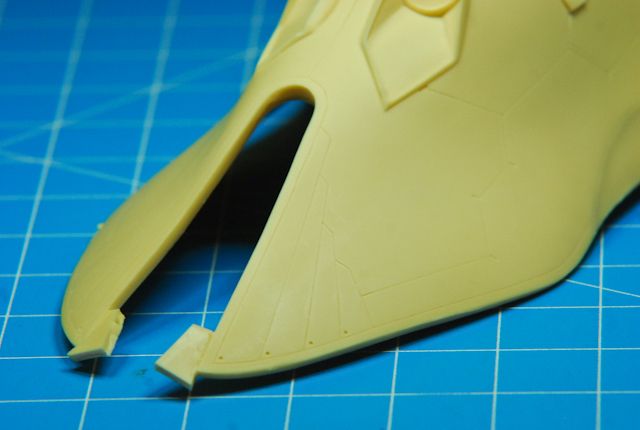
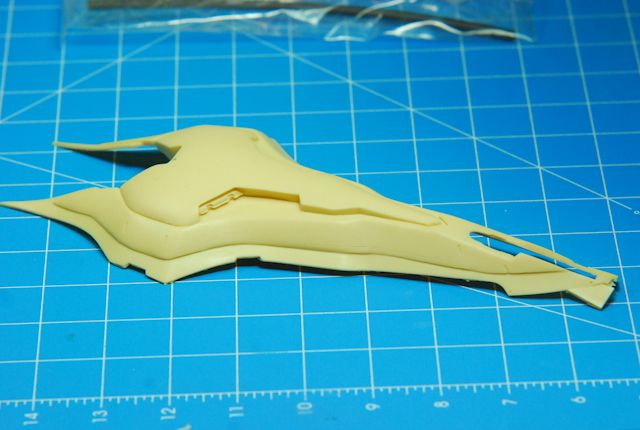
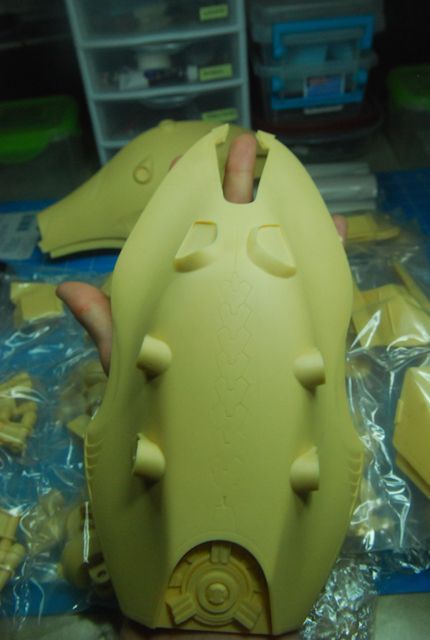
All quality pieces, no weak spots from what I could tell, details well preserved. The kit is VERY large for being a 1/100 scale kit. The shoulder pieces are the size of a 1/100 model on it's own! Some shallow panel lines in the cast, but they can be easily fixed with a scribing tool. The box is HEAVY and VERY big - always a good feeling when it comes to models :)
The tail section is huge!
June 23, 2011
June 1, 2011
1/24 SMS Hi-Nu Bust WIP - Part 2
During my work in progress, I combined a few of the different brands of paint to compare against the Plamo Color paint line. I've used 4 different white paints so you (and I) can see the difference between paints.
I'll let the pics speak for themselves.
My experience with the Plamo Color primer has been wonderful - I prefer it over the other 2 - Mr. Resin Surfacer comes out very light, and the Mr. Surfacer is nice, but can cobweb with the wrong mixture, and both can be expensive. However, the Mr. Hobby thinner smells nice.
As for the whites, they are all the same. The only major difference being that the acrylic paint doesn't run the risk of thinning the primer underneath.
I am doing a pre-shaded build this time around, and I've got most of the white, blue and red parts done.
So far I have to say, the paints are easy to work with. The only weird thing was that I used the prescribed mixing ratio (1:1), and had issues with it being a bit too thick coming out of my AB. So from then on I just added a little bit more thinner. They paint on nice and smooth and are very consistent throughout. The best part is how big even the 30mL bottles are.
I think I'm going for a fairly standard color scheme, but with a red chin - I think it turned out looking quite neat.
Note: I know there are details to be added to the blue v-fin holder, that will be painted a different color, and details painted accordingly.
As you can tell the colors are vibrant. The 'darker' blue is straight out of the bottle, and the main color is with a bit of white added.
For the yellow parts, I wound up painting a primary layer of white, then yellow. However, it's slightly more greenish than I would like so I may go back and re-do it with a foundational layer of orange or red.
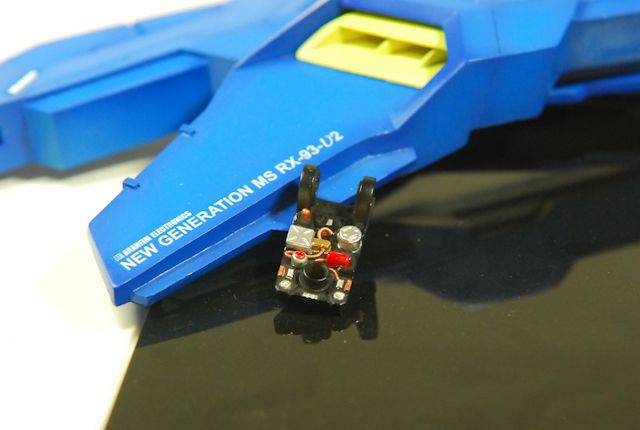
I began to put on some decals and use the Mr Hobby products (Mark Softer and Mark Setter), and holy cow these products are worth every penny. The silver in the picture below was painted with Plamo Color's Silver, it paints on pretty good, but is hard to hand paint I've noticed. I believe it is more for airbrushing.
Also, I began to paint some details. The silver is just a simple silver lacquer from Model Master, and the copper is Mr Metal Color, however the red is the lacquer from Plamo color. It was very easy to paint, self-leveled and is very vibrant to boot. I know I may have made little mistakes, but I plan on going back and touching those up.
I'll let the pics speak for themselves.
My experience with the Plamo Color primer has been wonderful - I prefer it over the other 2 - Mr. Resin Surfacer comes out very light, and the Mr. Surfacer is nice, but can cobweb with the wrong mixture, and both can be expensive. However, the Mr. Hobby thinner smells nice.
As for the whites, they are all the same. The only major difference being that the acrylic paint doesn't run the risk of thinning the primer underneath.
I am doing a pre-shaded build this time around, and I've got most of the white, blue and red parts done.
So far I have to say, the paints are easy to work with. The only weird thing was that I used the prescribed mixing ratio (1:1), and had issues with it being a bit too thick coming out of my AB. So from then on I just added a little bit more thinner. They paint on nice and smooth and are very consistent throughout. The best part is how big even the 30mL bottles are.
I think I'm going for a fairly standard color scheme, but with a red chin - I think it turned out looking quite neat.
Note: I know there are details to be added to the blue v-fin holder, that will be painted a different color, and details painted accordingly.
As you can tell the colors are vibrant. The 'darker' blue is straight out of the bottle, and the main color is with a bit of white added.
For the yellow parts, I wound up painting a primary layer of white, then yellow. However, it's slightly more greenish than I would like so I may go back and re-do it with a foundational layer of orange or red.
I began to put on some decals and use the Mr Hobby products (Mark Softer and Mark Setter), and holy cow these products are worth every penny. The silver in the picture below was painted with Plamo Color's Silver, it paints on pretty good, but is hard to hand paint I've noticed. I believe it is more for airbrushing.
Also, I began to paint some details. The silver is just a simple silver lacquer from Model Master, and the copper is Mr Metal Color, however the red is the lacquer from Plamo color. It was very easy to paint, self-leveled and is very vibrant to boot. I know I may have made little mistakes, but I plan on going back and touching those up.
Subscribe to:
Posts (Atom)